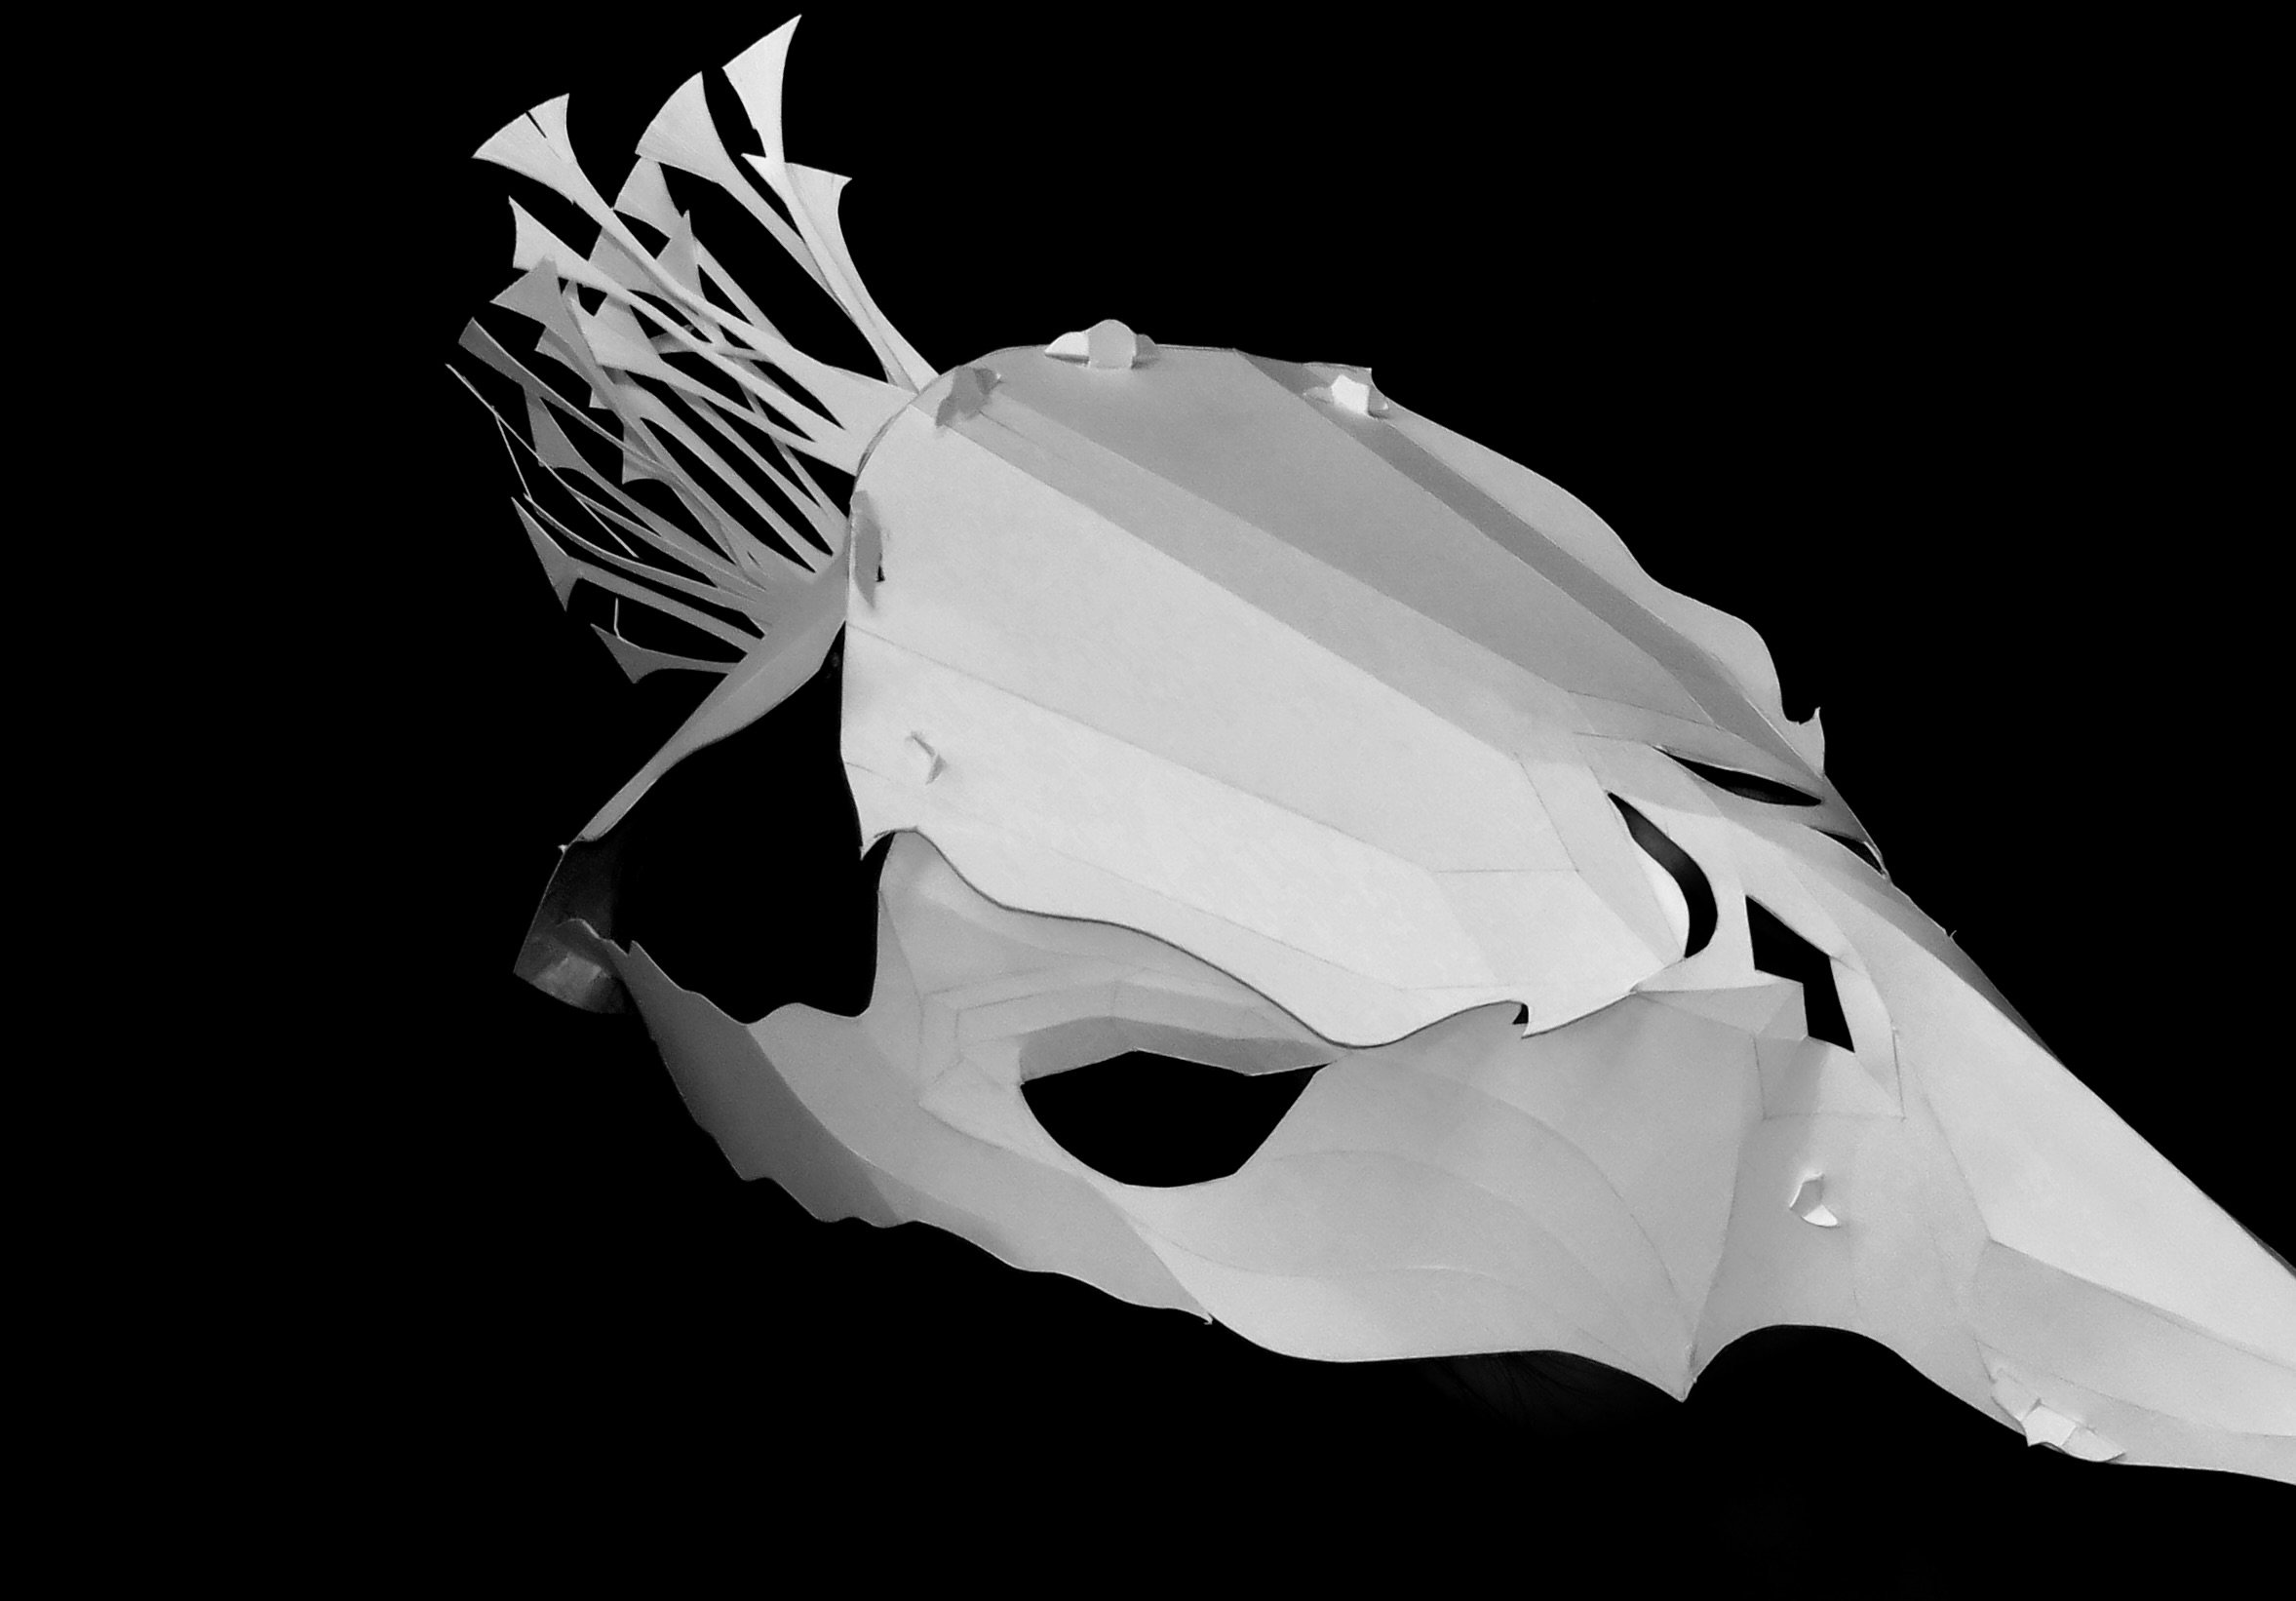
DIAMONDCUT
SPRING 2026
Bristol Paper
Create an accurate mask of an animal of your choice without the use of adhesives using only one sheet of Bristol. For the final mask, make an instruction sheet for an overall user to be able to accurately put together the mask.
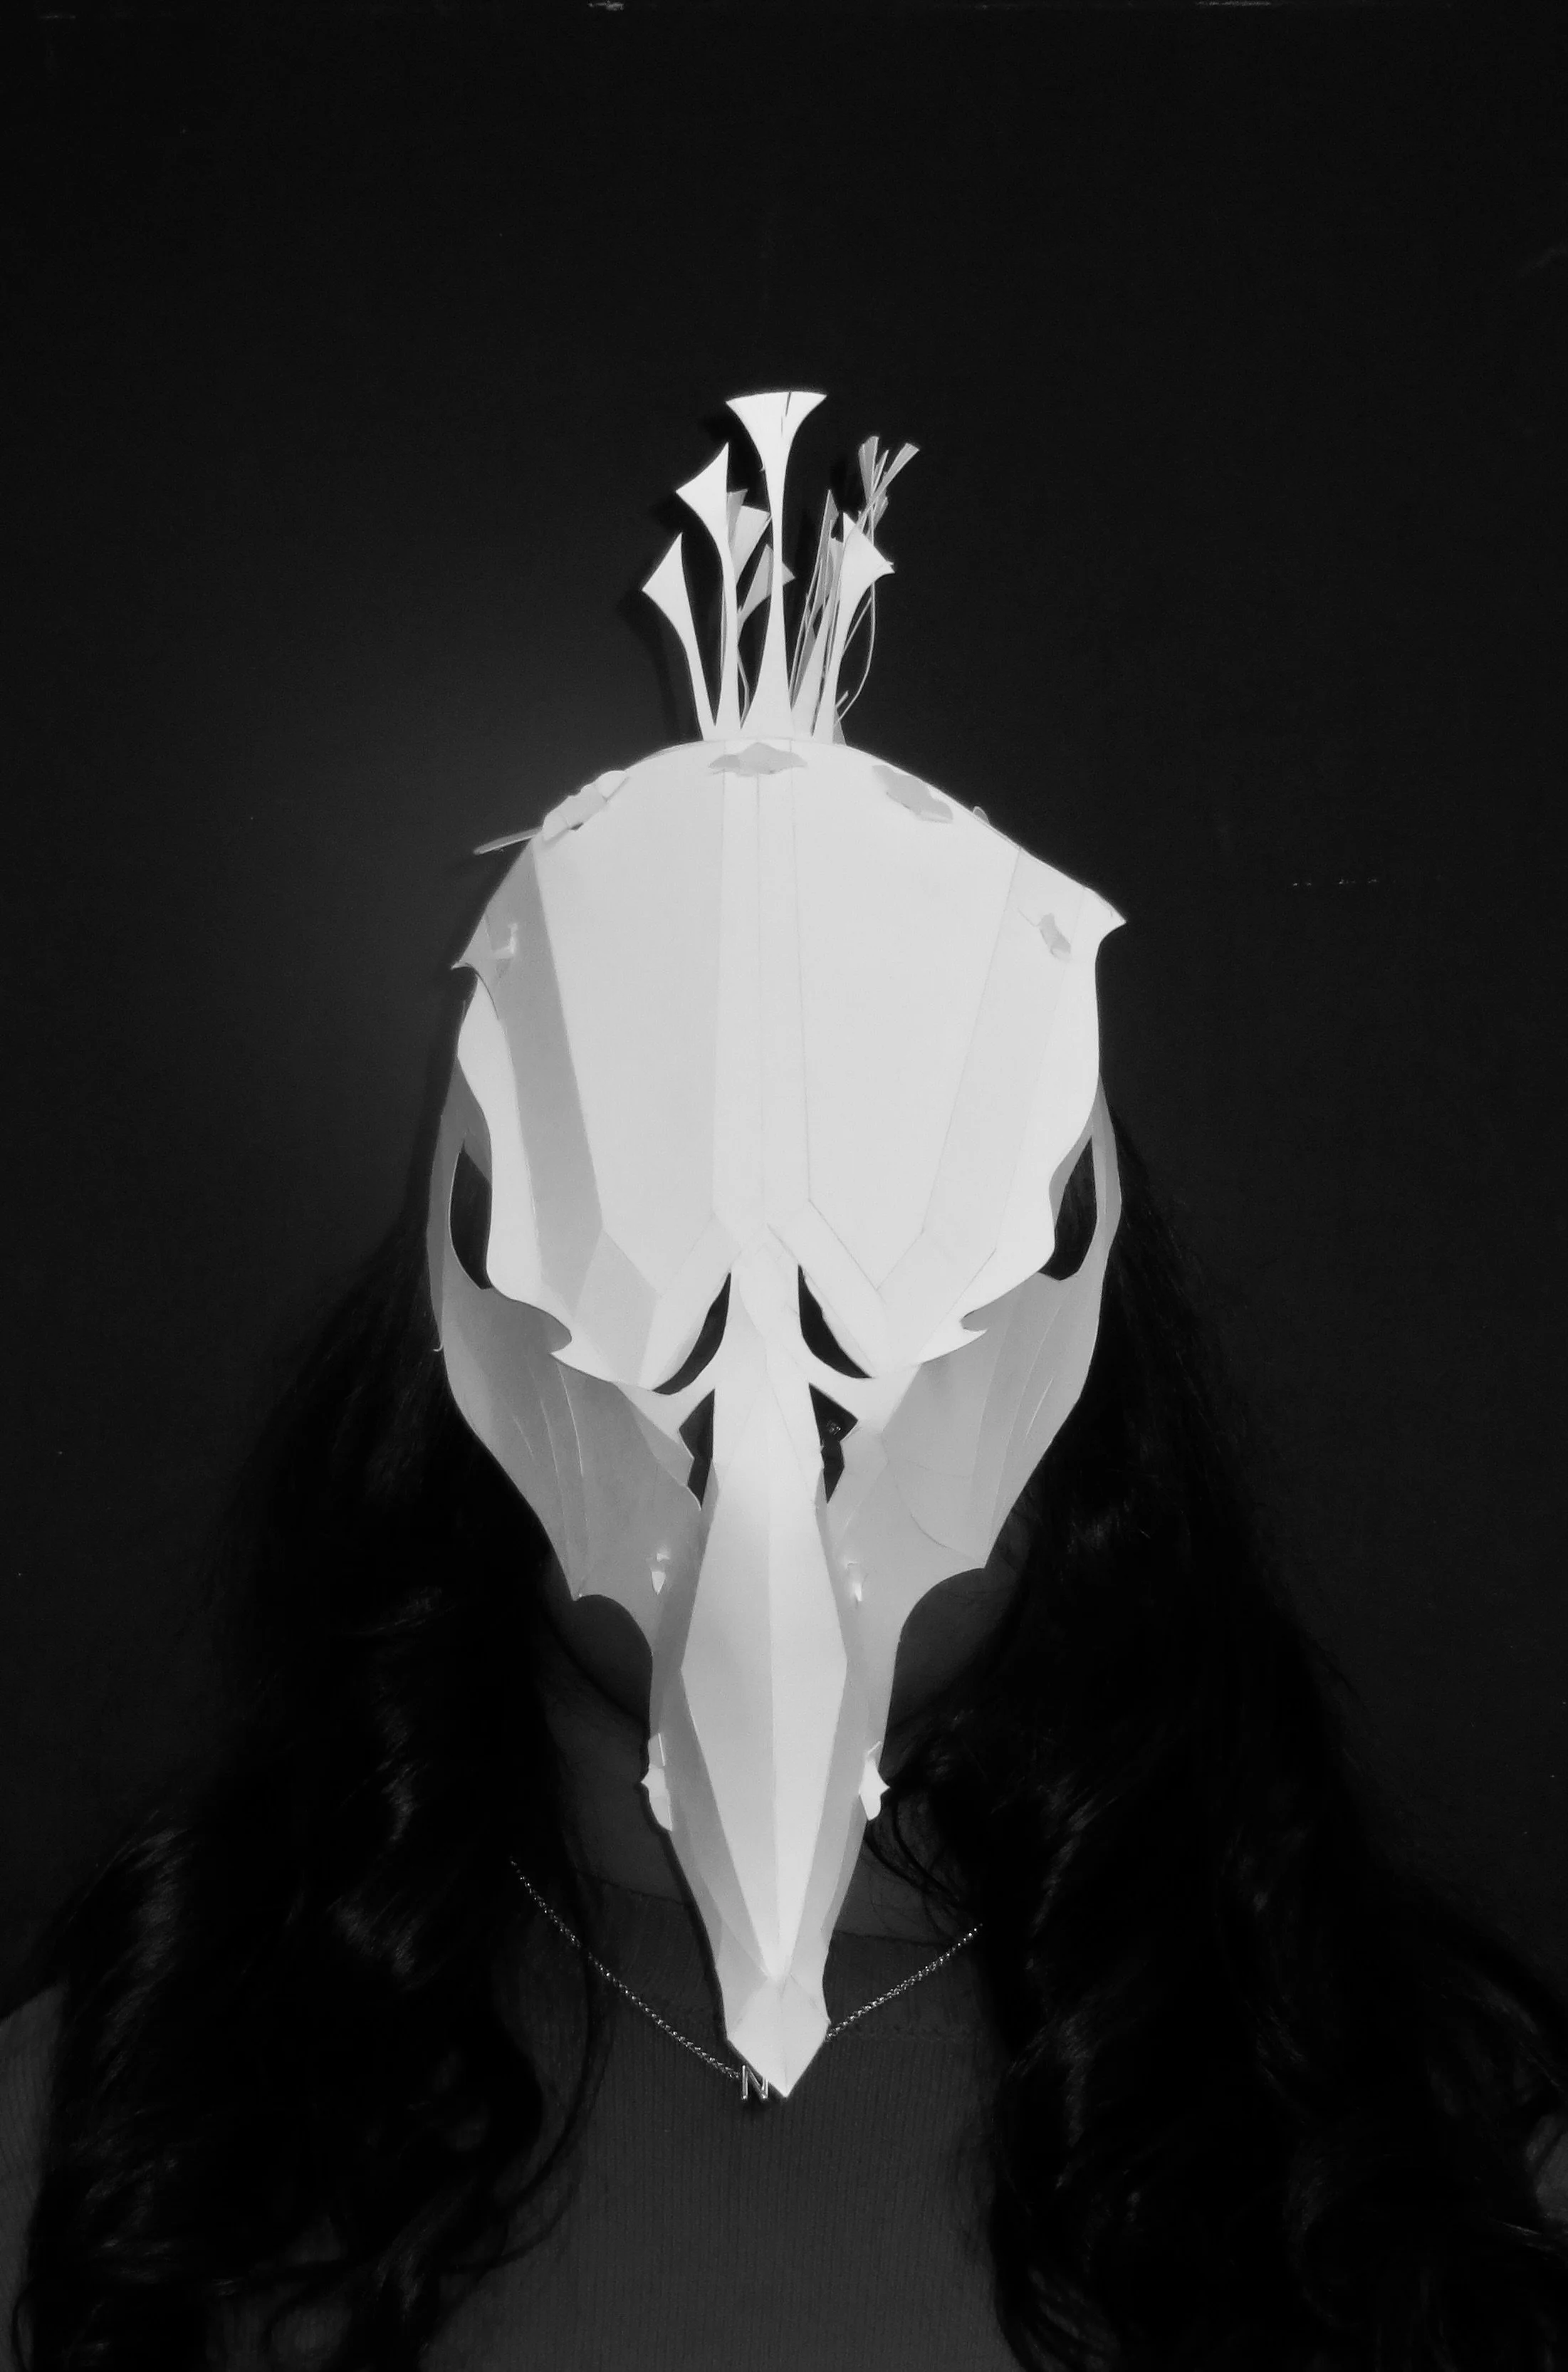
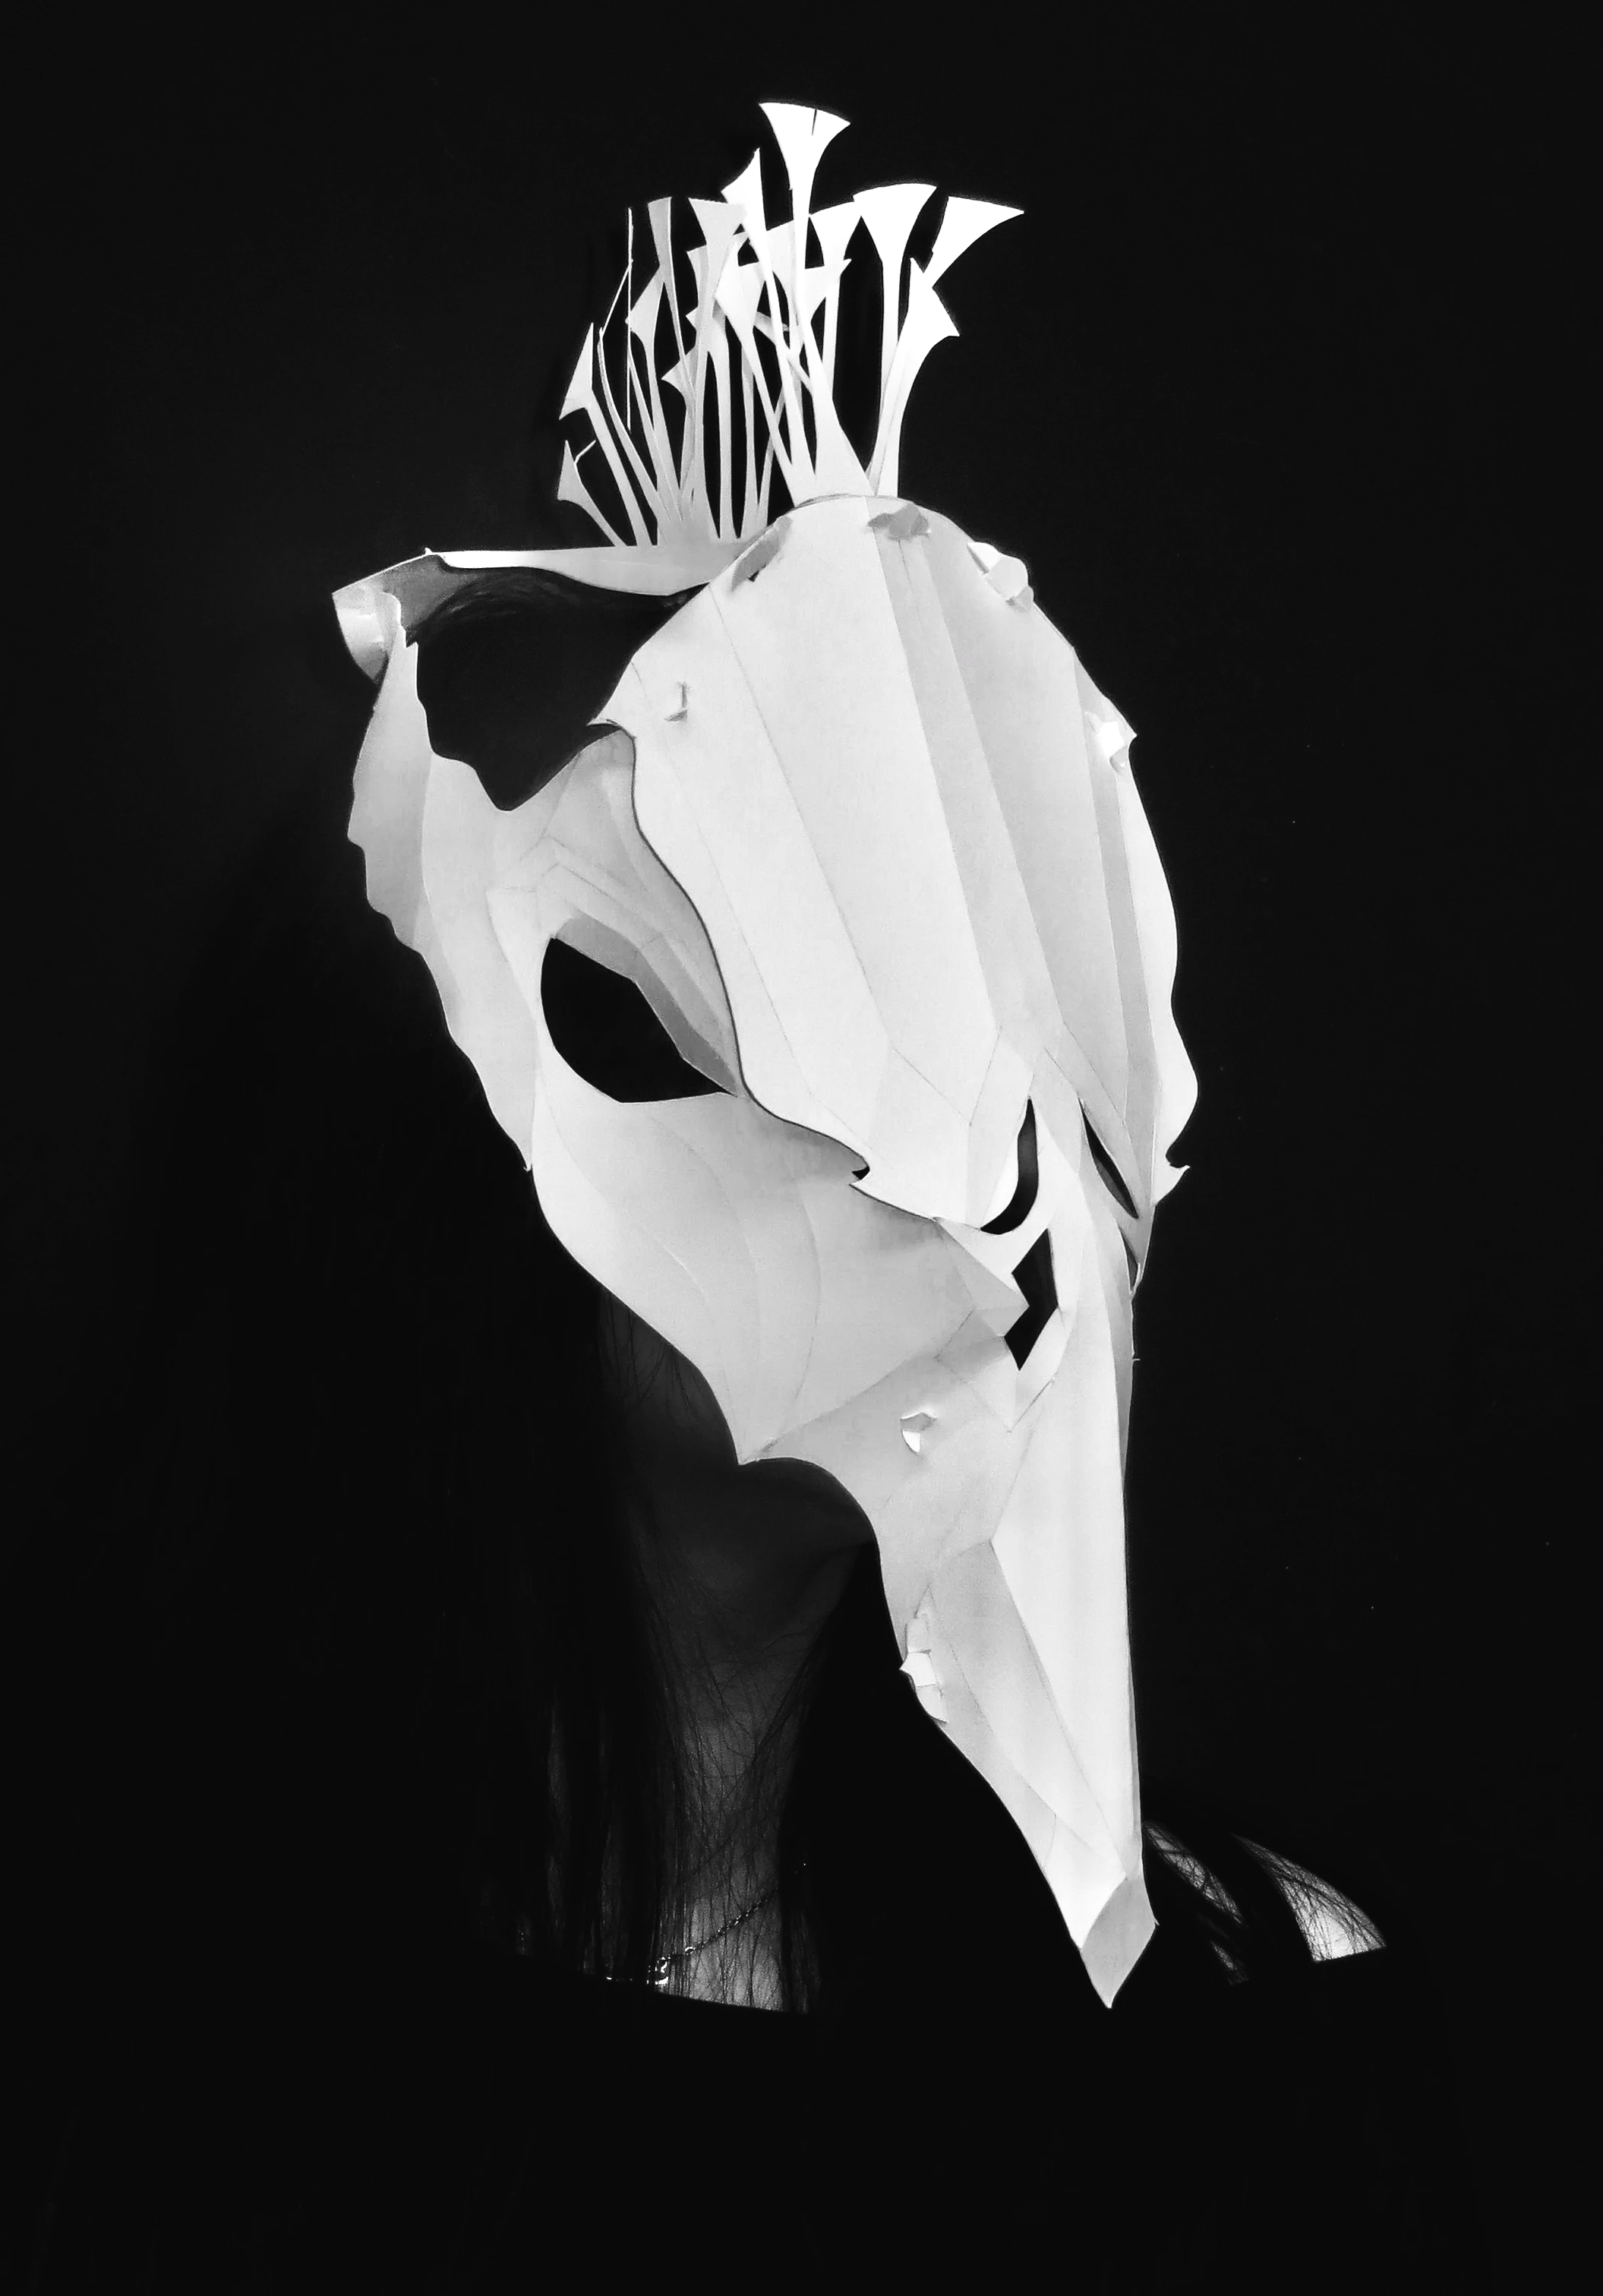
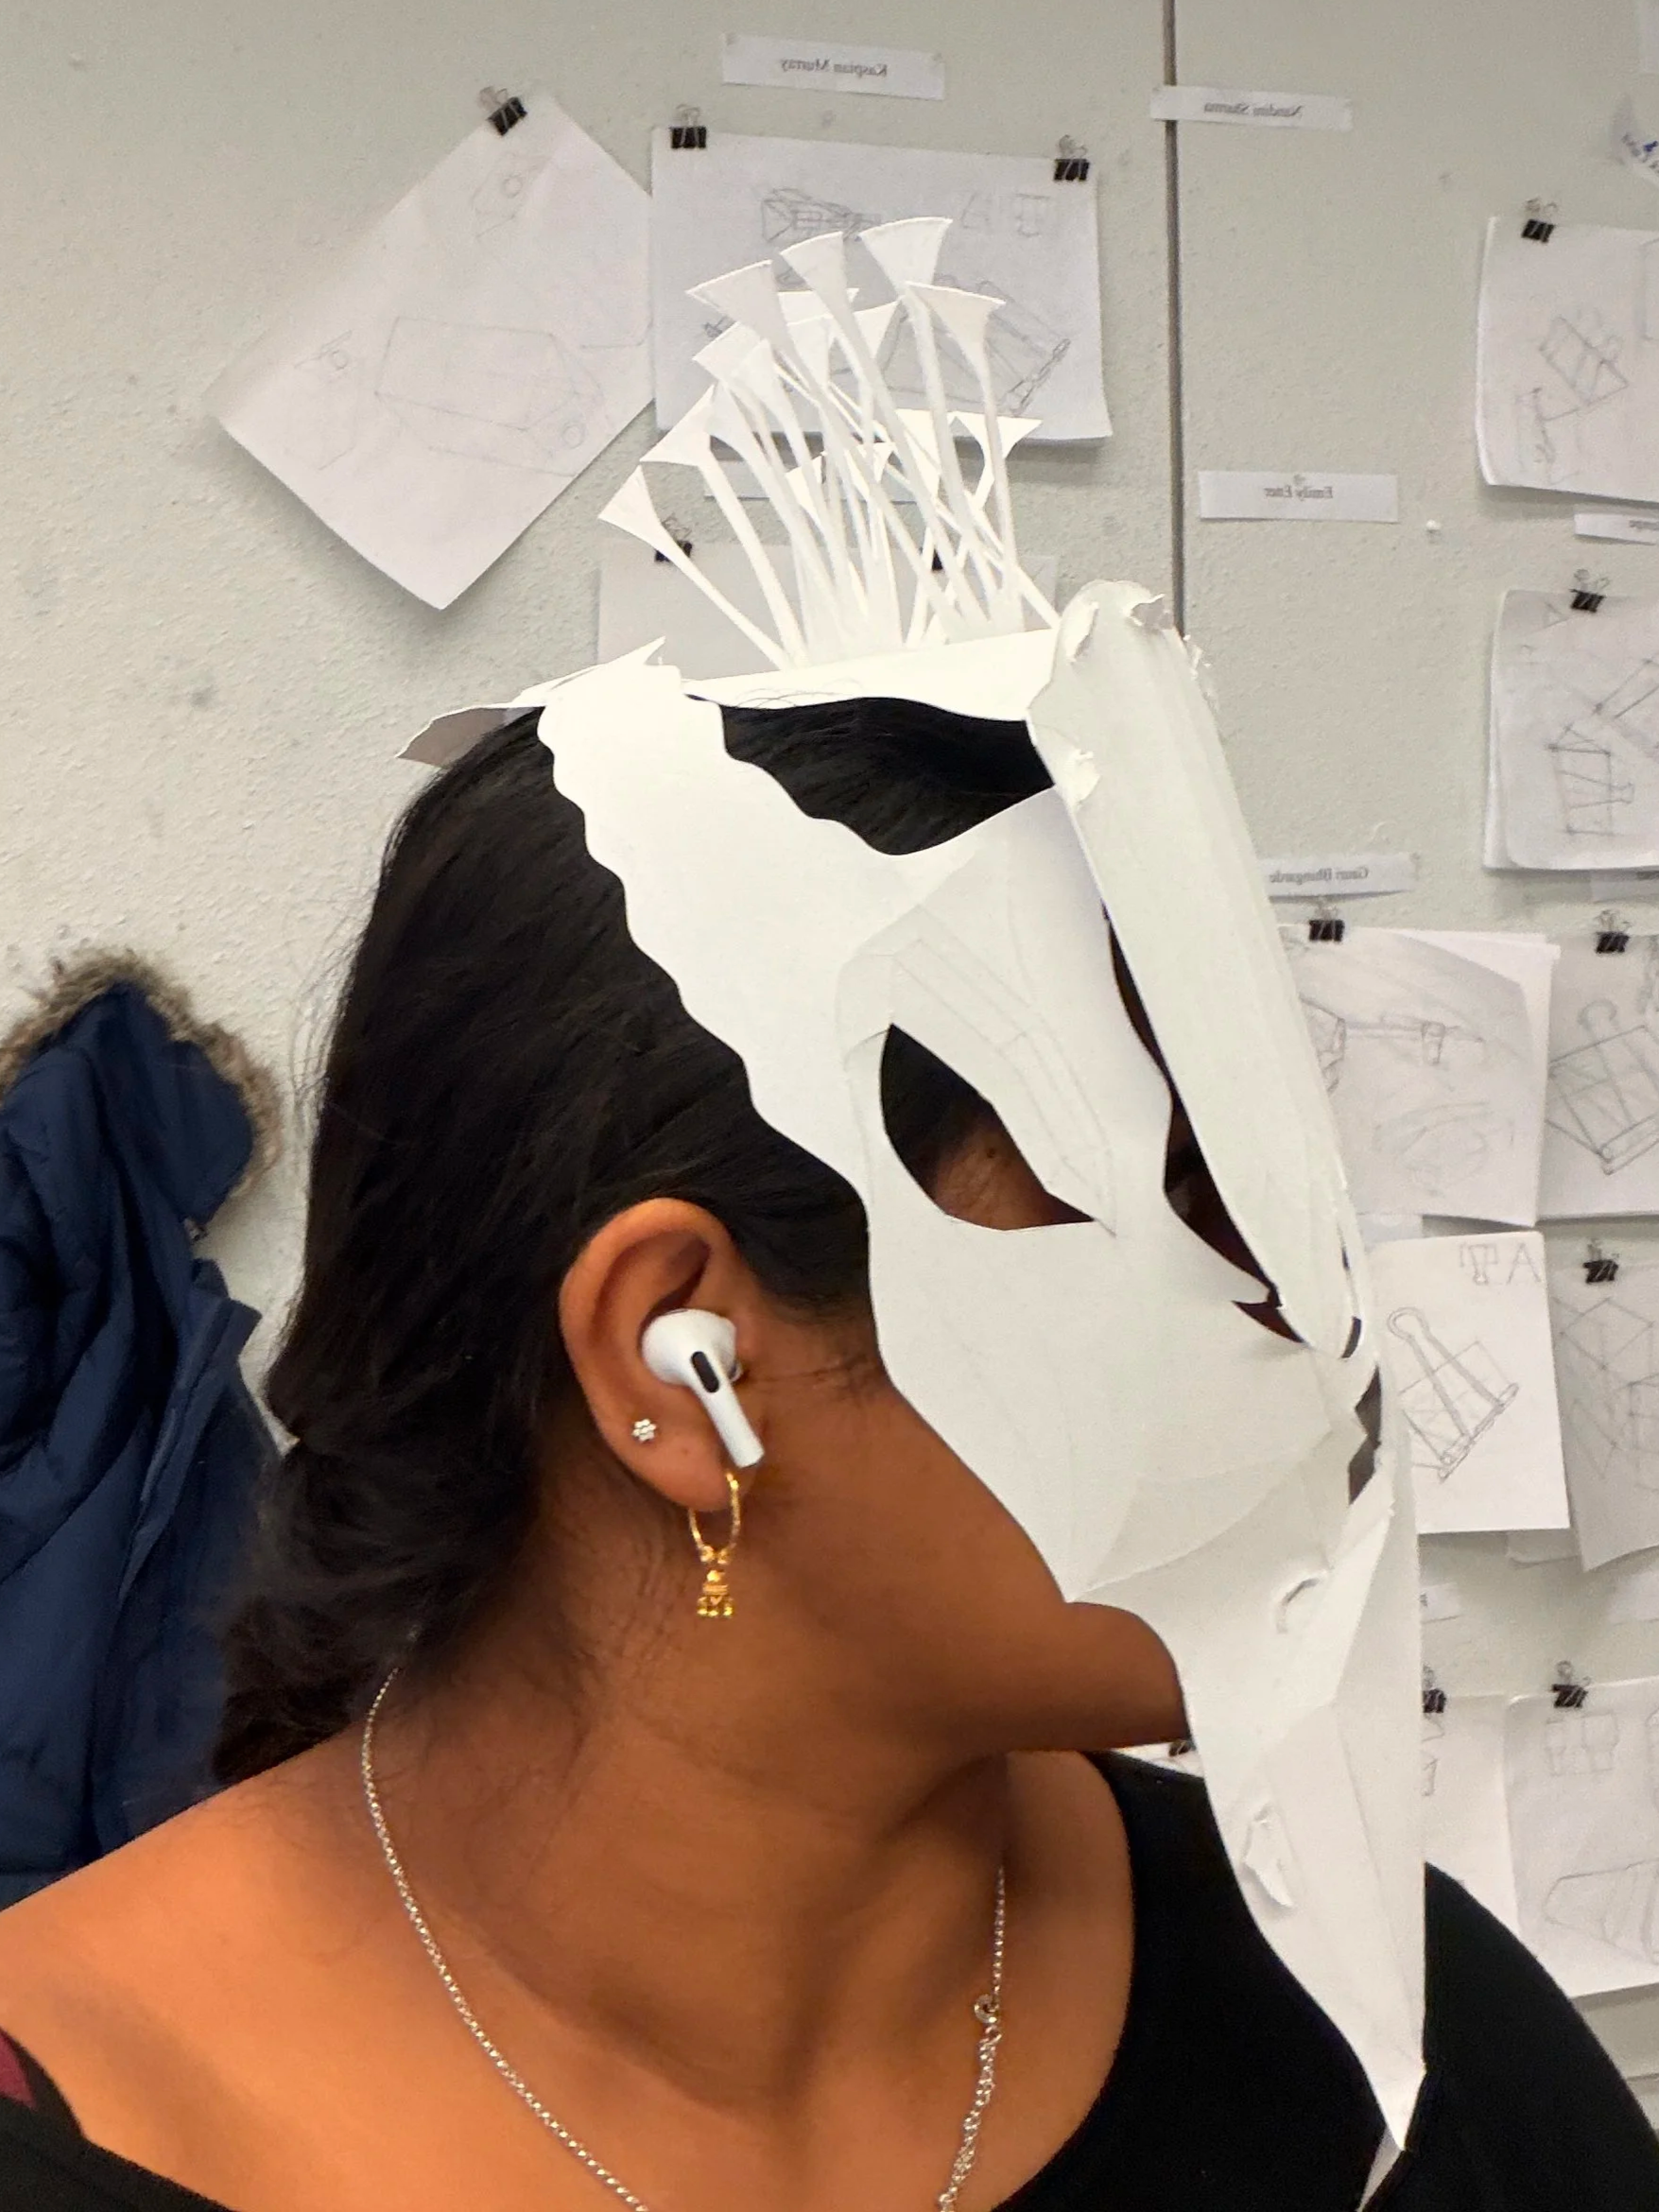
My design goal was to replicate the design of jewels, since Peacocks are considered regal animals in India. The entire front piece of my mask is one flat plane that I strategically perforated and folded to achieve the contours of the face.

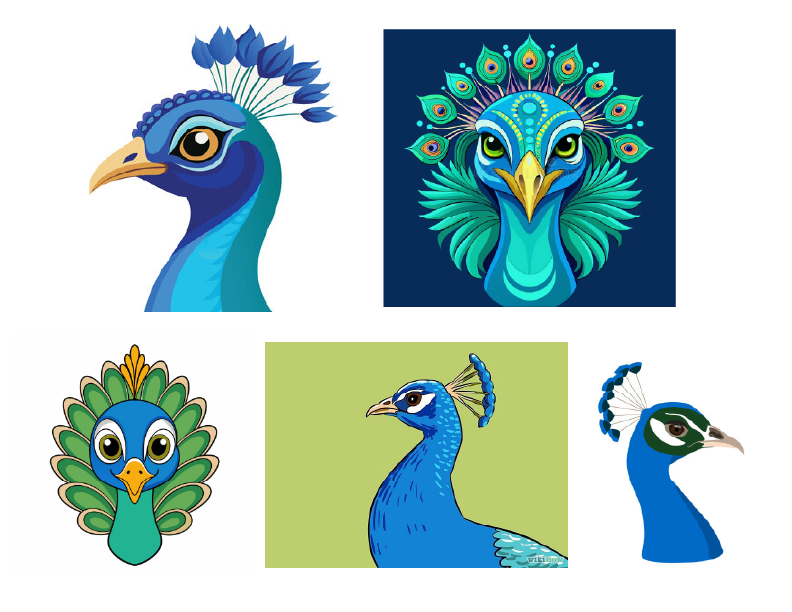
The second inspiration board features animated versions of the Peacock and allowed for studying of the main distinctive features of the animal that were shown in all of the styles of drawing. This helped identify the parts of the face that should be prioritized in the mask.
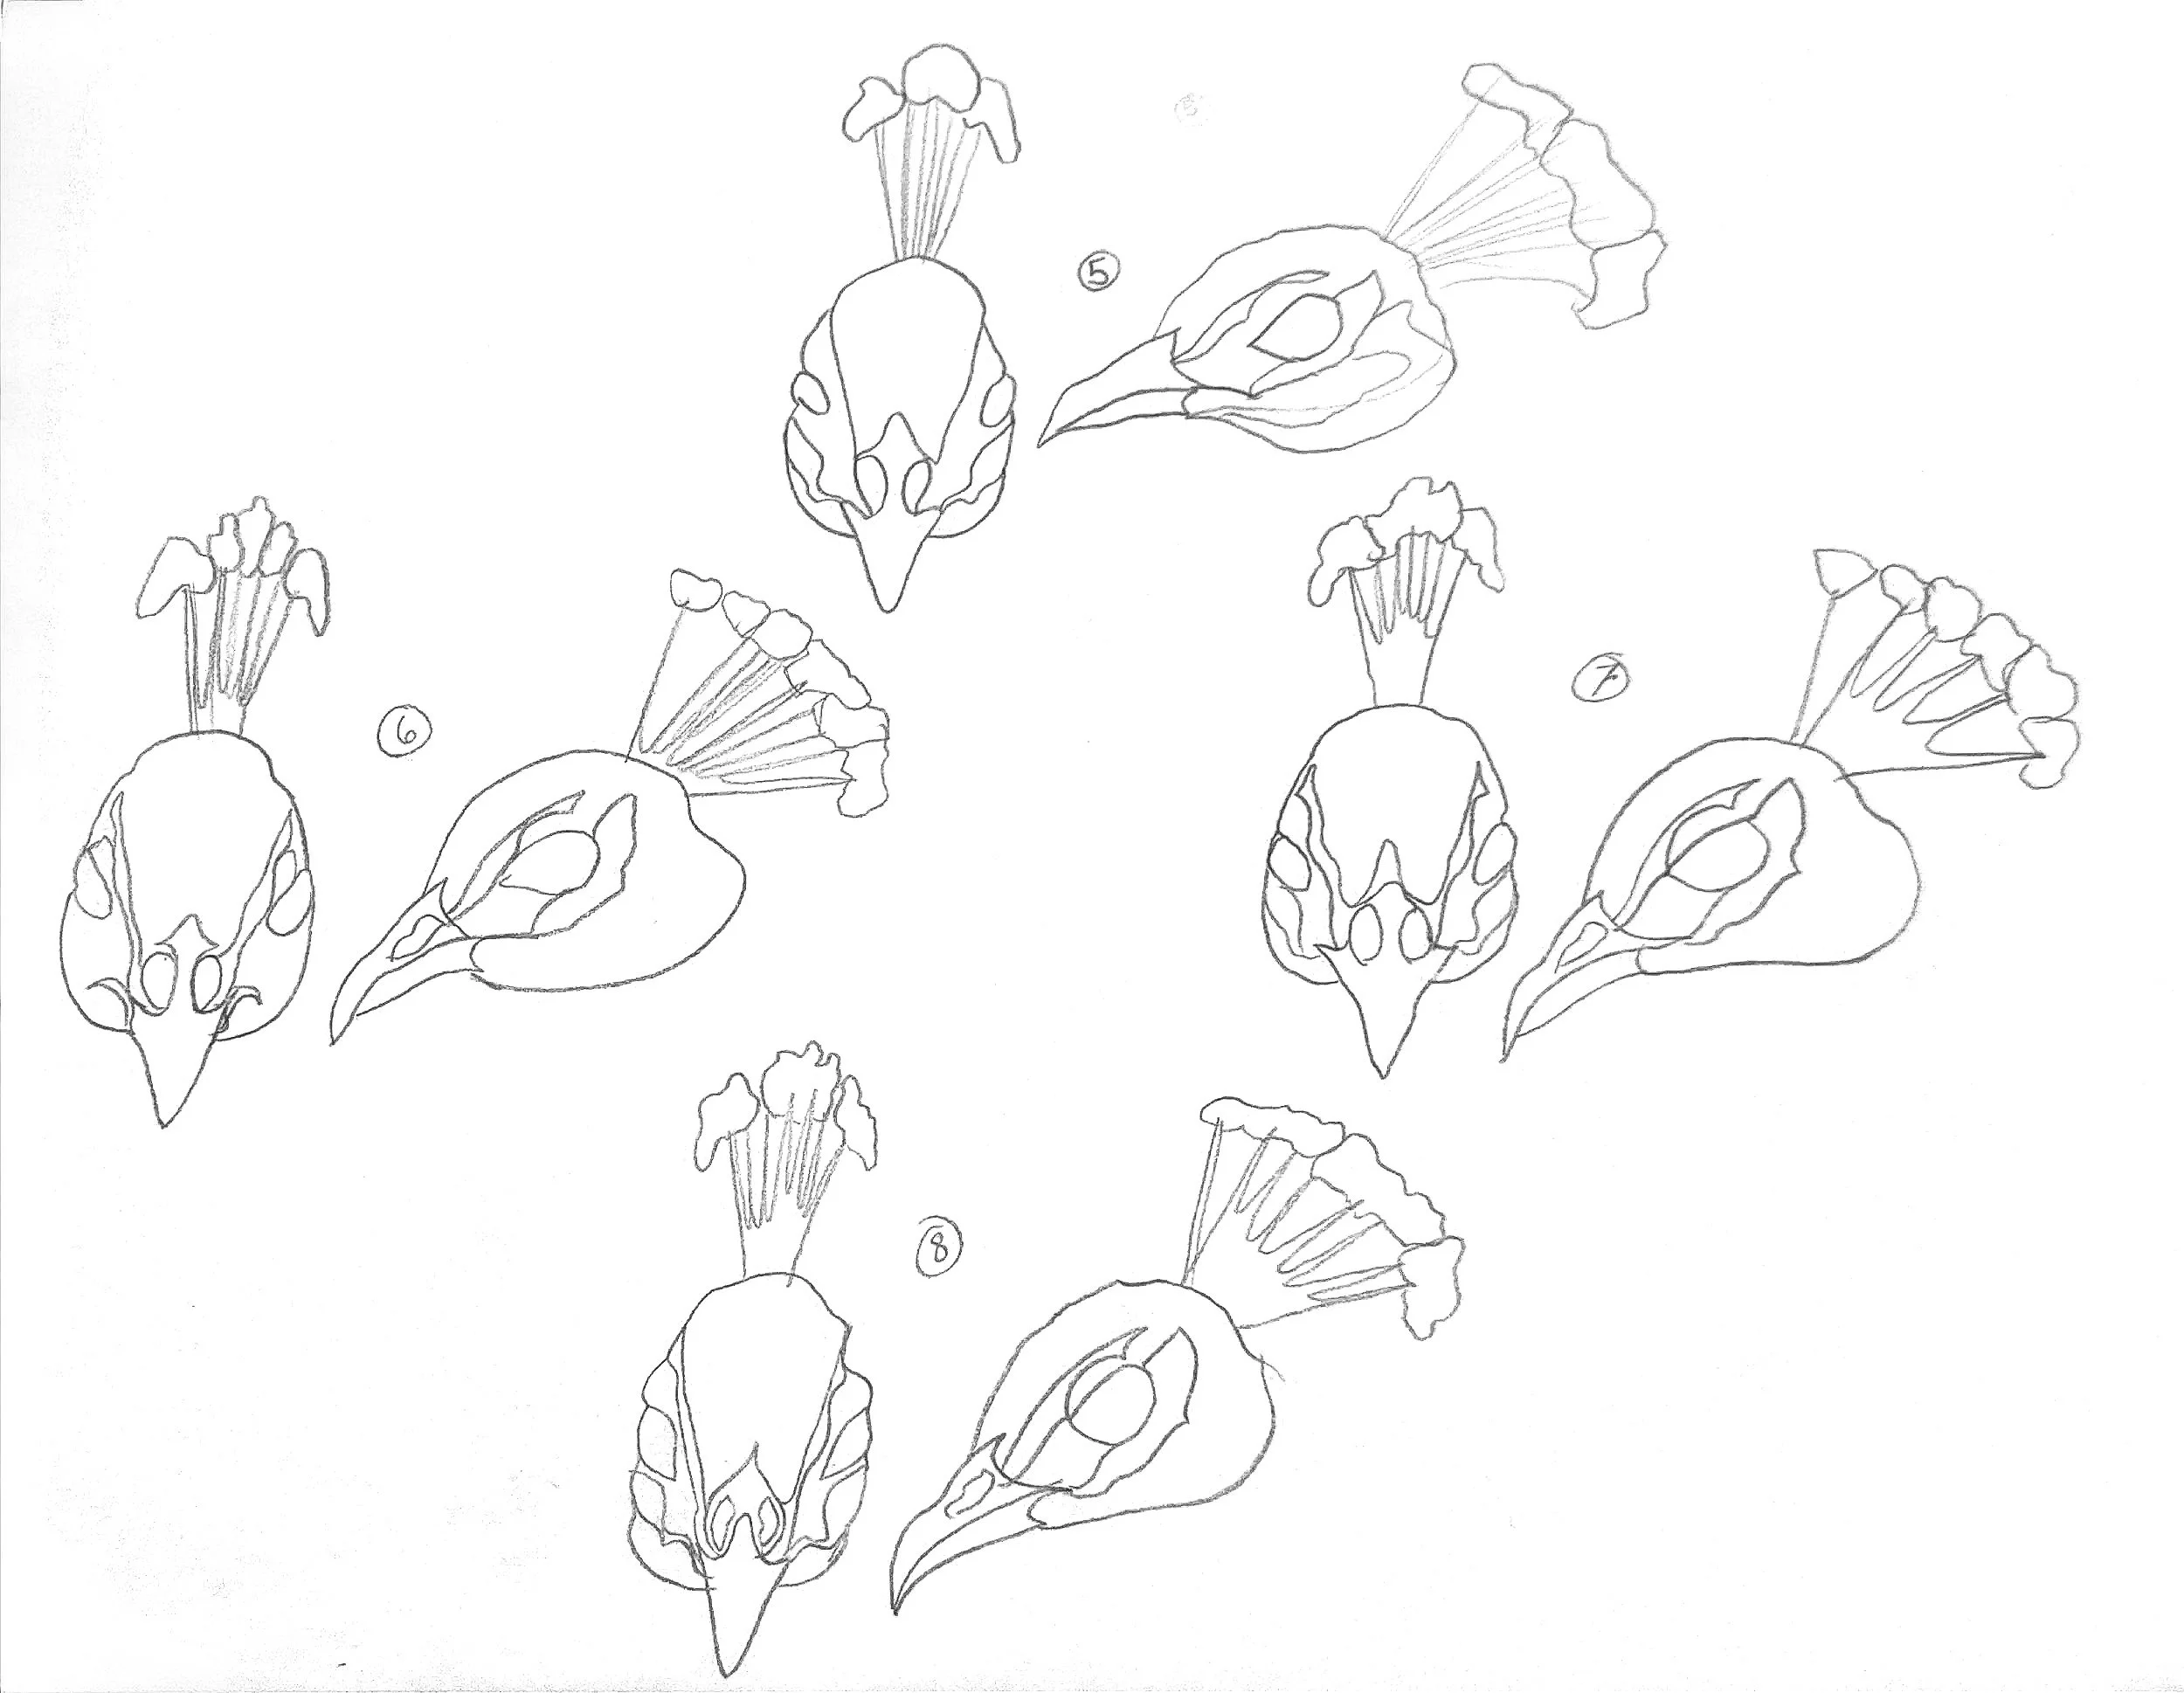
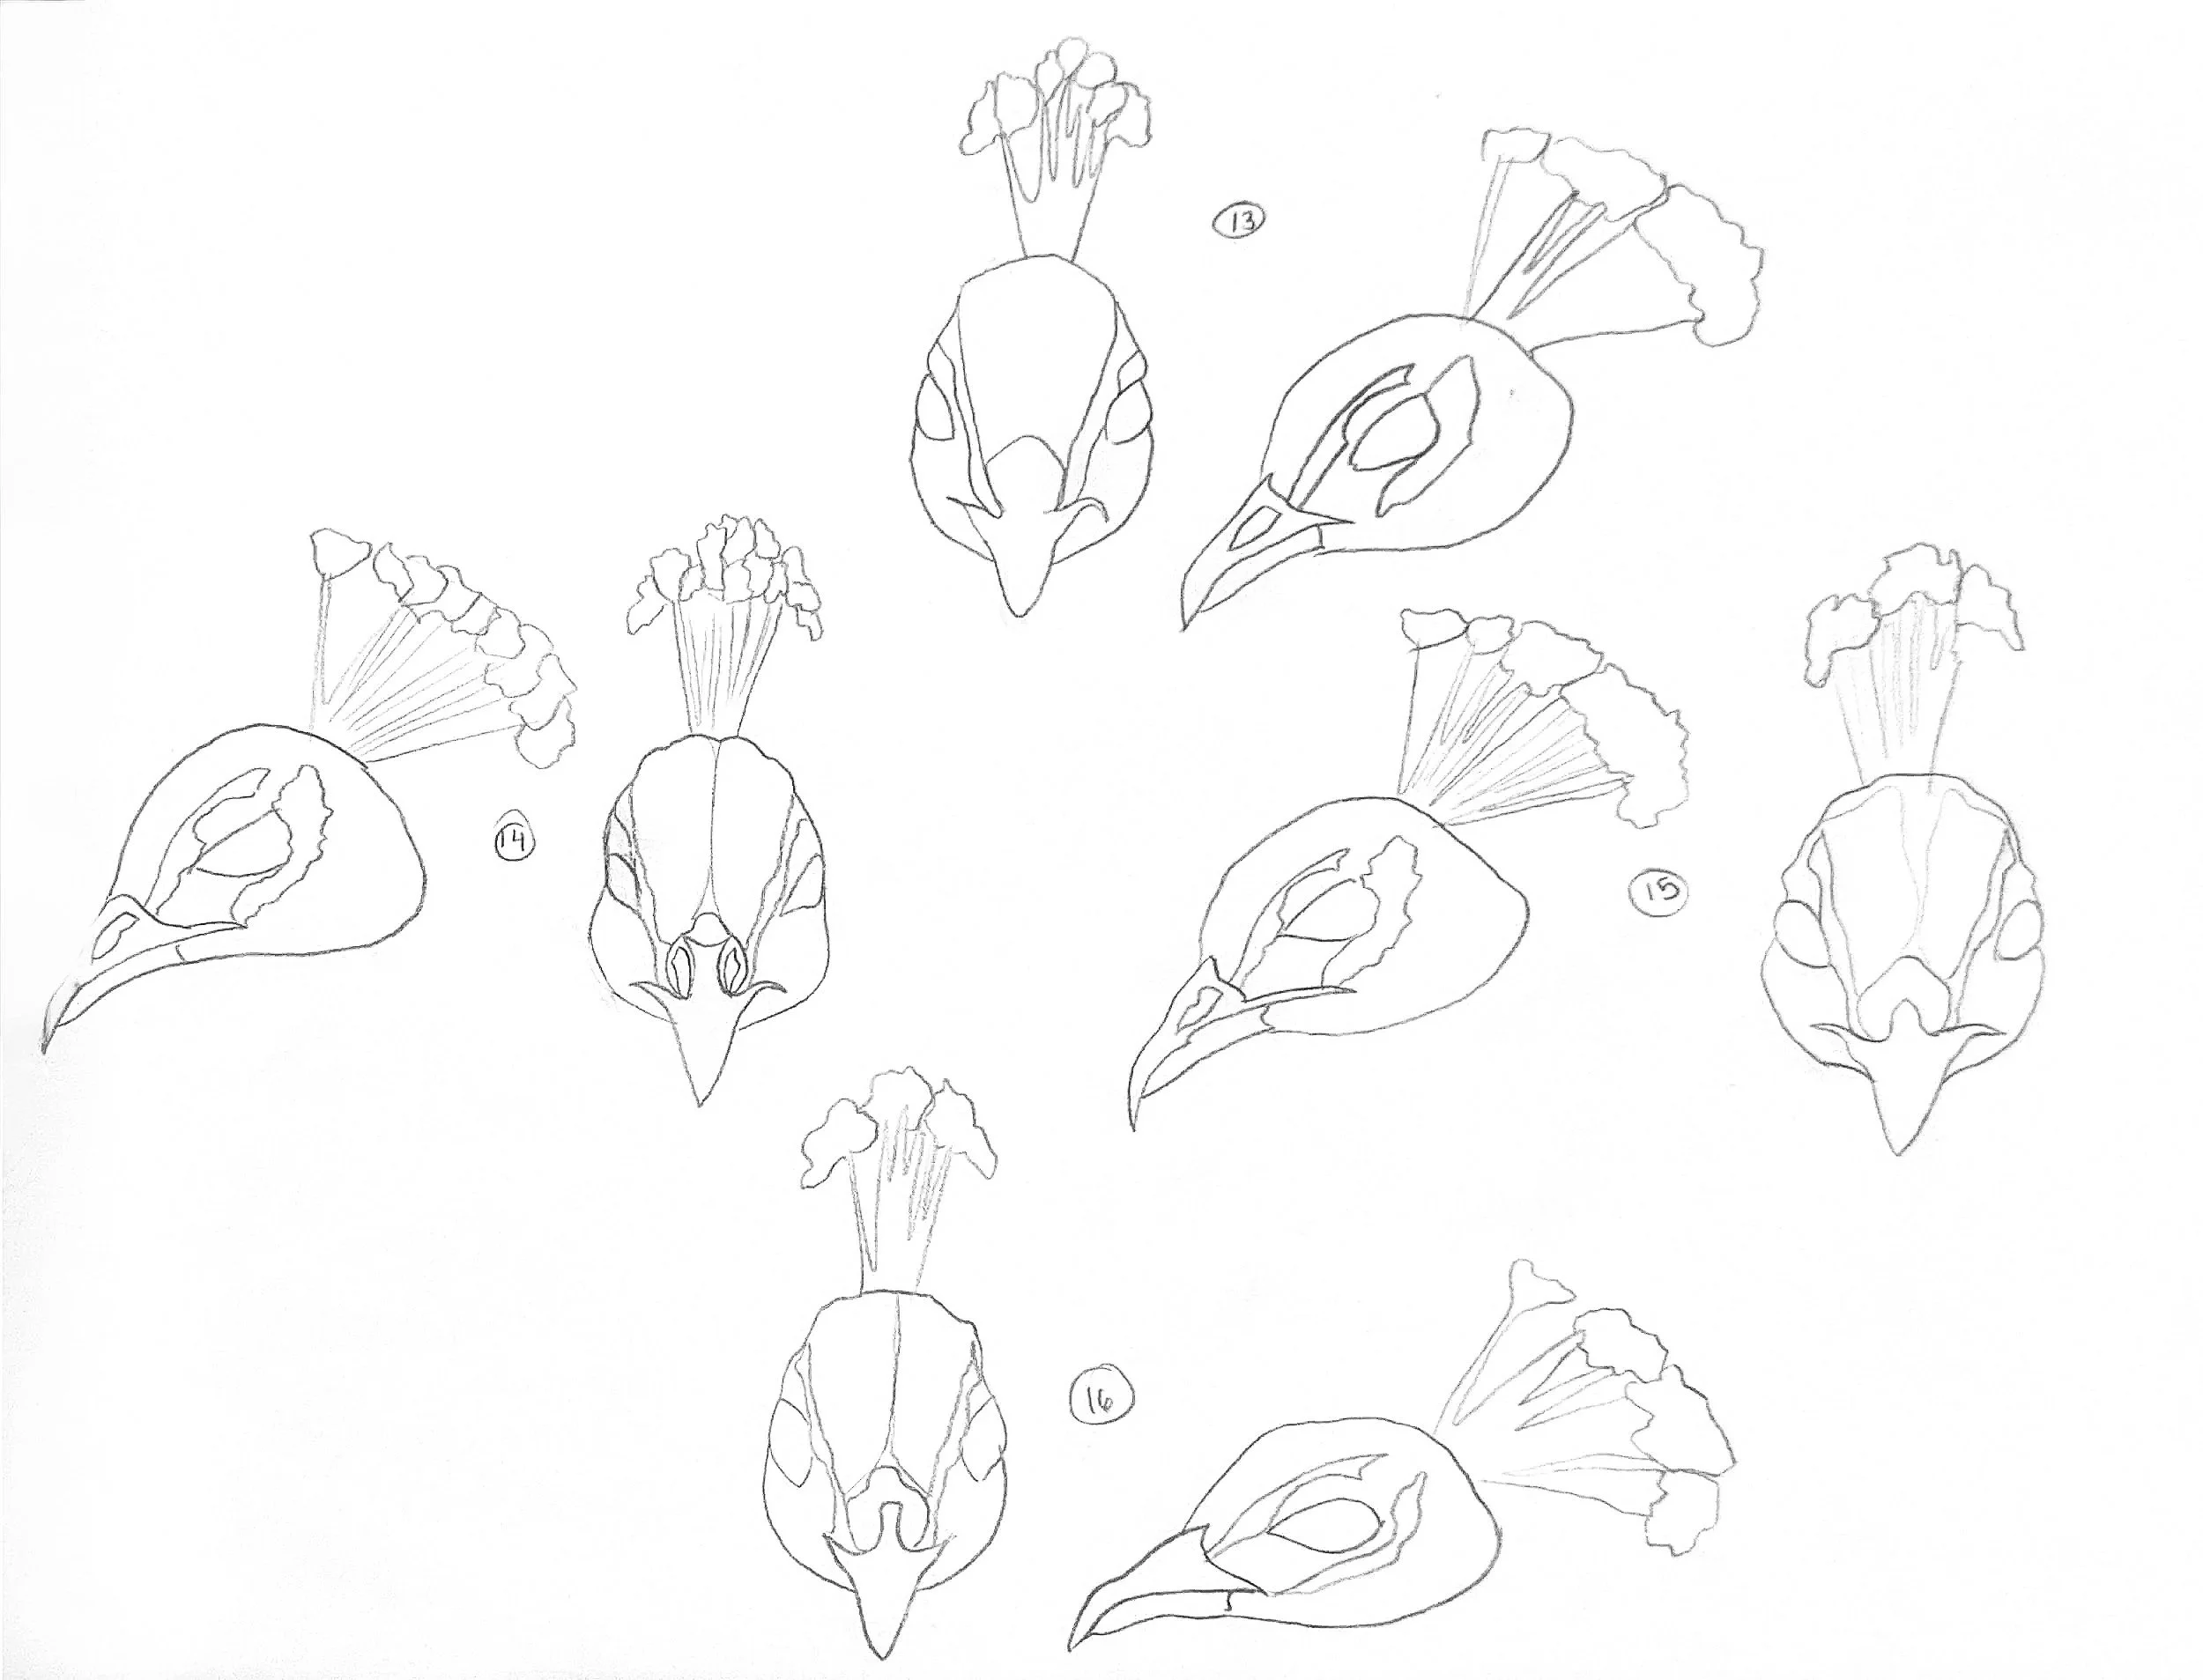
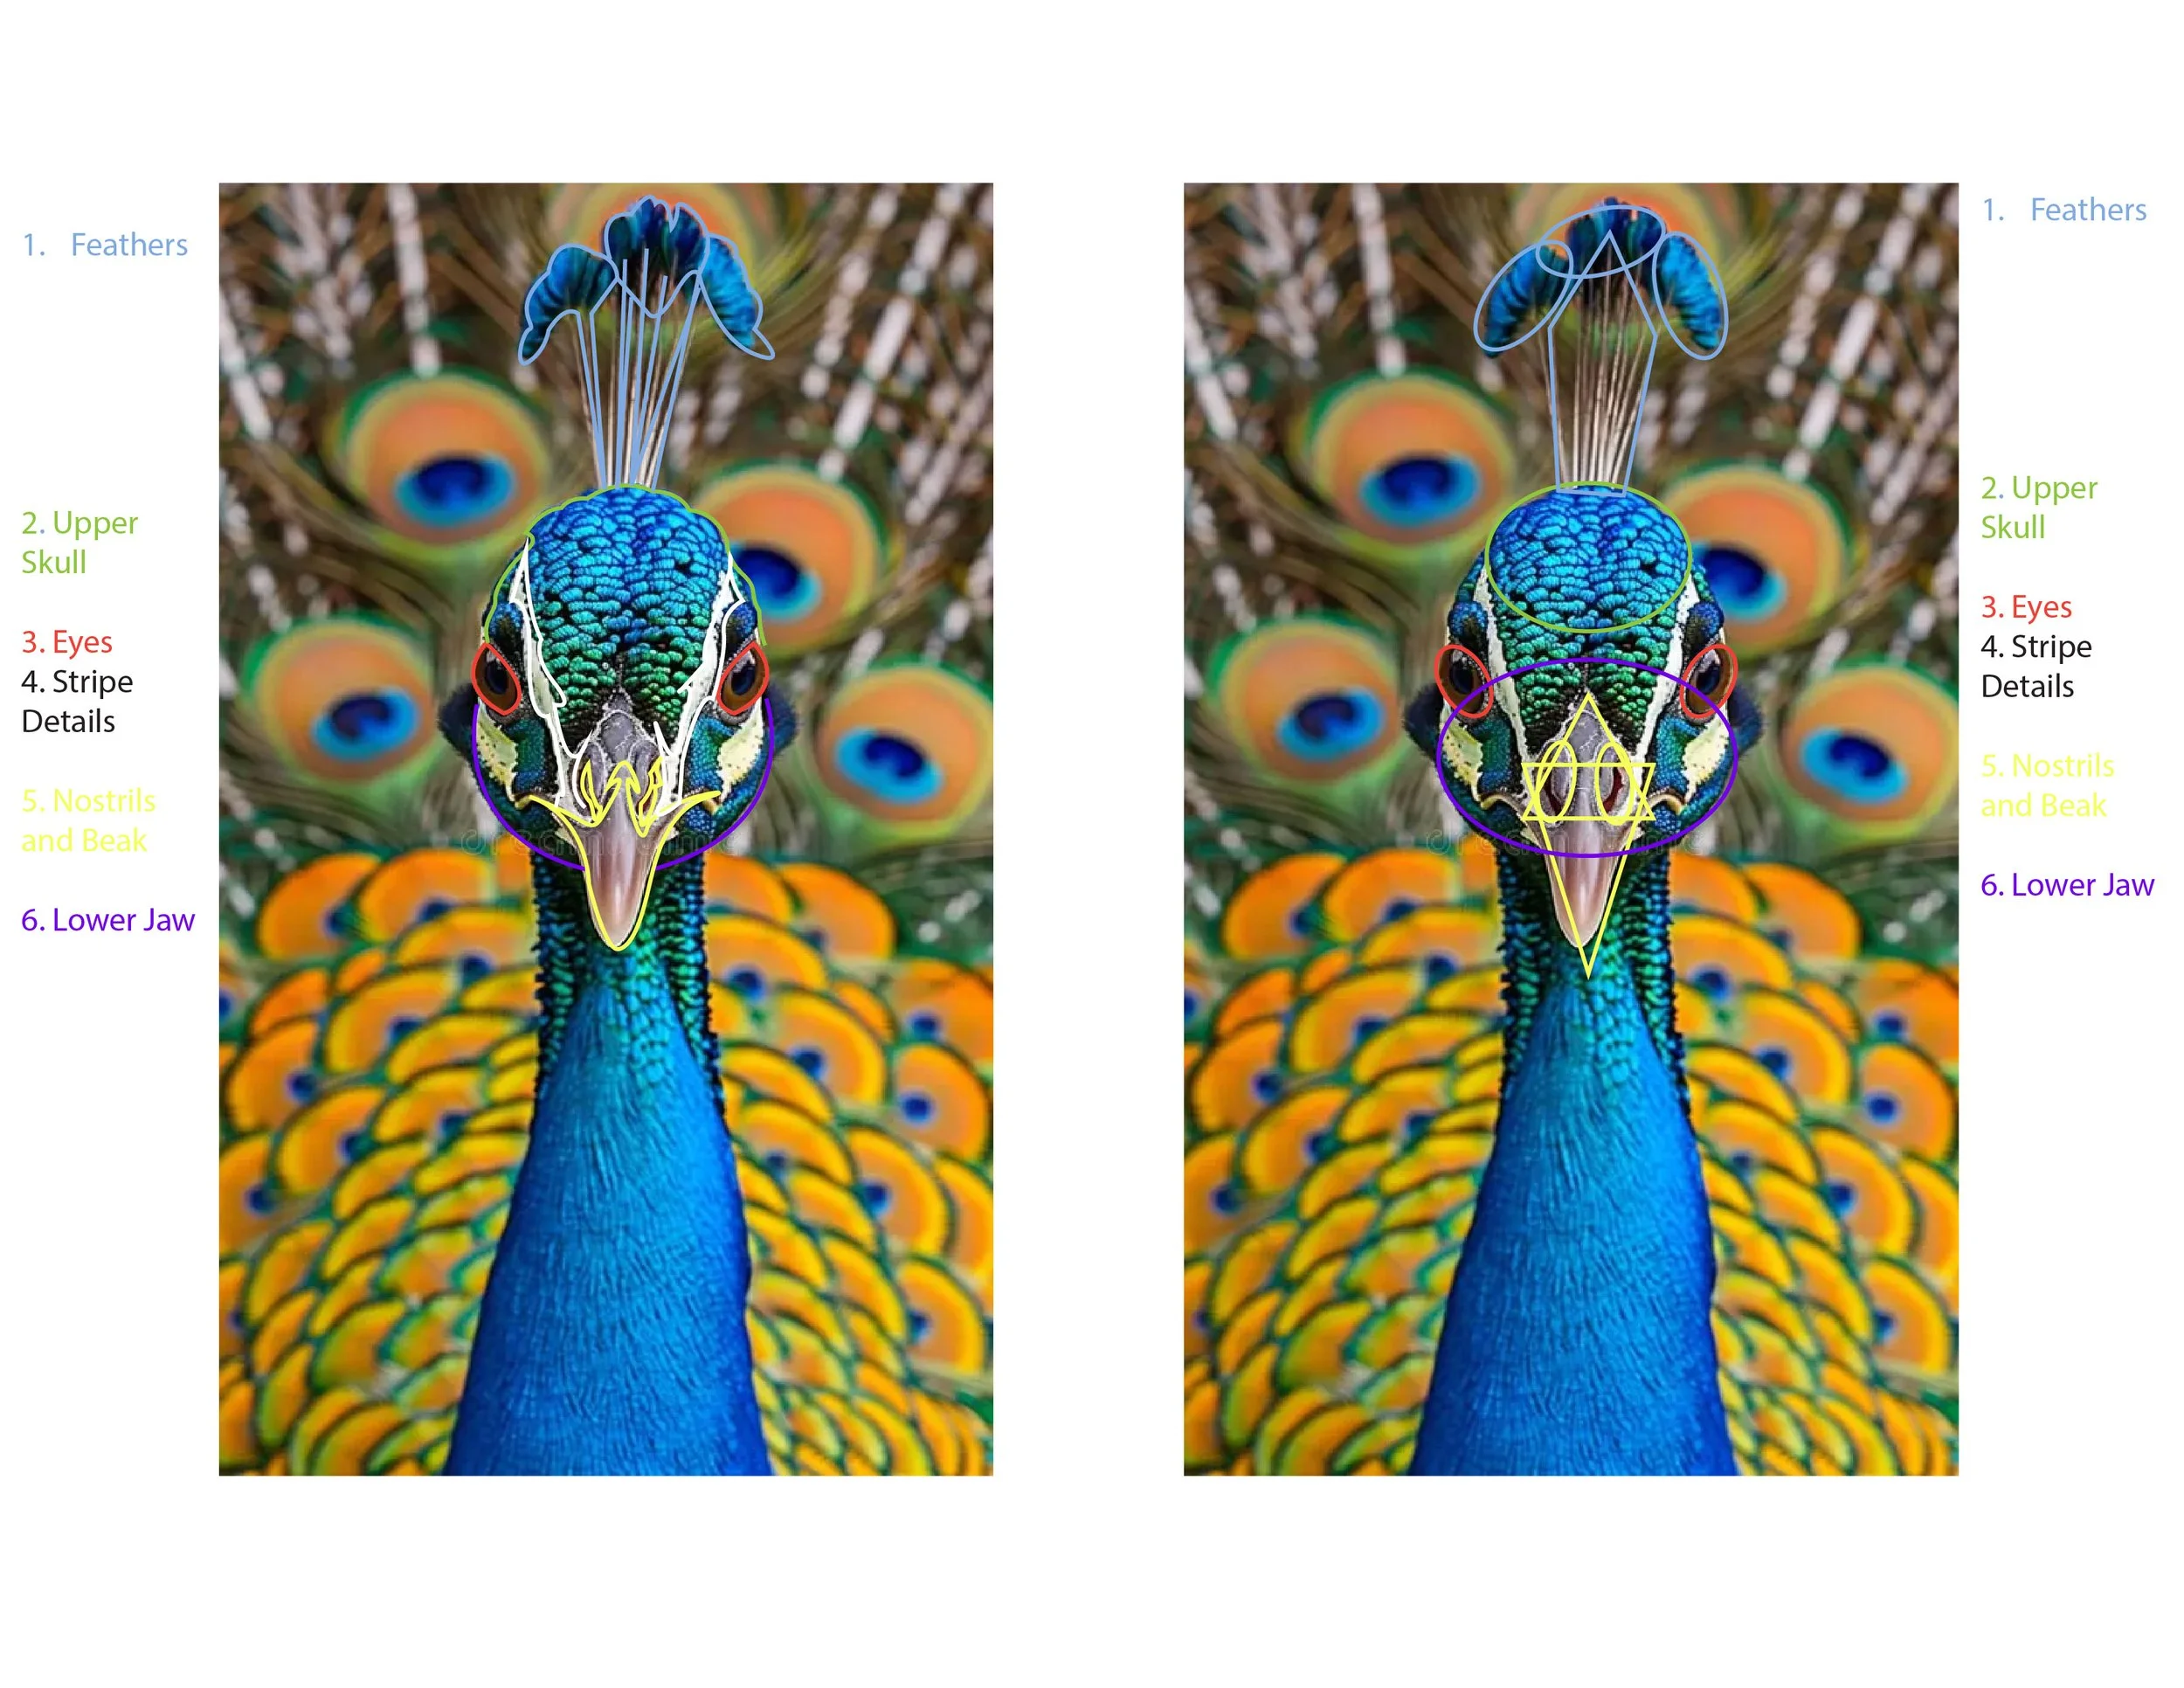
The 2D iterations began with the studying a tracing of the front and side view of the Peacock. The focus of the several iterations was to spot differences or various styles that could express the unique features of the animal that would later be used in the style that was continued in the 3D iterations.
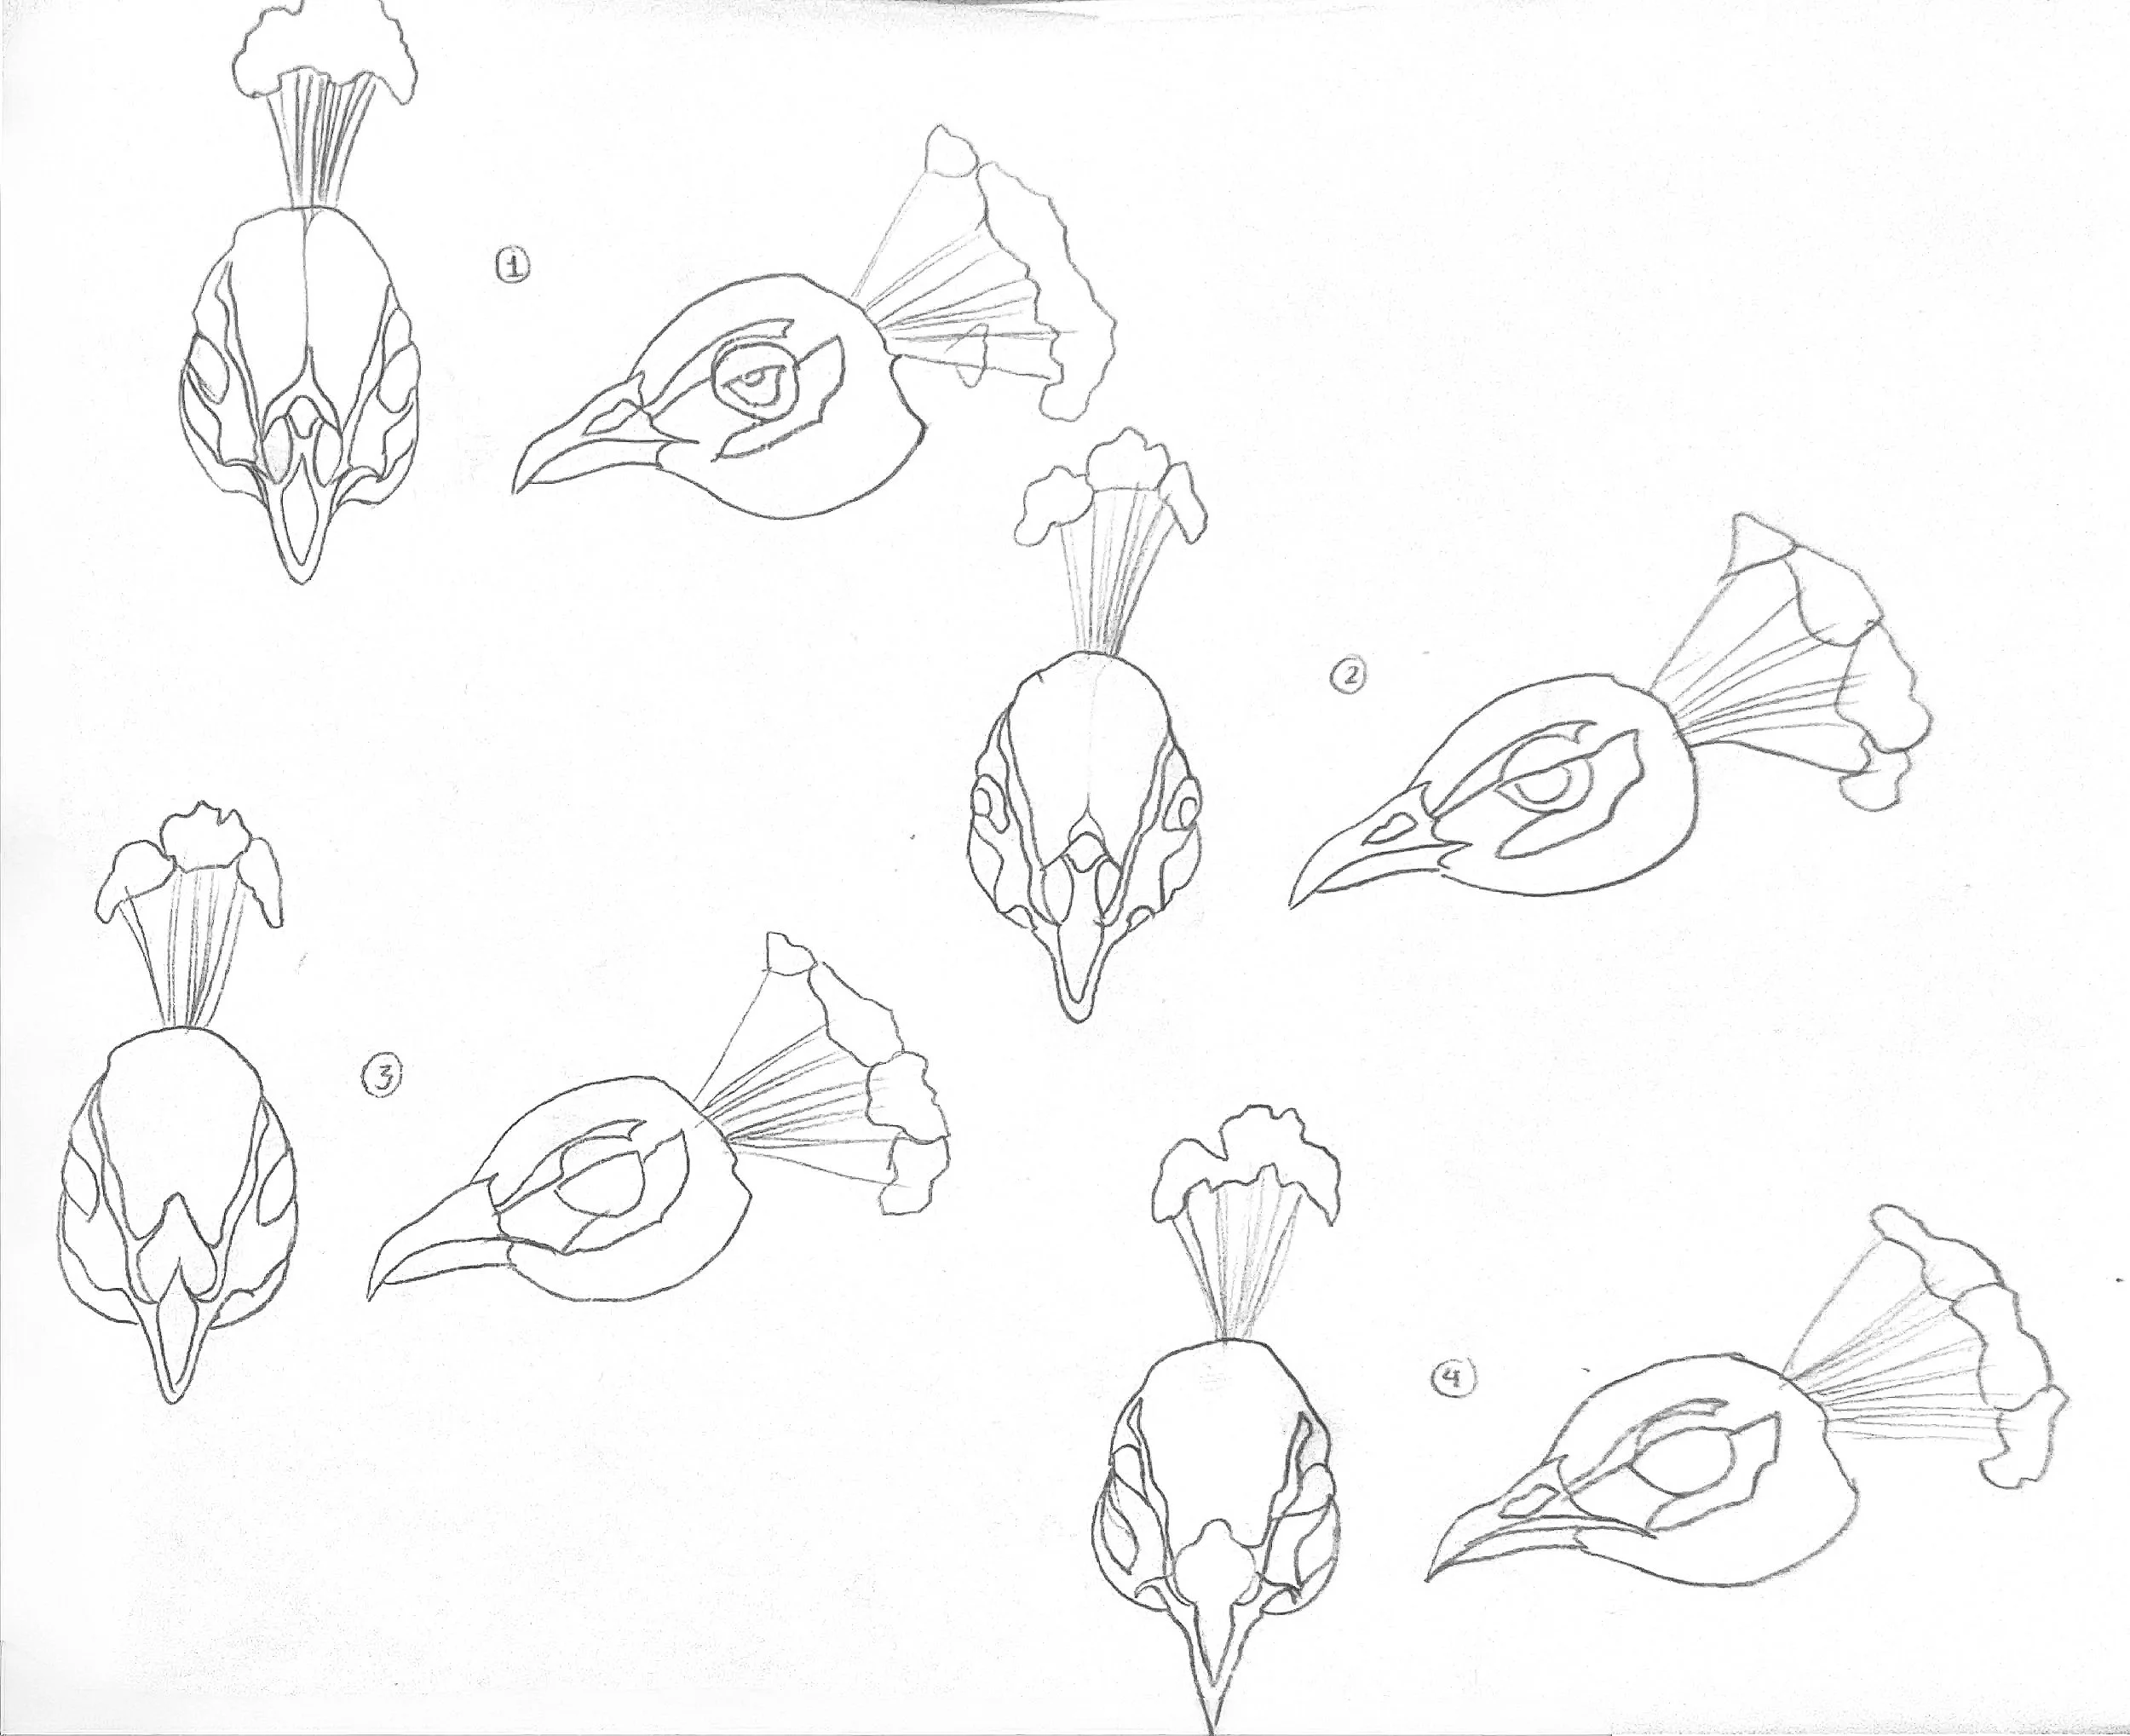
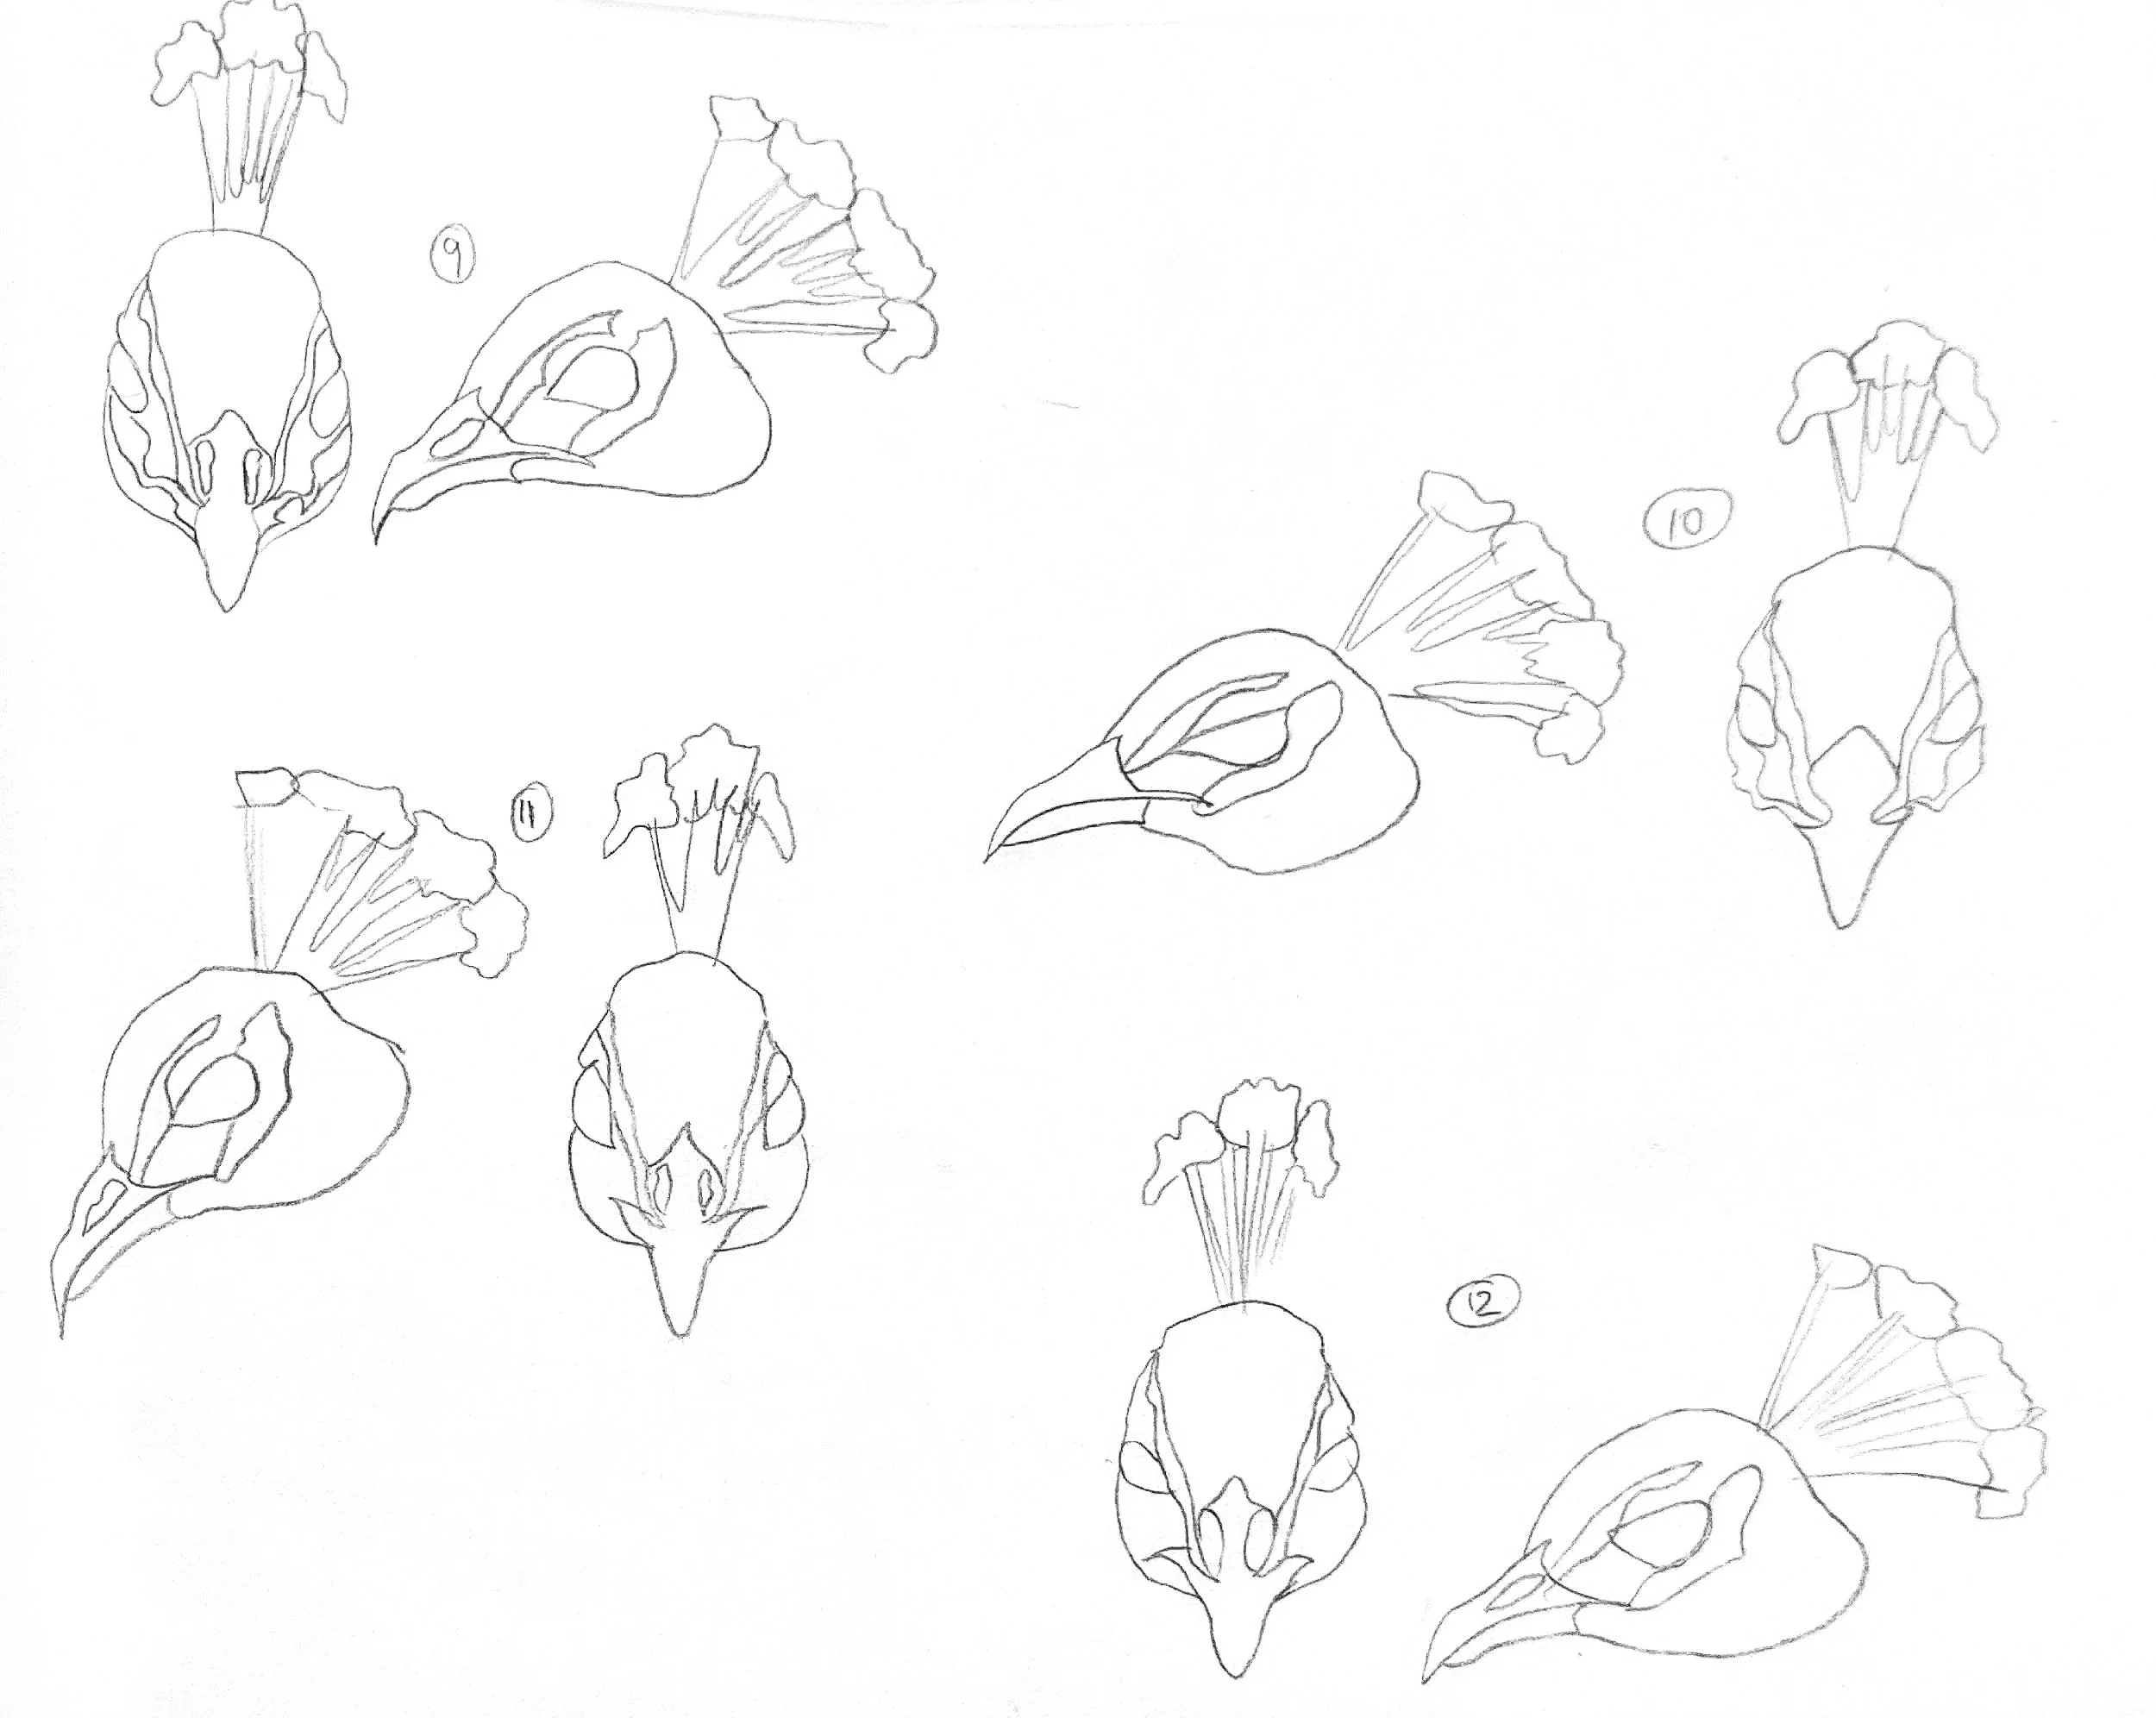
The other part of this step was to study the organic shapes and the overall geometric shapes found in the face. This step showcased the overall layout of the face and acted as a starting point to then add more intricate shapes and details on top of those shapes.
IDEATION AND INSPIRATION
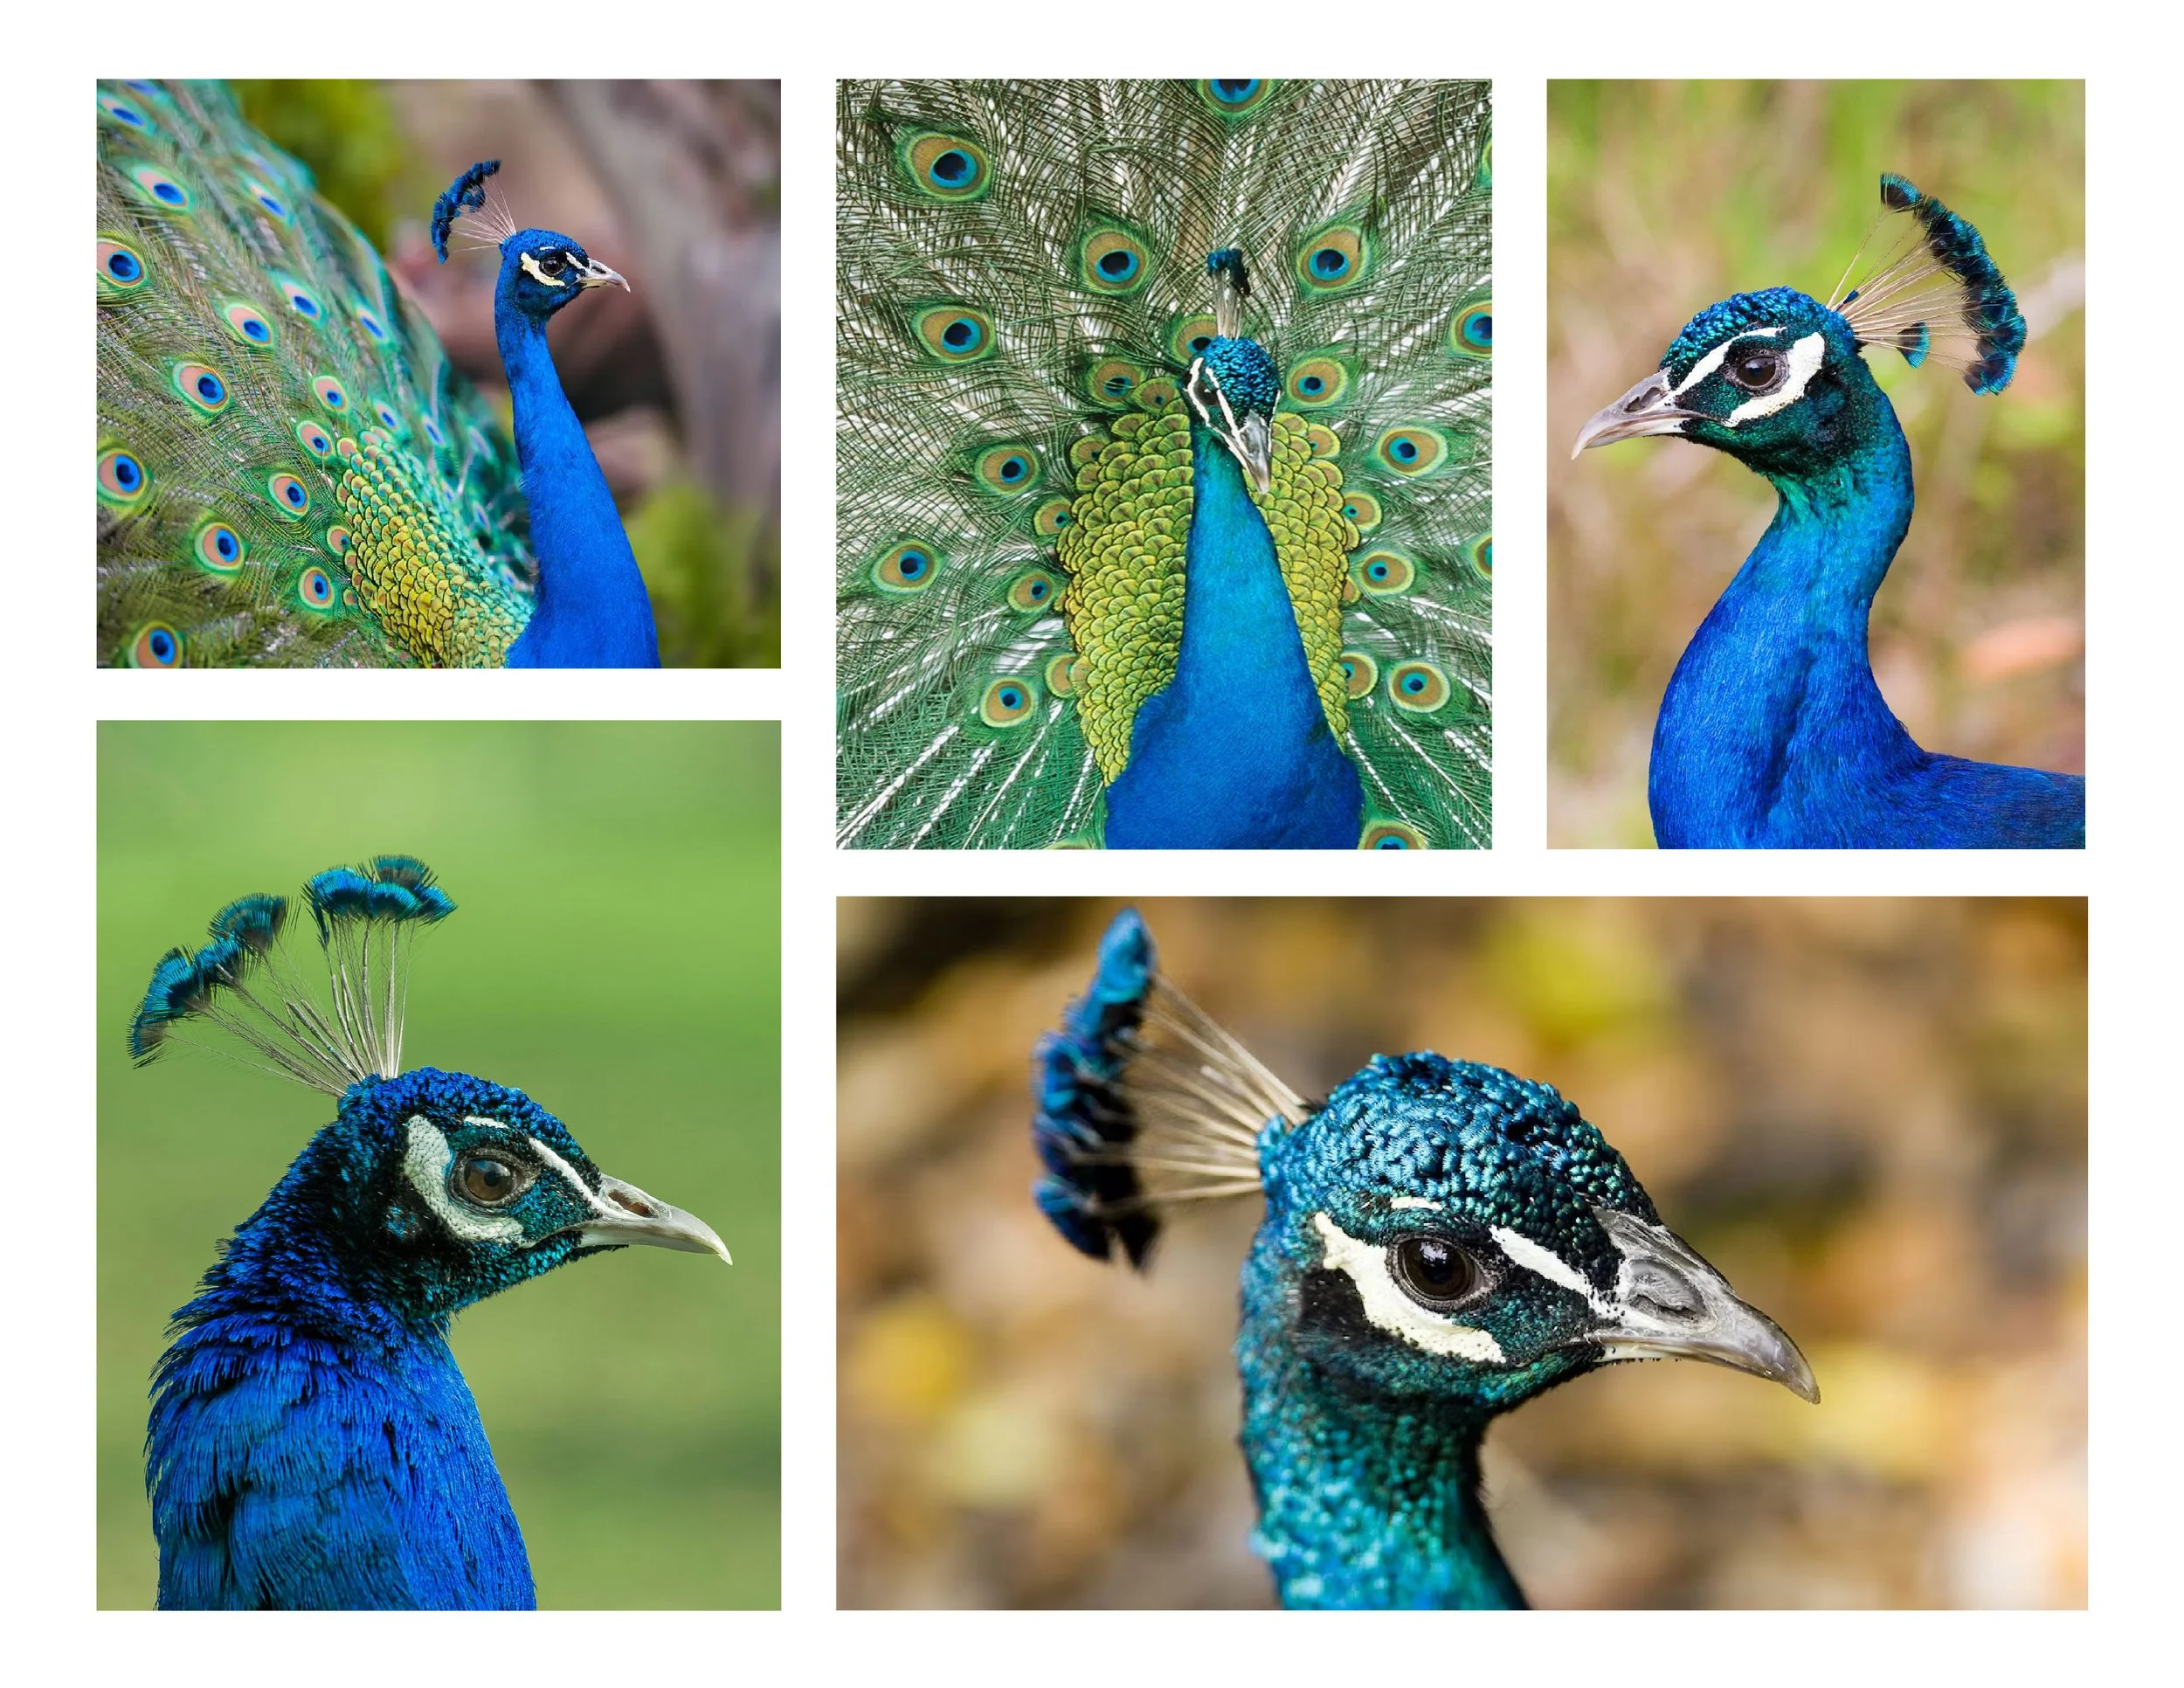
The peacock is a staple of India as it is commonly found in artwork or jewelry due to its graceful and intricate nature. One of my biggest aspirations as a person and as a designer is to incorporate Indian culture and design into my life and work. The first inspiration board showcase various peacocks from different angles in order to capture their unique features to help better understand their facial harmony.
TRANSITION TO 2D
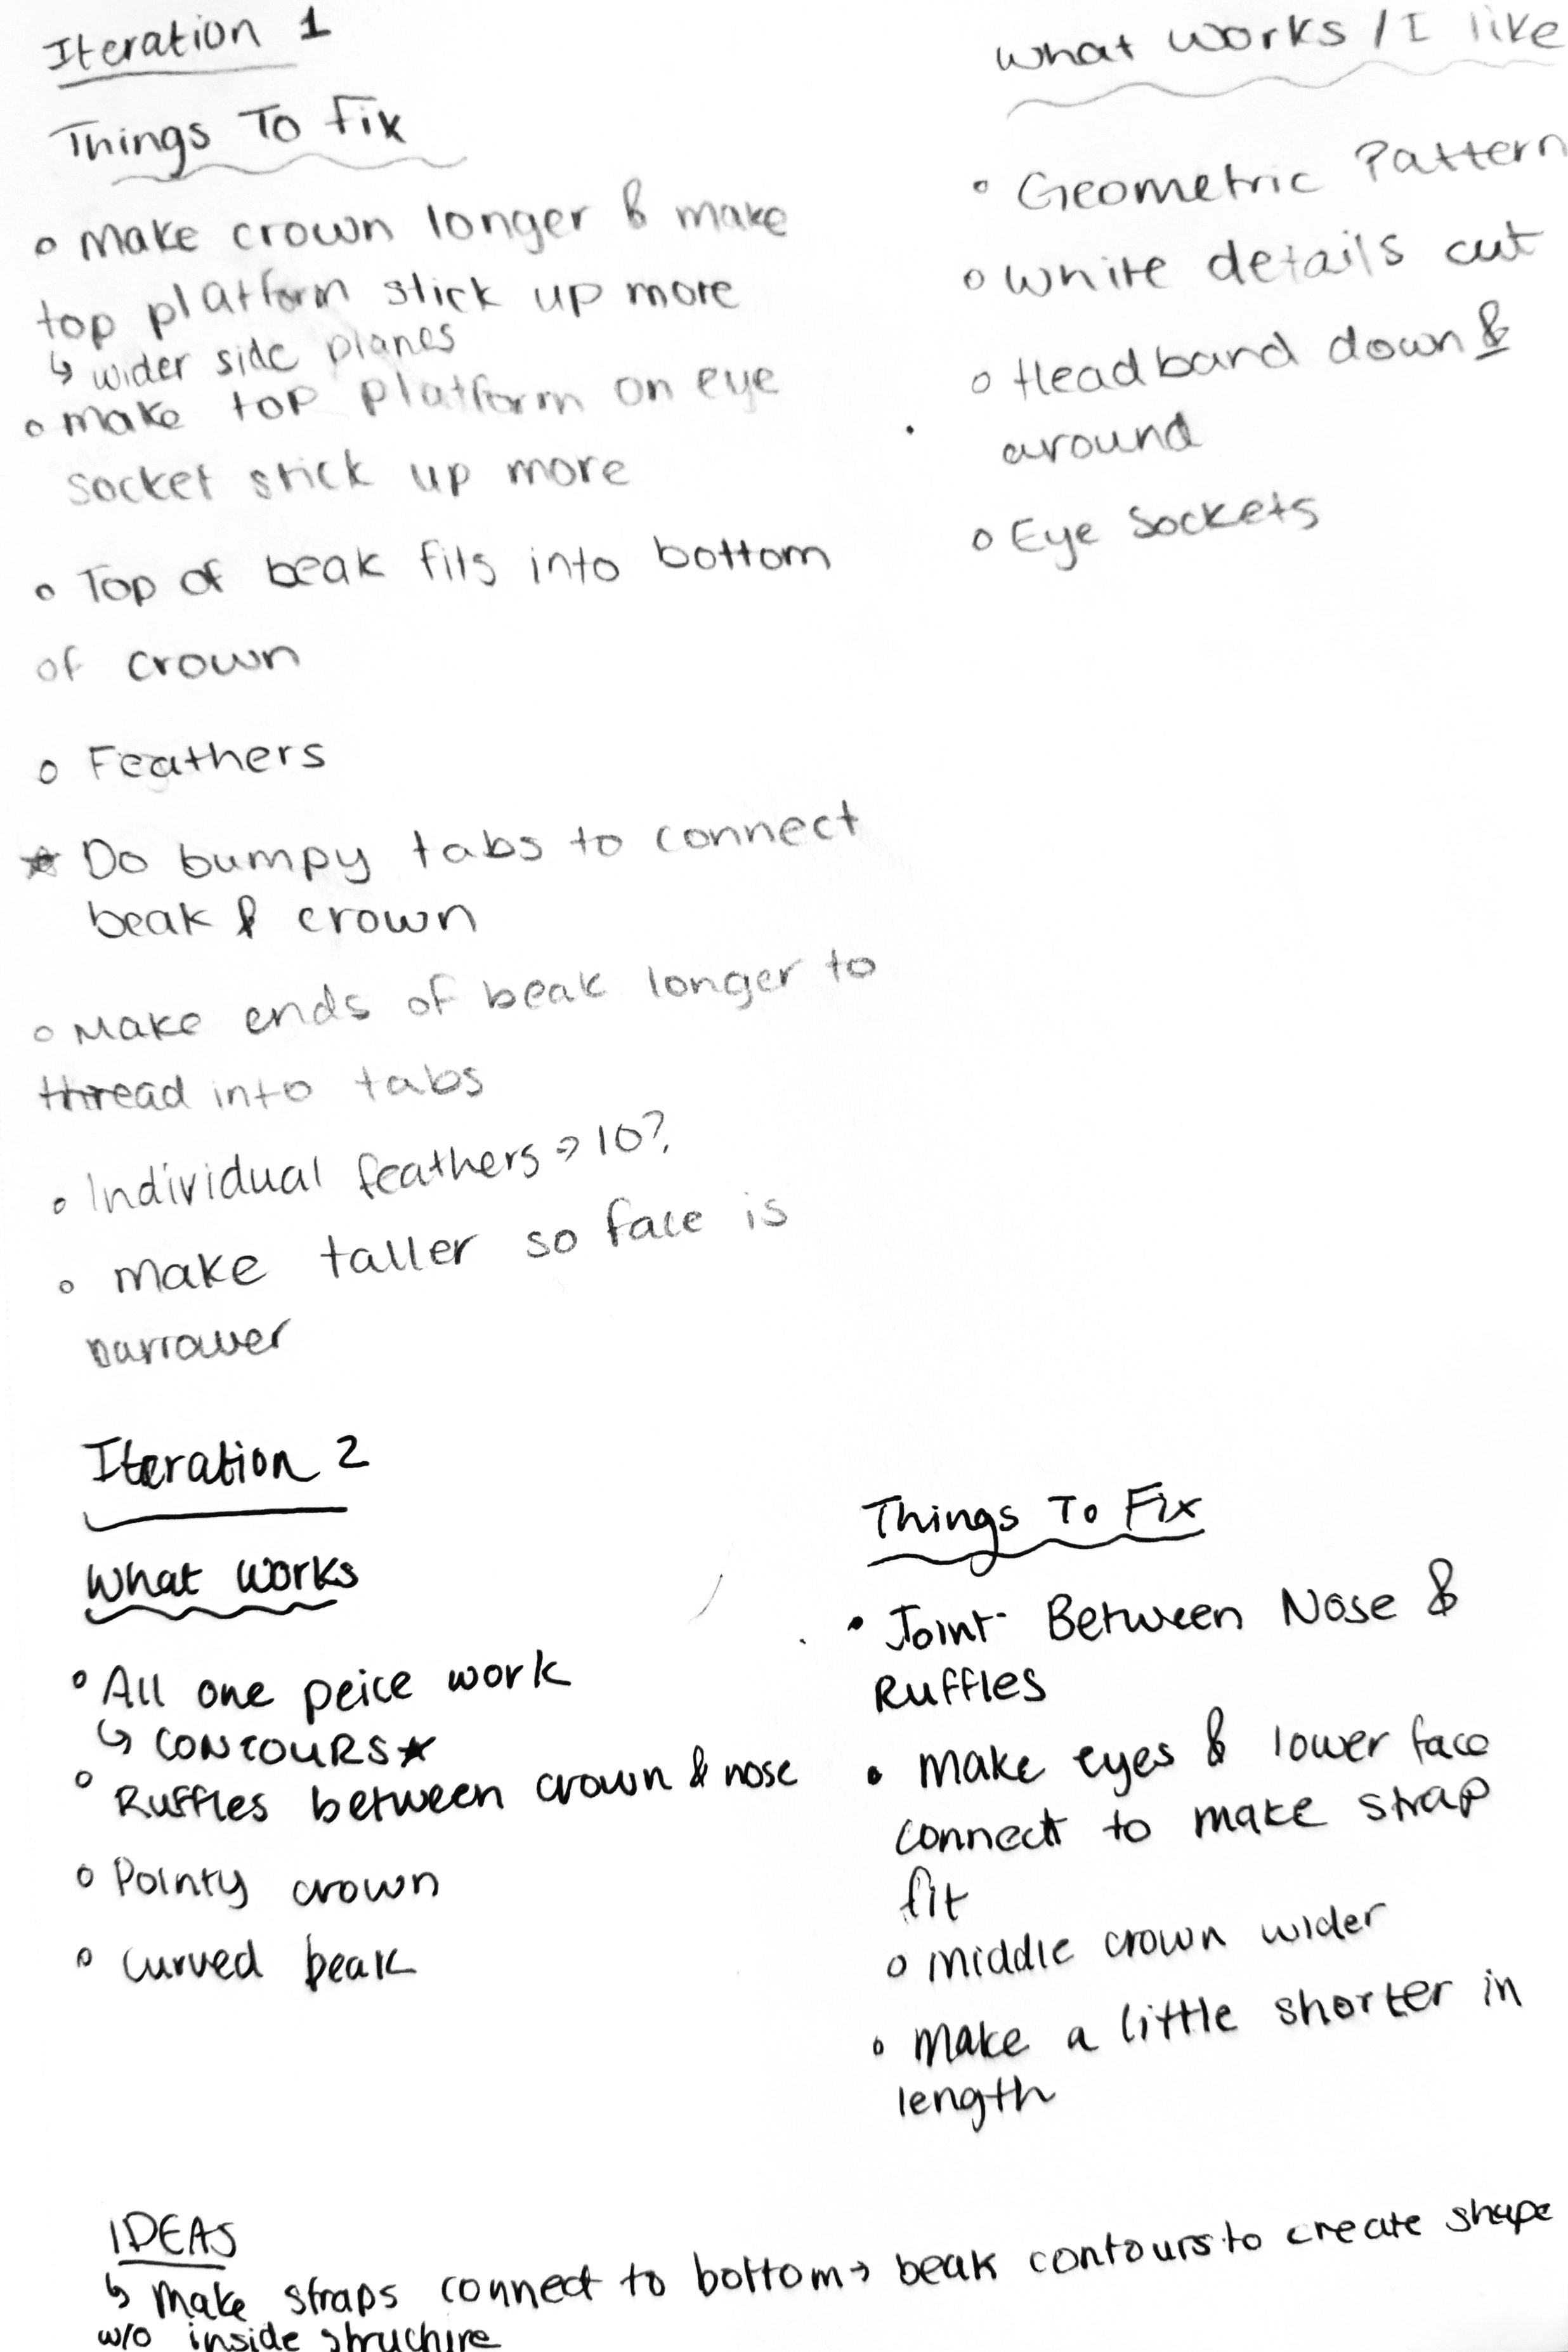
NOTES
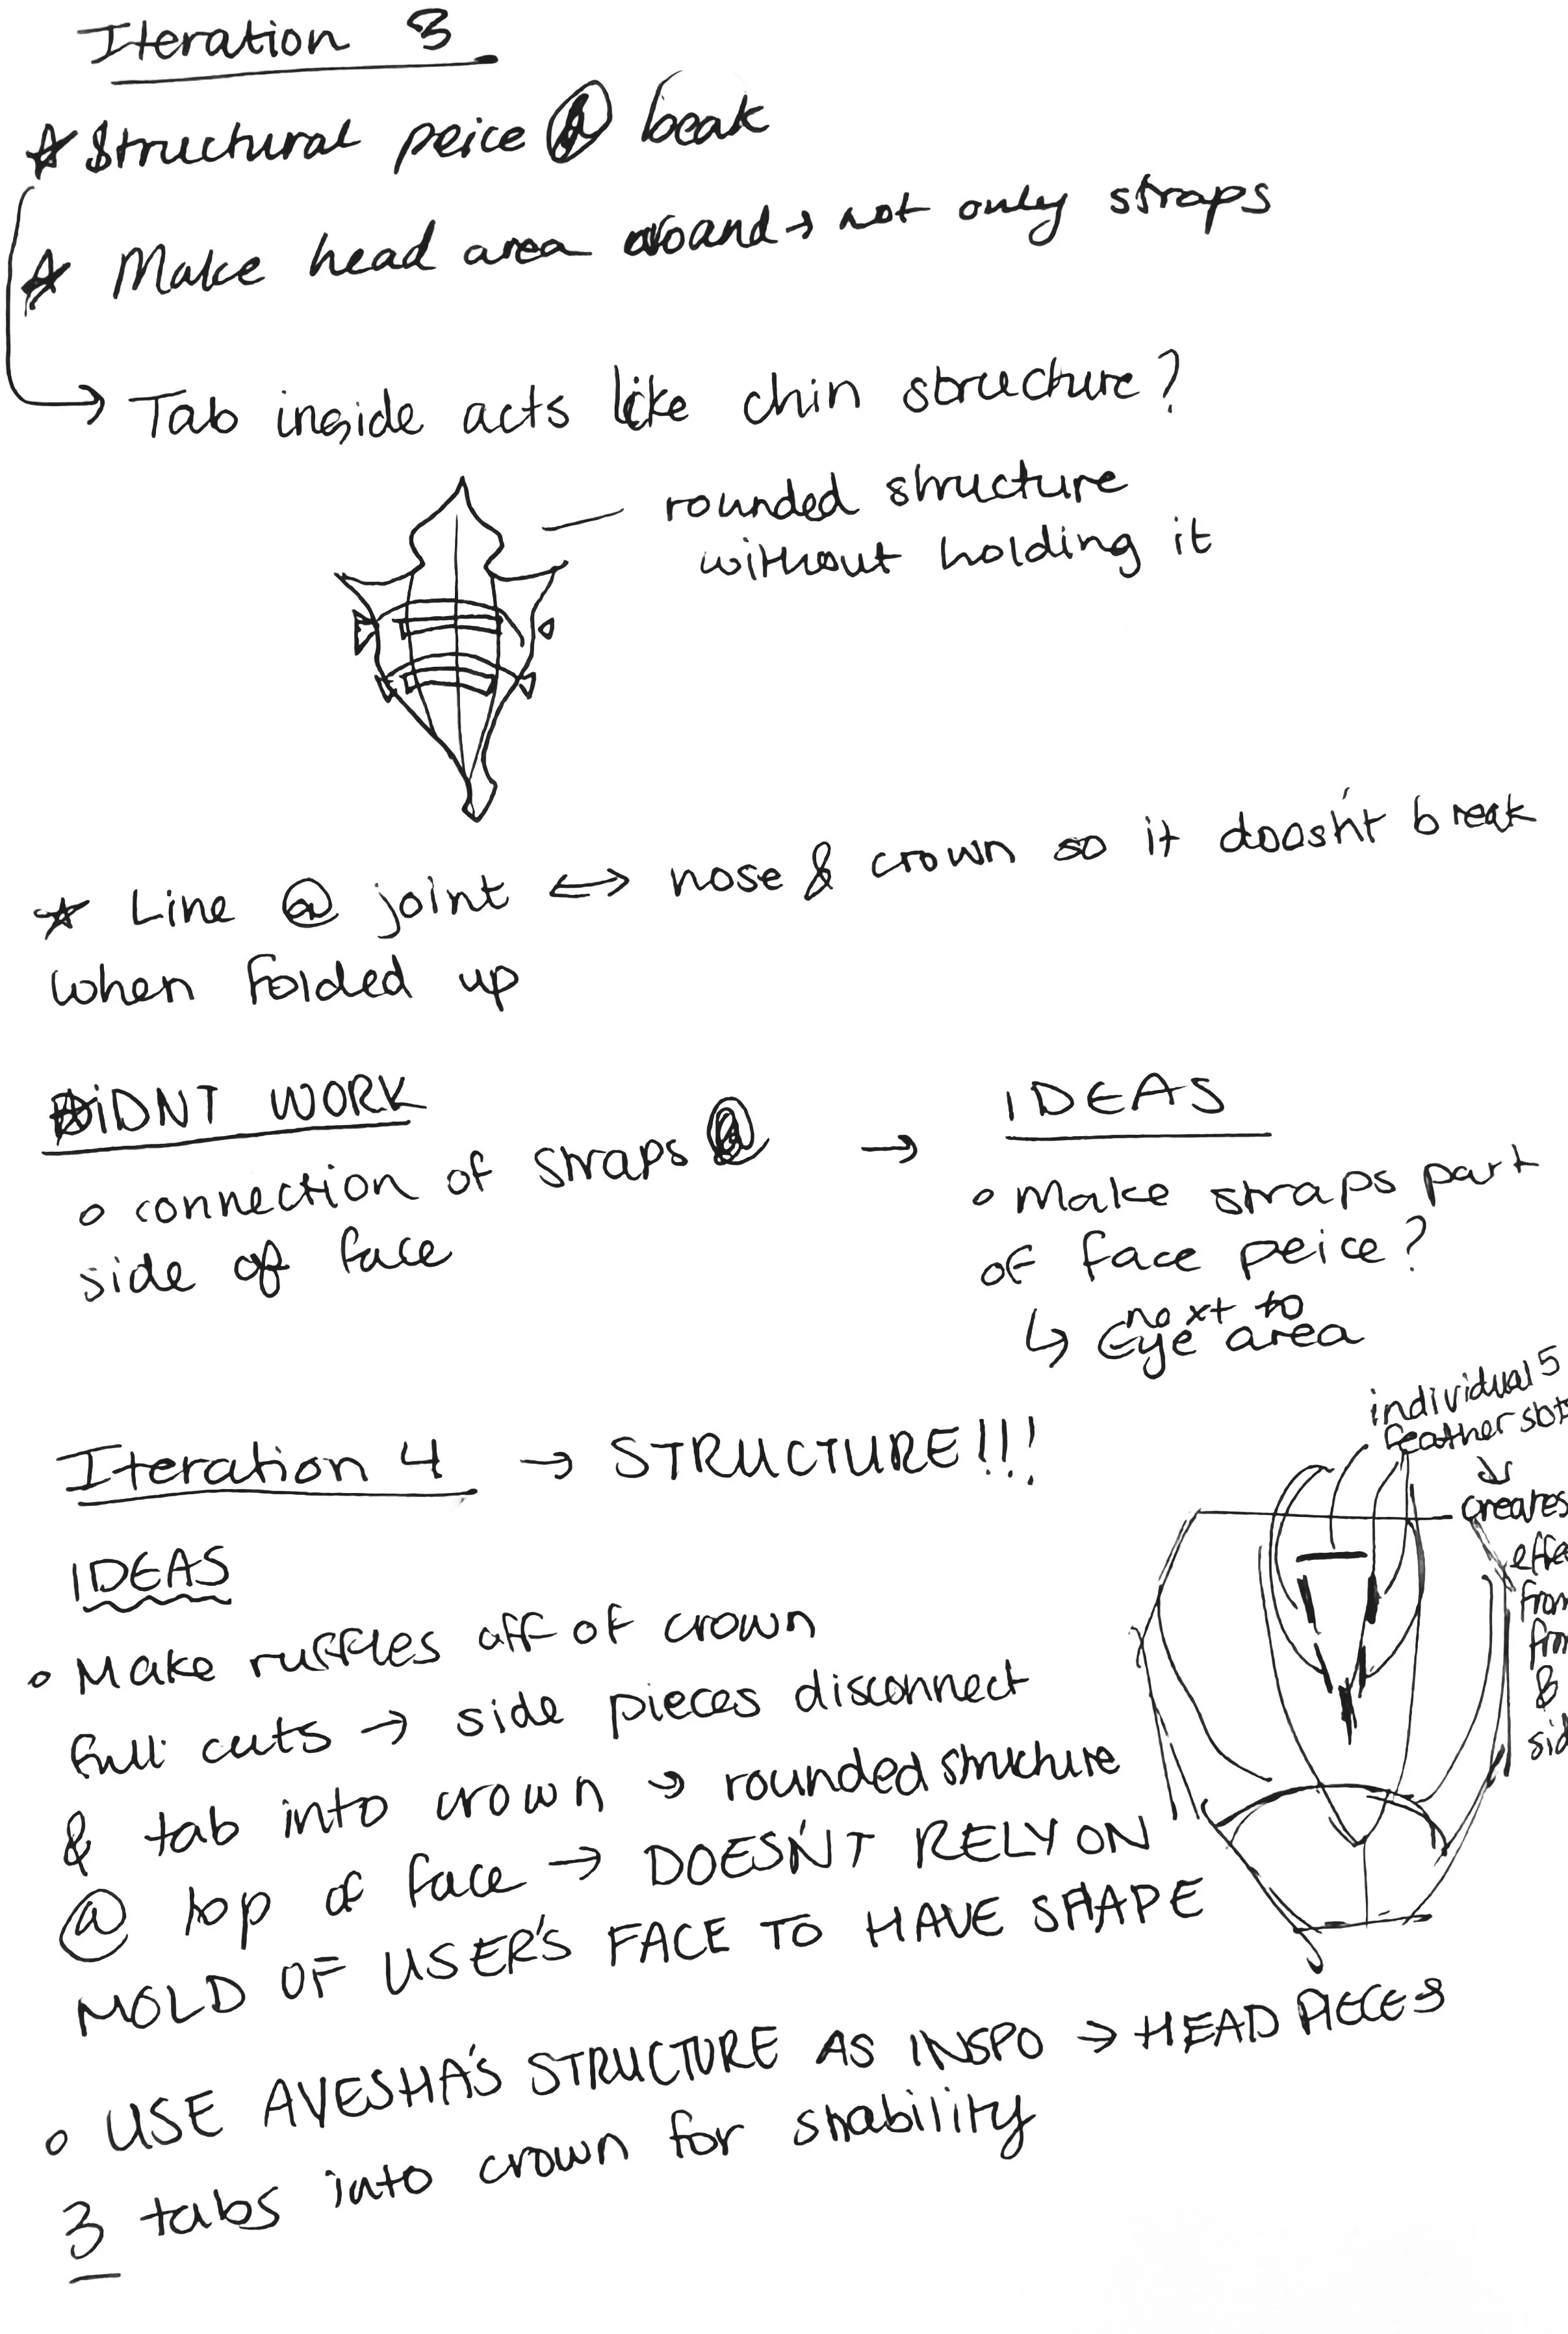
In the transition to 3D work, it was very helpful to write down ideas for different features of the Peacock, as well as document the things to change between versions of the mask. Solidifying the things that turned out well and the exact parts that needed to be changed made the planning for the next iteration more organized and thought out, also helped me remember any small thoughts or inspiration I found while working through the project.
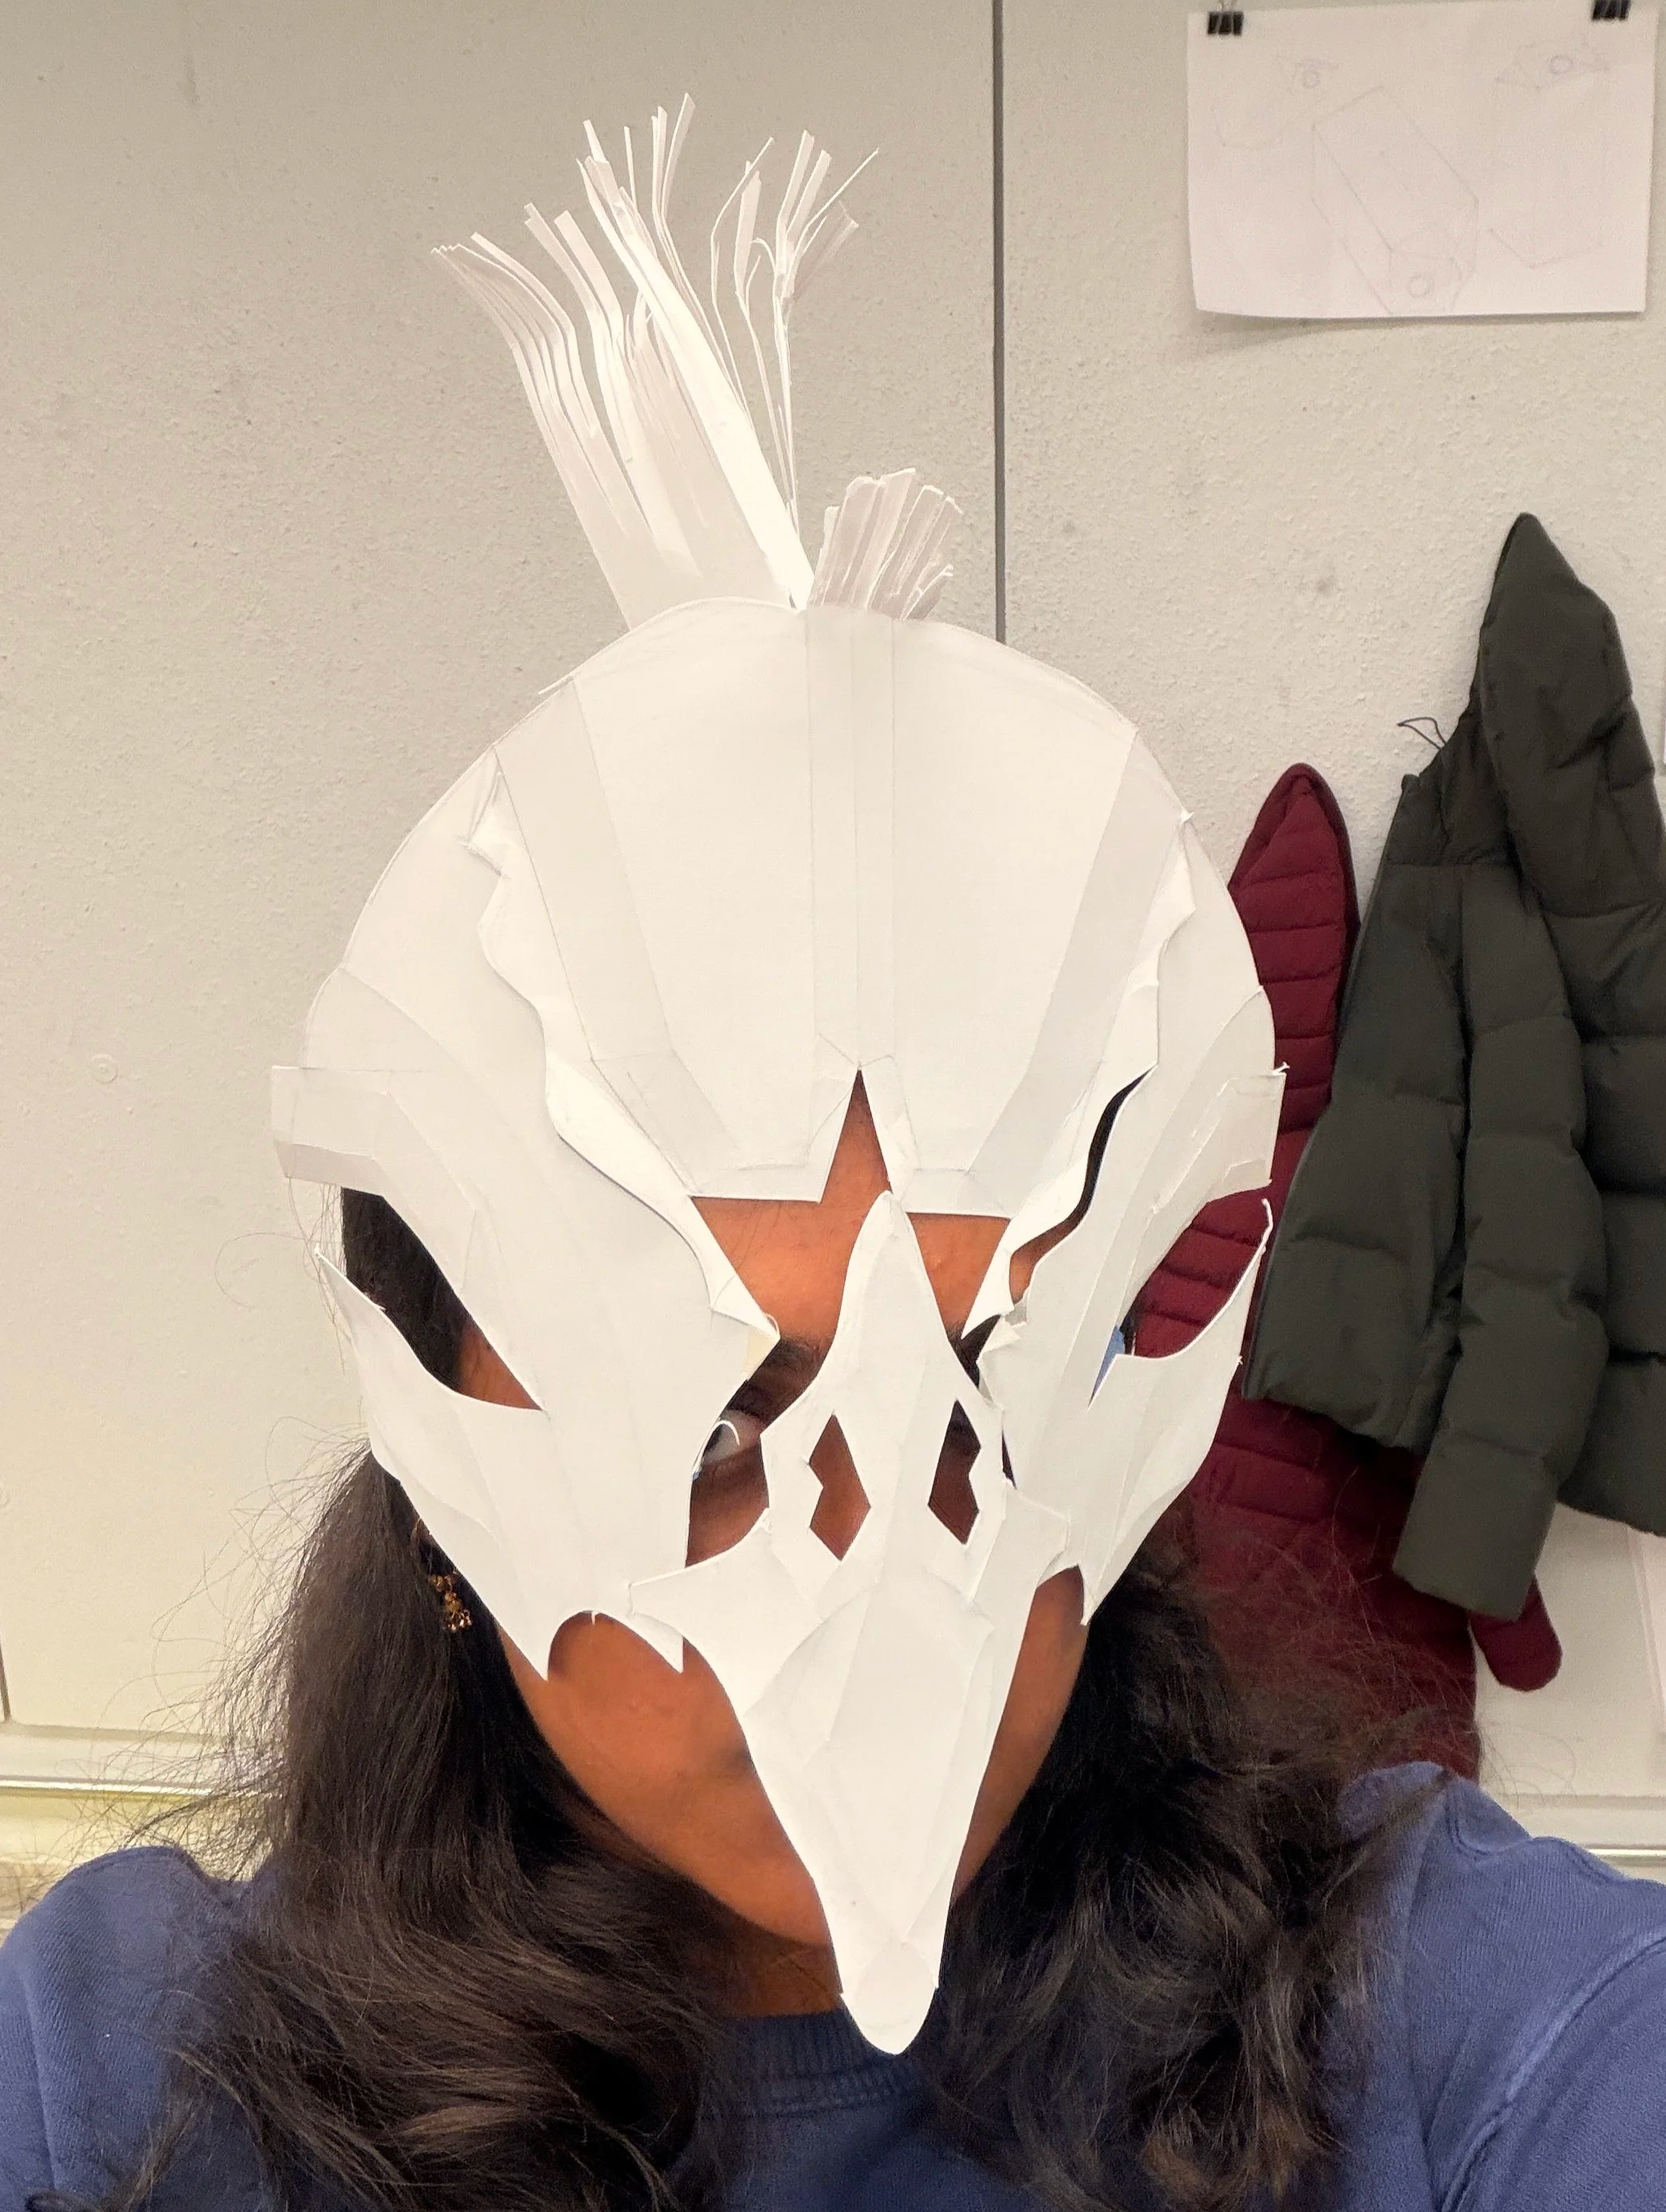
The main changes in this stage involved the height of the mask and the beak contours. Experiments involved fitting the mask to several classmates, as well as working with different curves and lines to better duplicate the nature of the beak geometrically.
3D
ITERATIONS
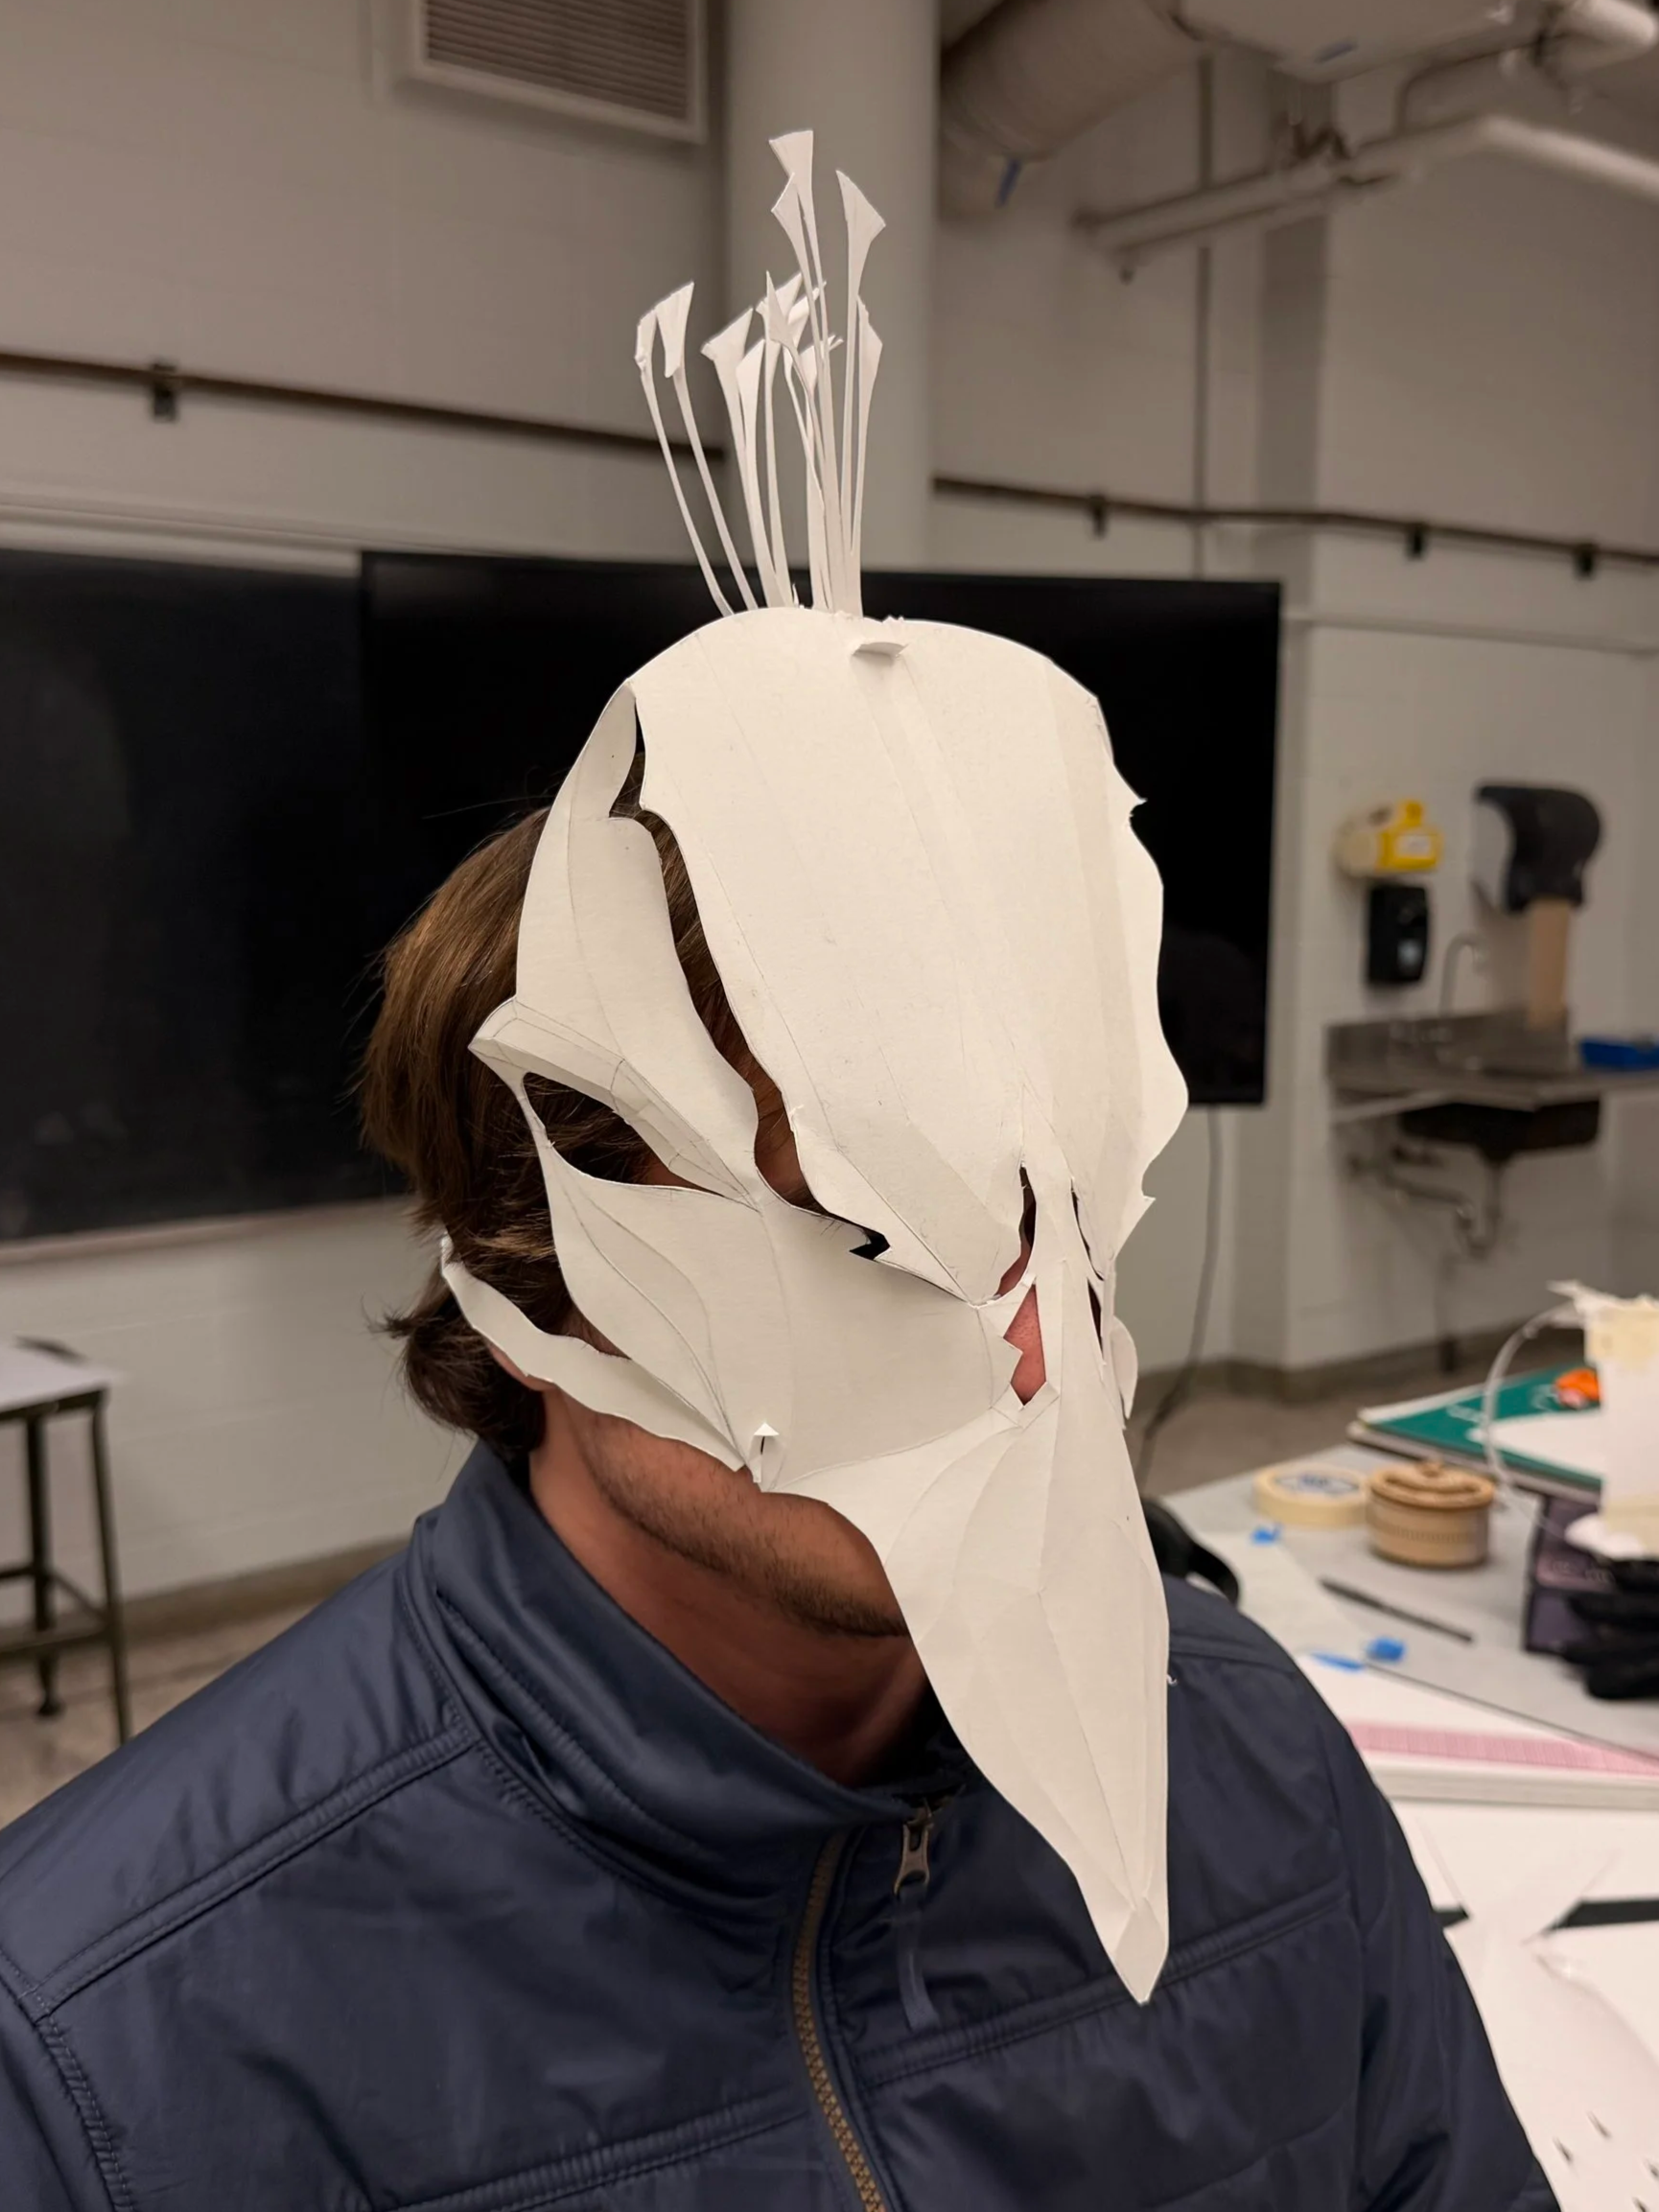
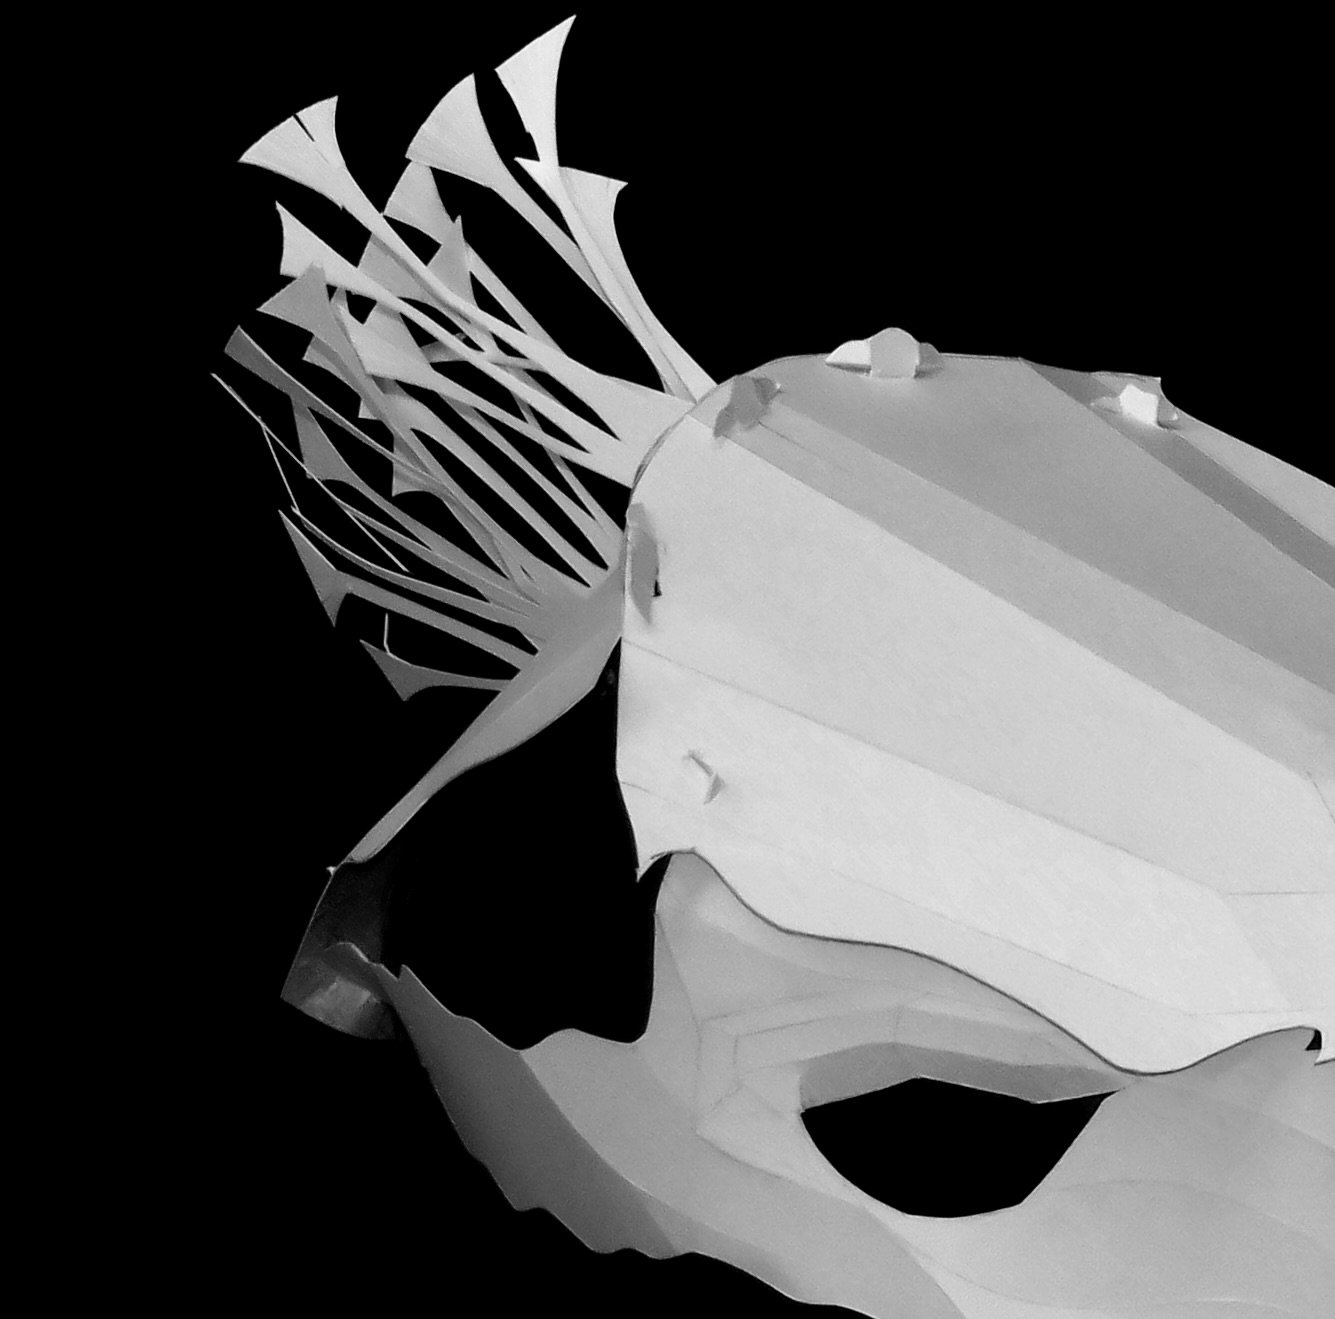
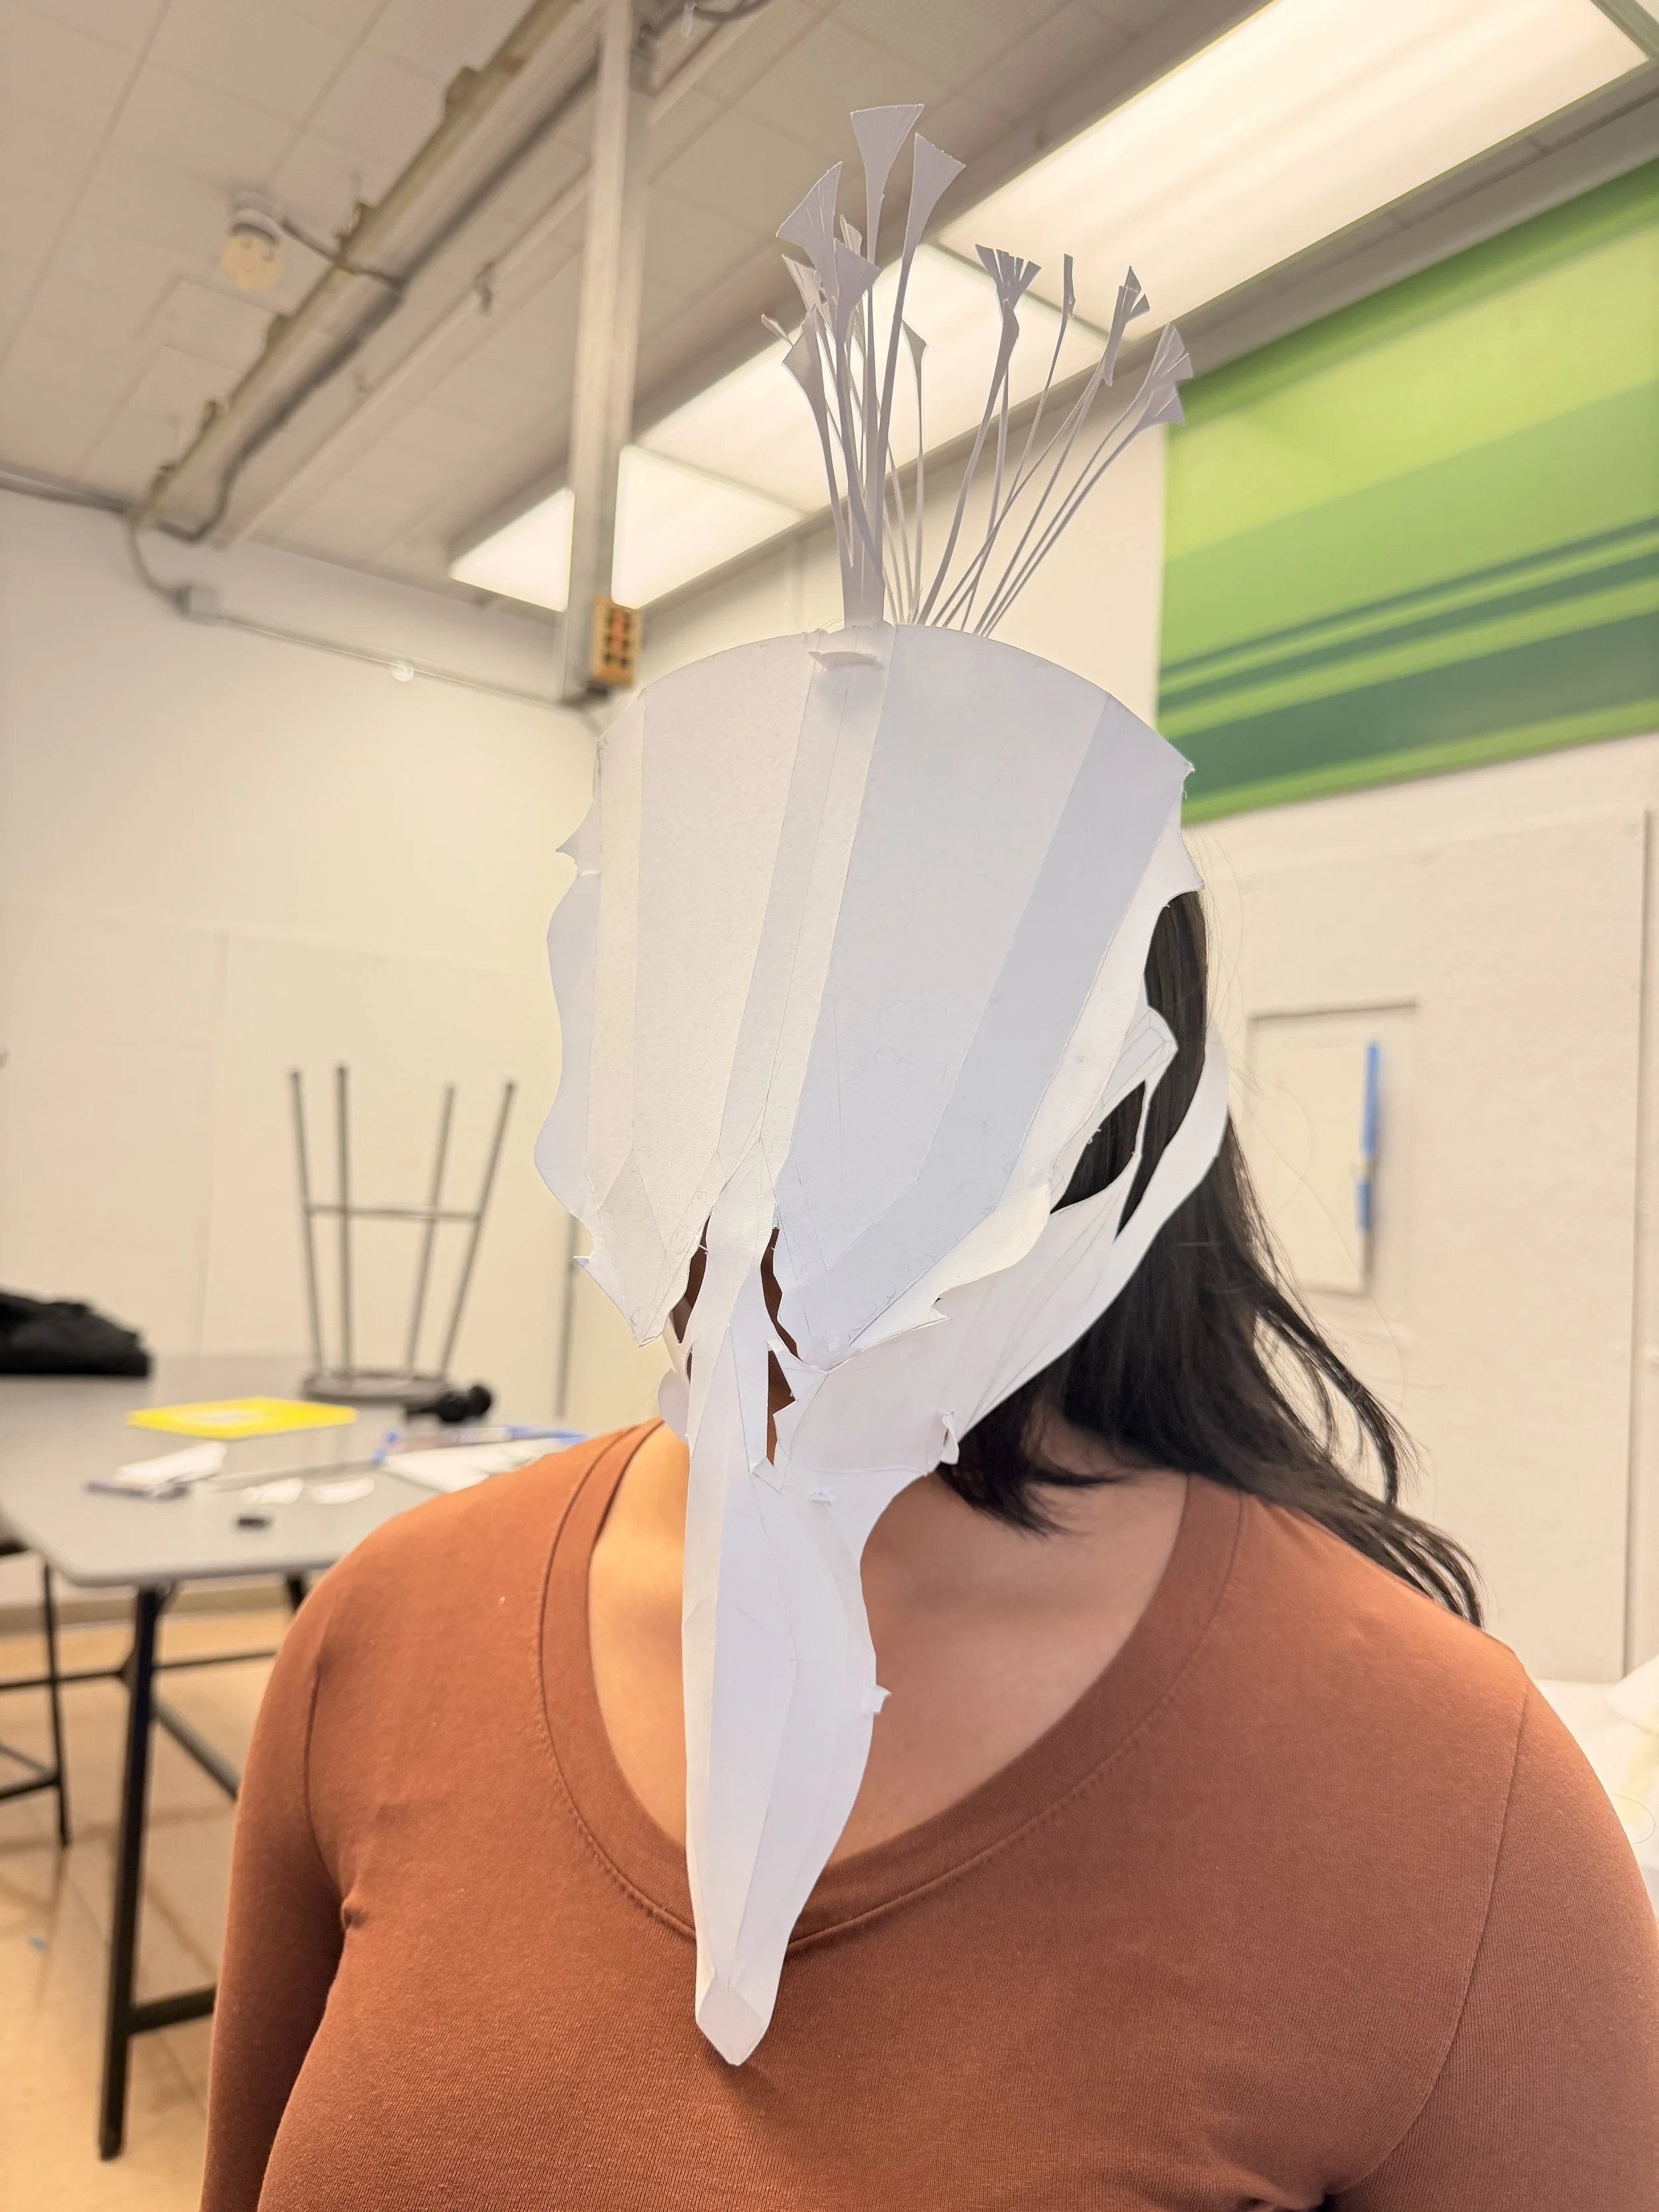
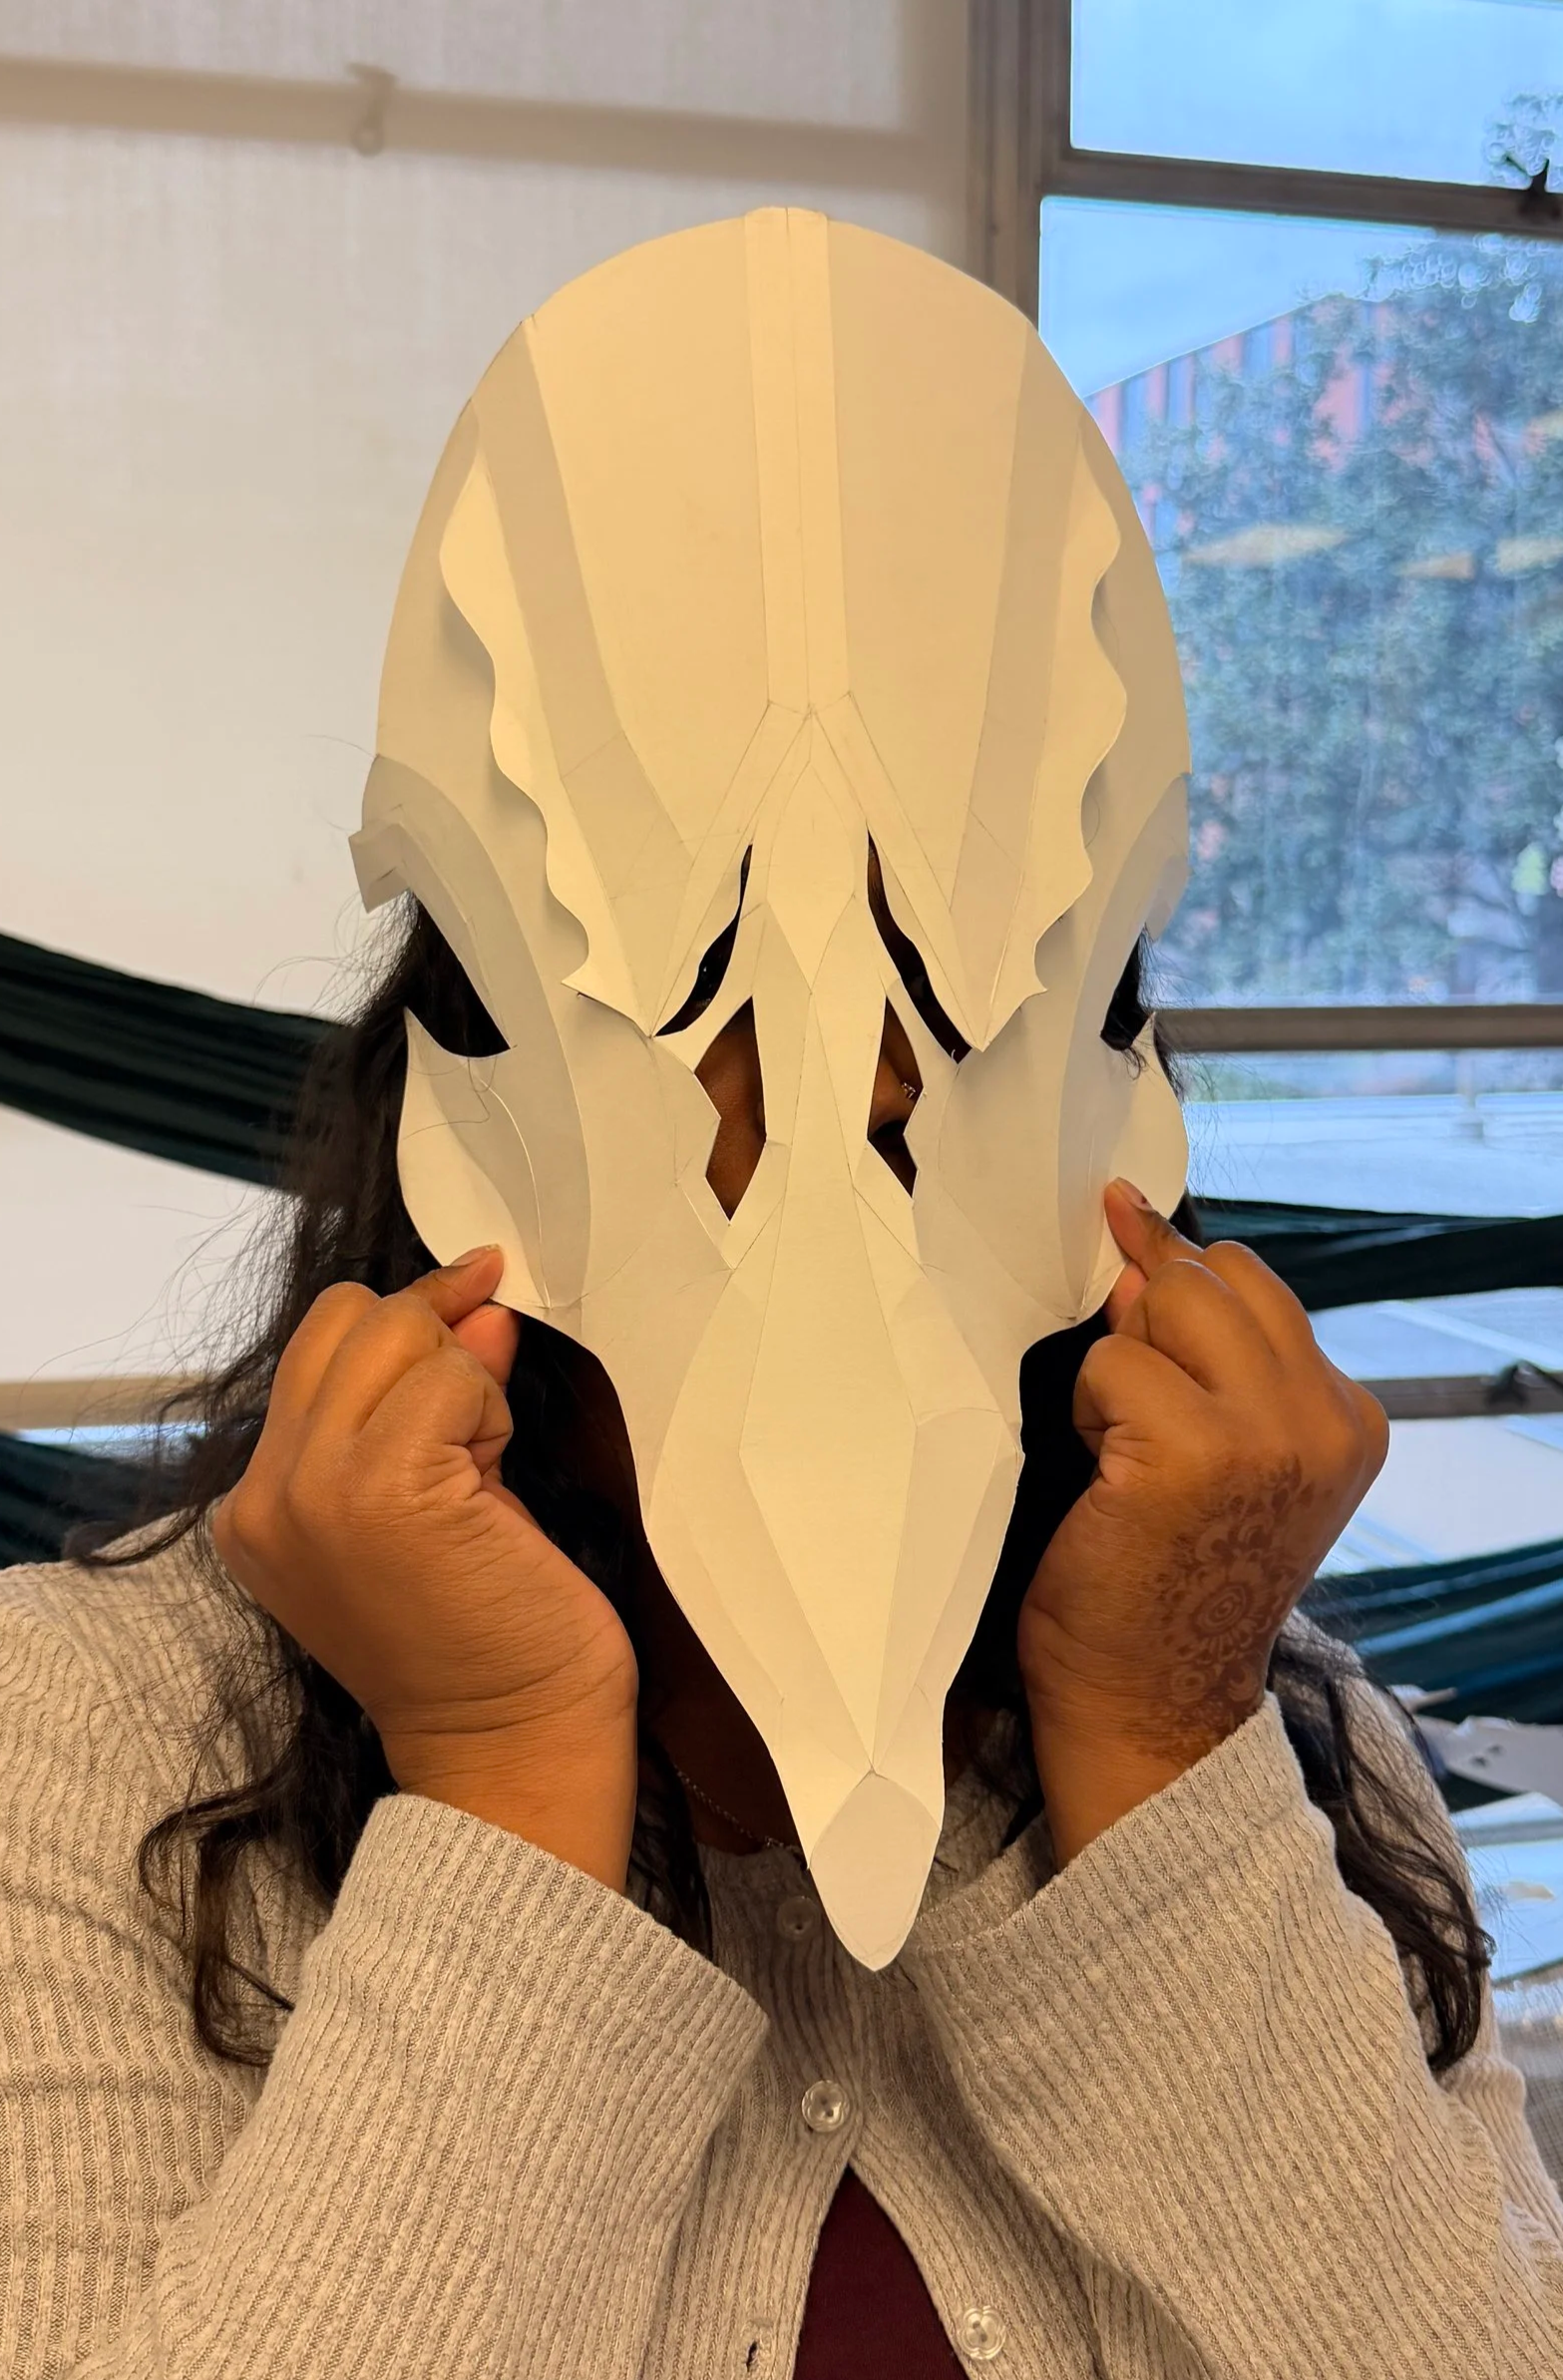
In these final stages, the goal was to create tabs to sustain shapes that could not be solely made through cuts on a single sheet of paper (such as the beak and connection of the side pieces to the crown). The design aspect of the tabs was shaping the tabs like ruffles as seen in the ideation boards. In the last prototype, a head piece was added to create a more “full” mask, rather than a face piece with straps as as shown in earlier iterations. The final step was to find a simple and comfortable way to connect the face piece to the head piece, which ended up repurposing the former straps into feather-like ruffles incorporated into the face piece.
FINAL STAGES
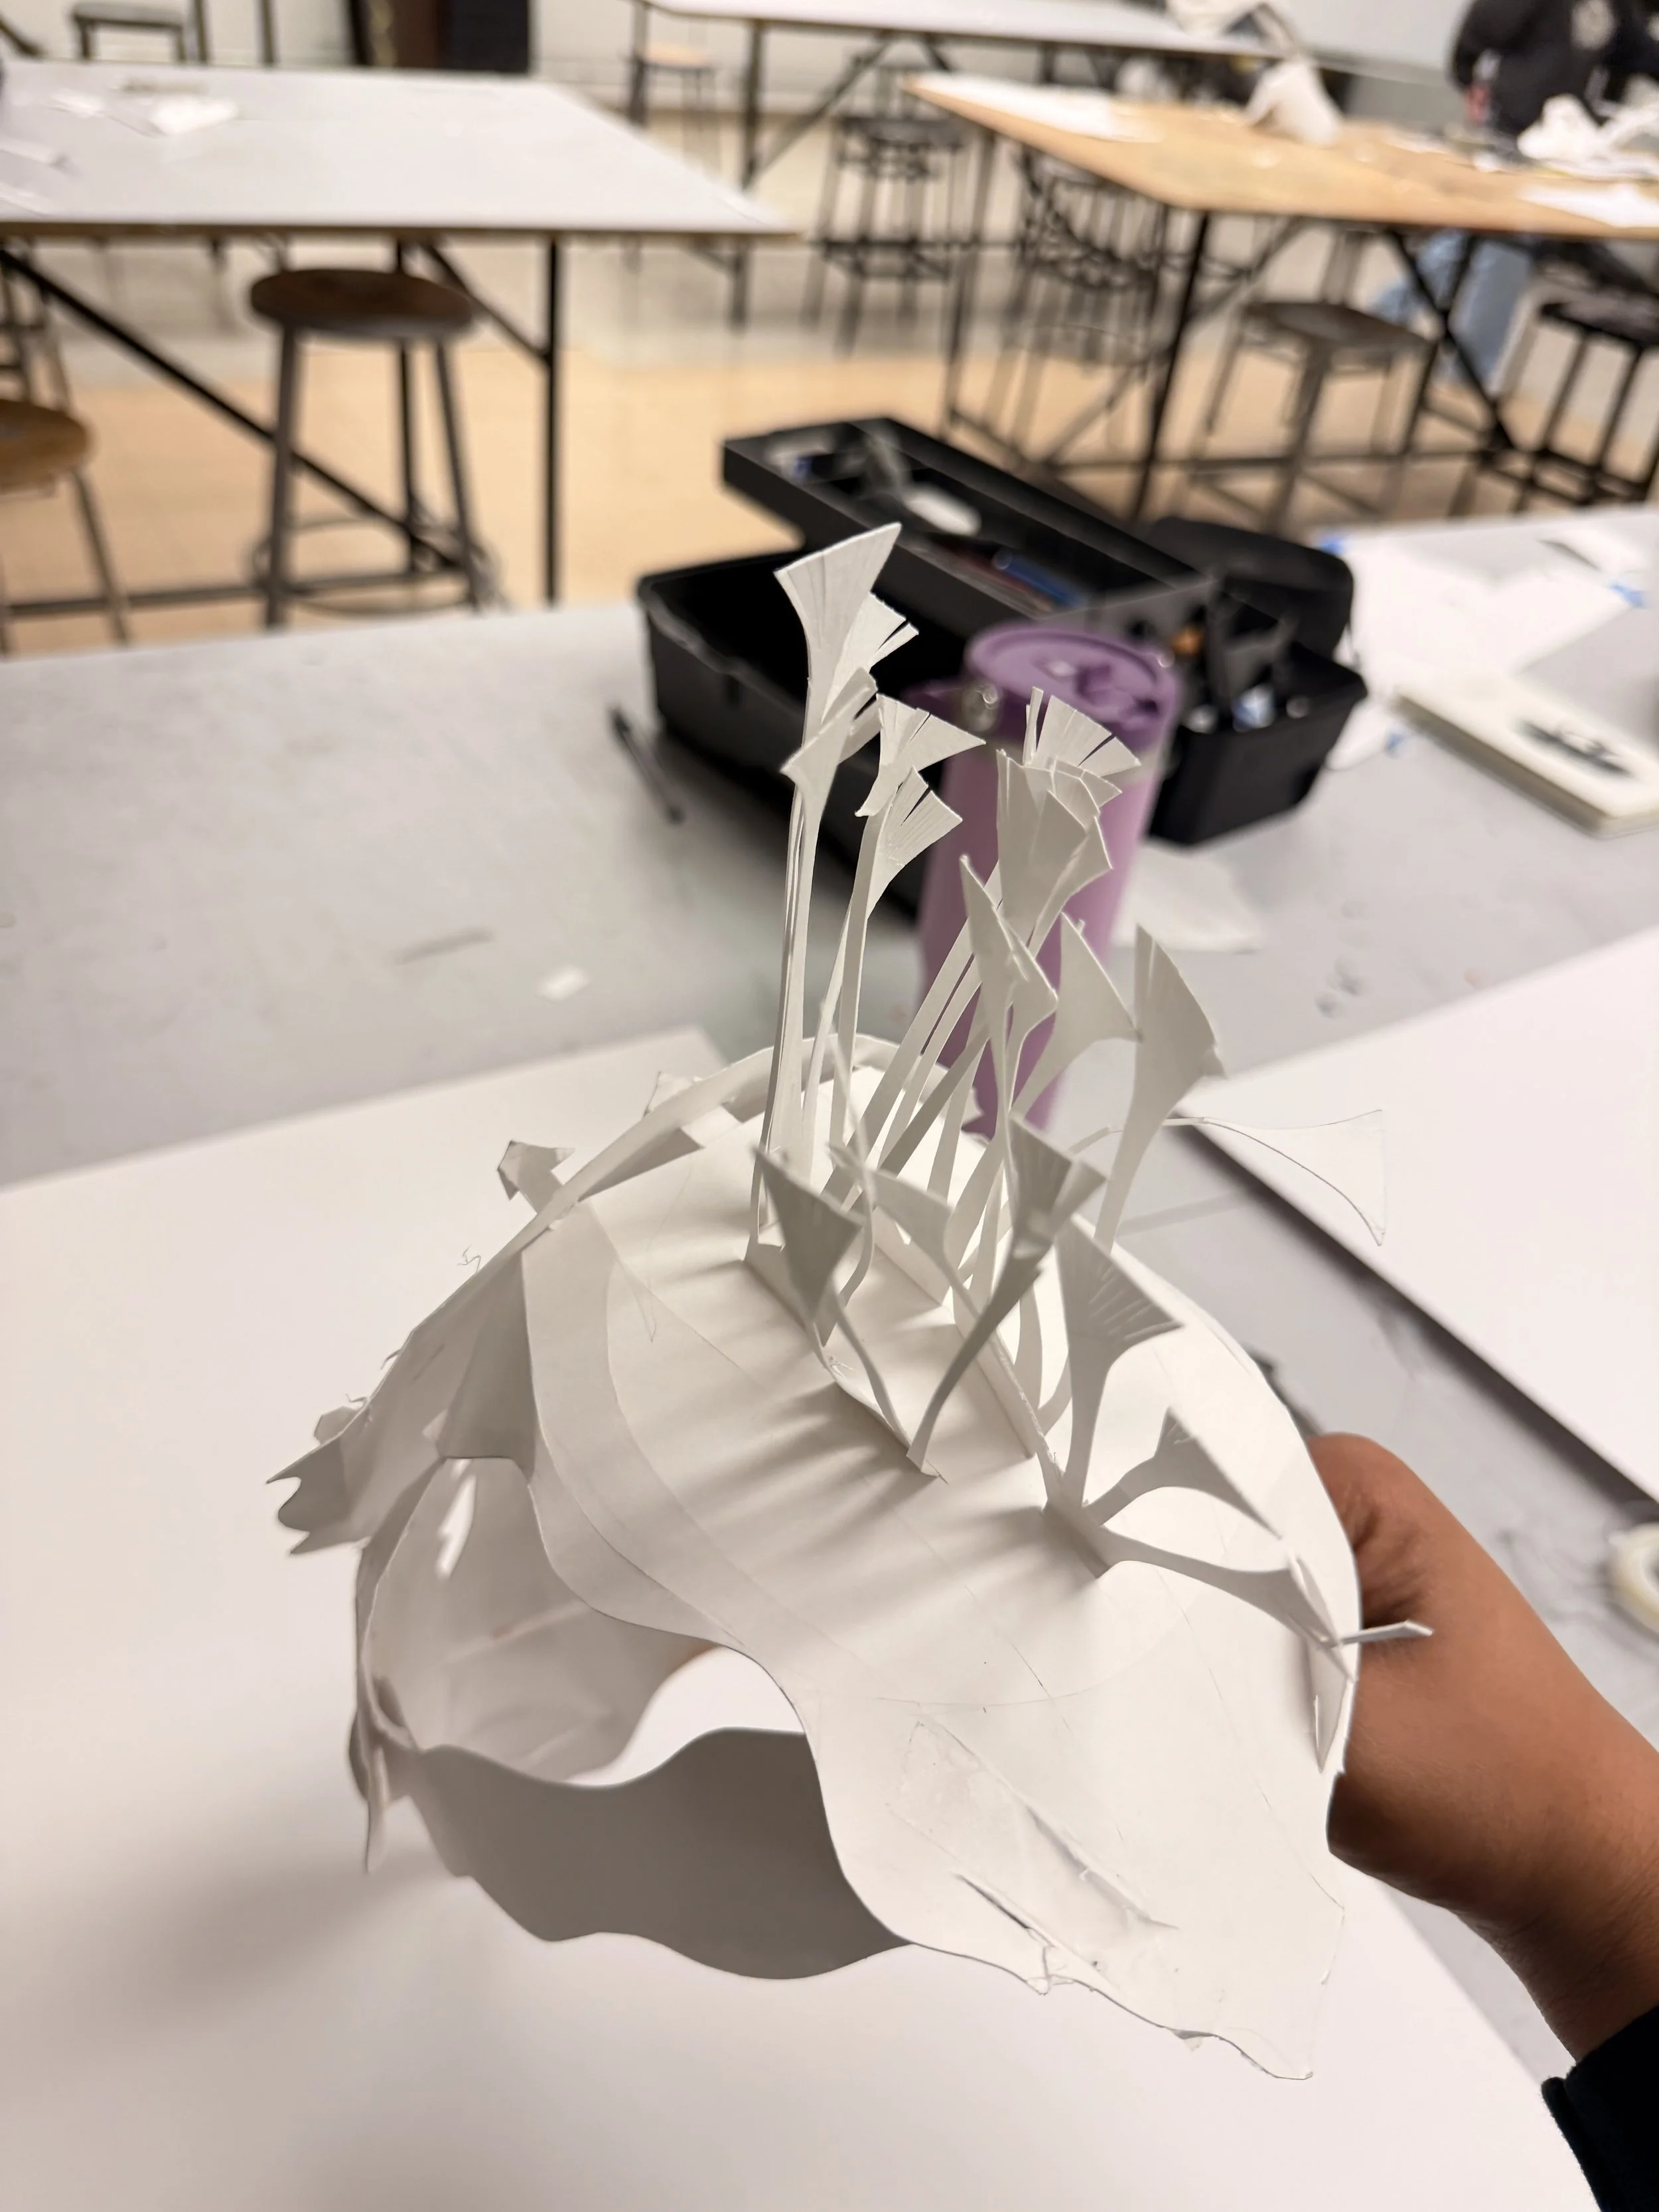
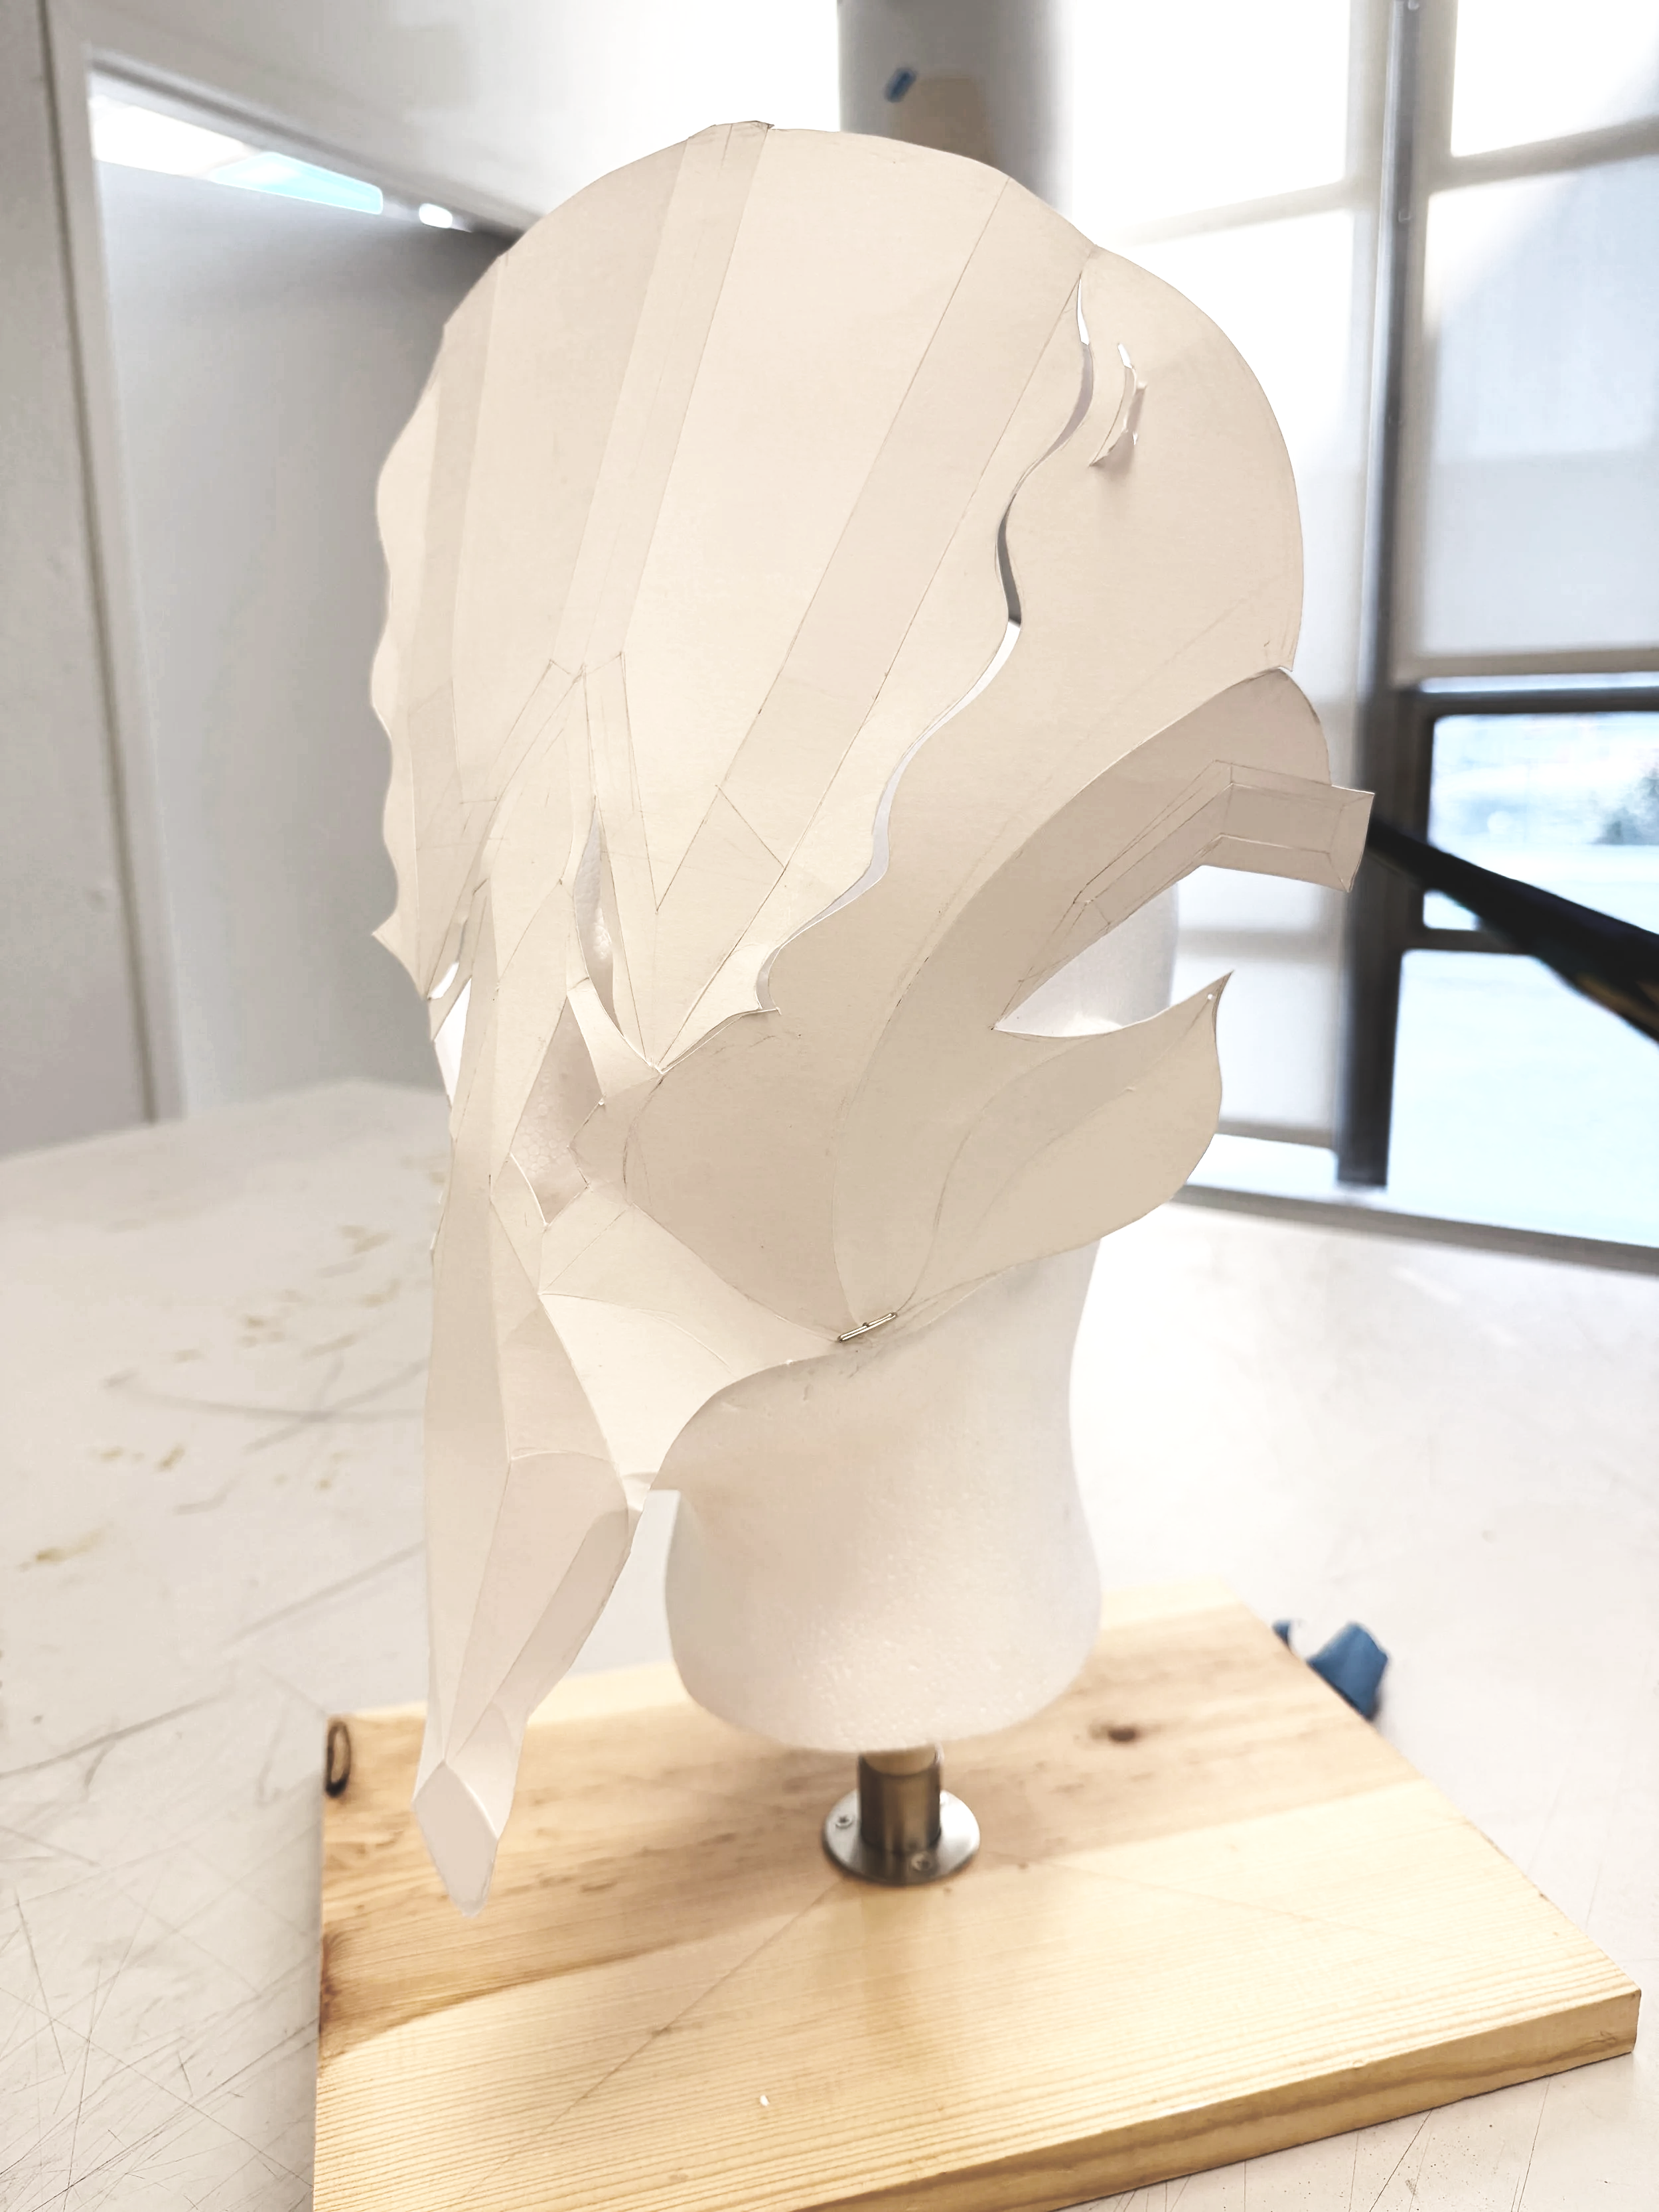
The main goal through 3D iterations was to create the mask in as little pieces as possible while still creating contours of the face. Inspired by geometric gems, the process began by creating different cuts in curves or directions to lead the flat paper into ridges.
ILLUSTRATOR
The final mask layout was made on illustrator to be sent to a machine that would do the final cuts and creases. The pieces from the final man-made prototype were photographed and traced in illustrator, and all fit within one sheet of 19 x 24 Bristol Paper.
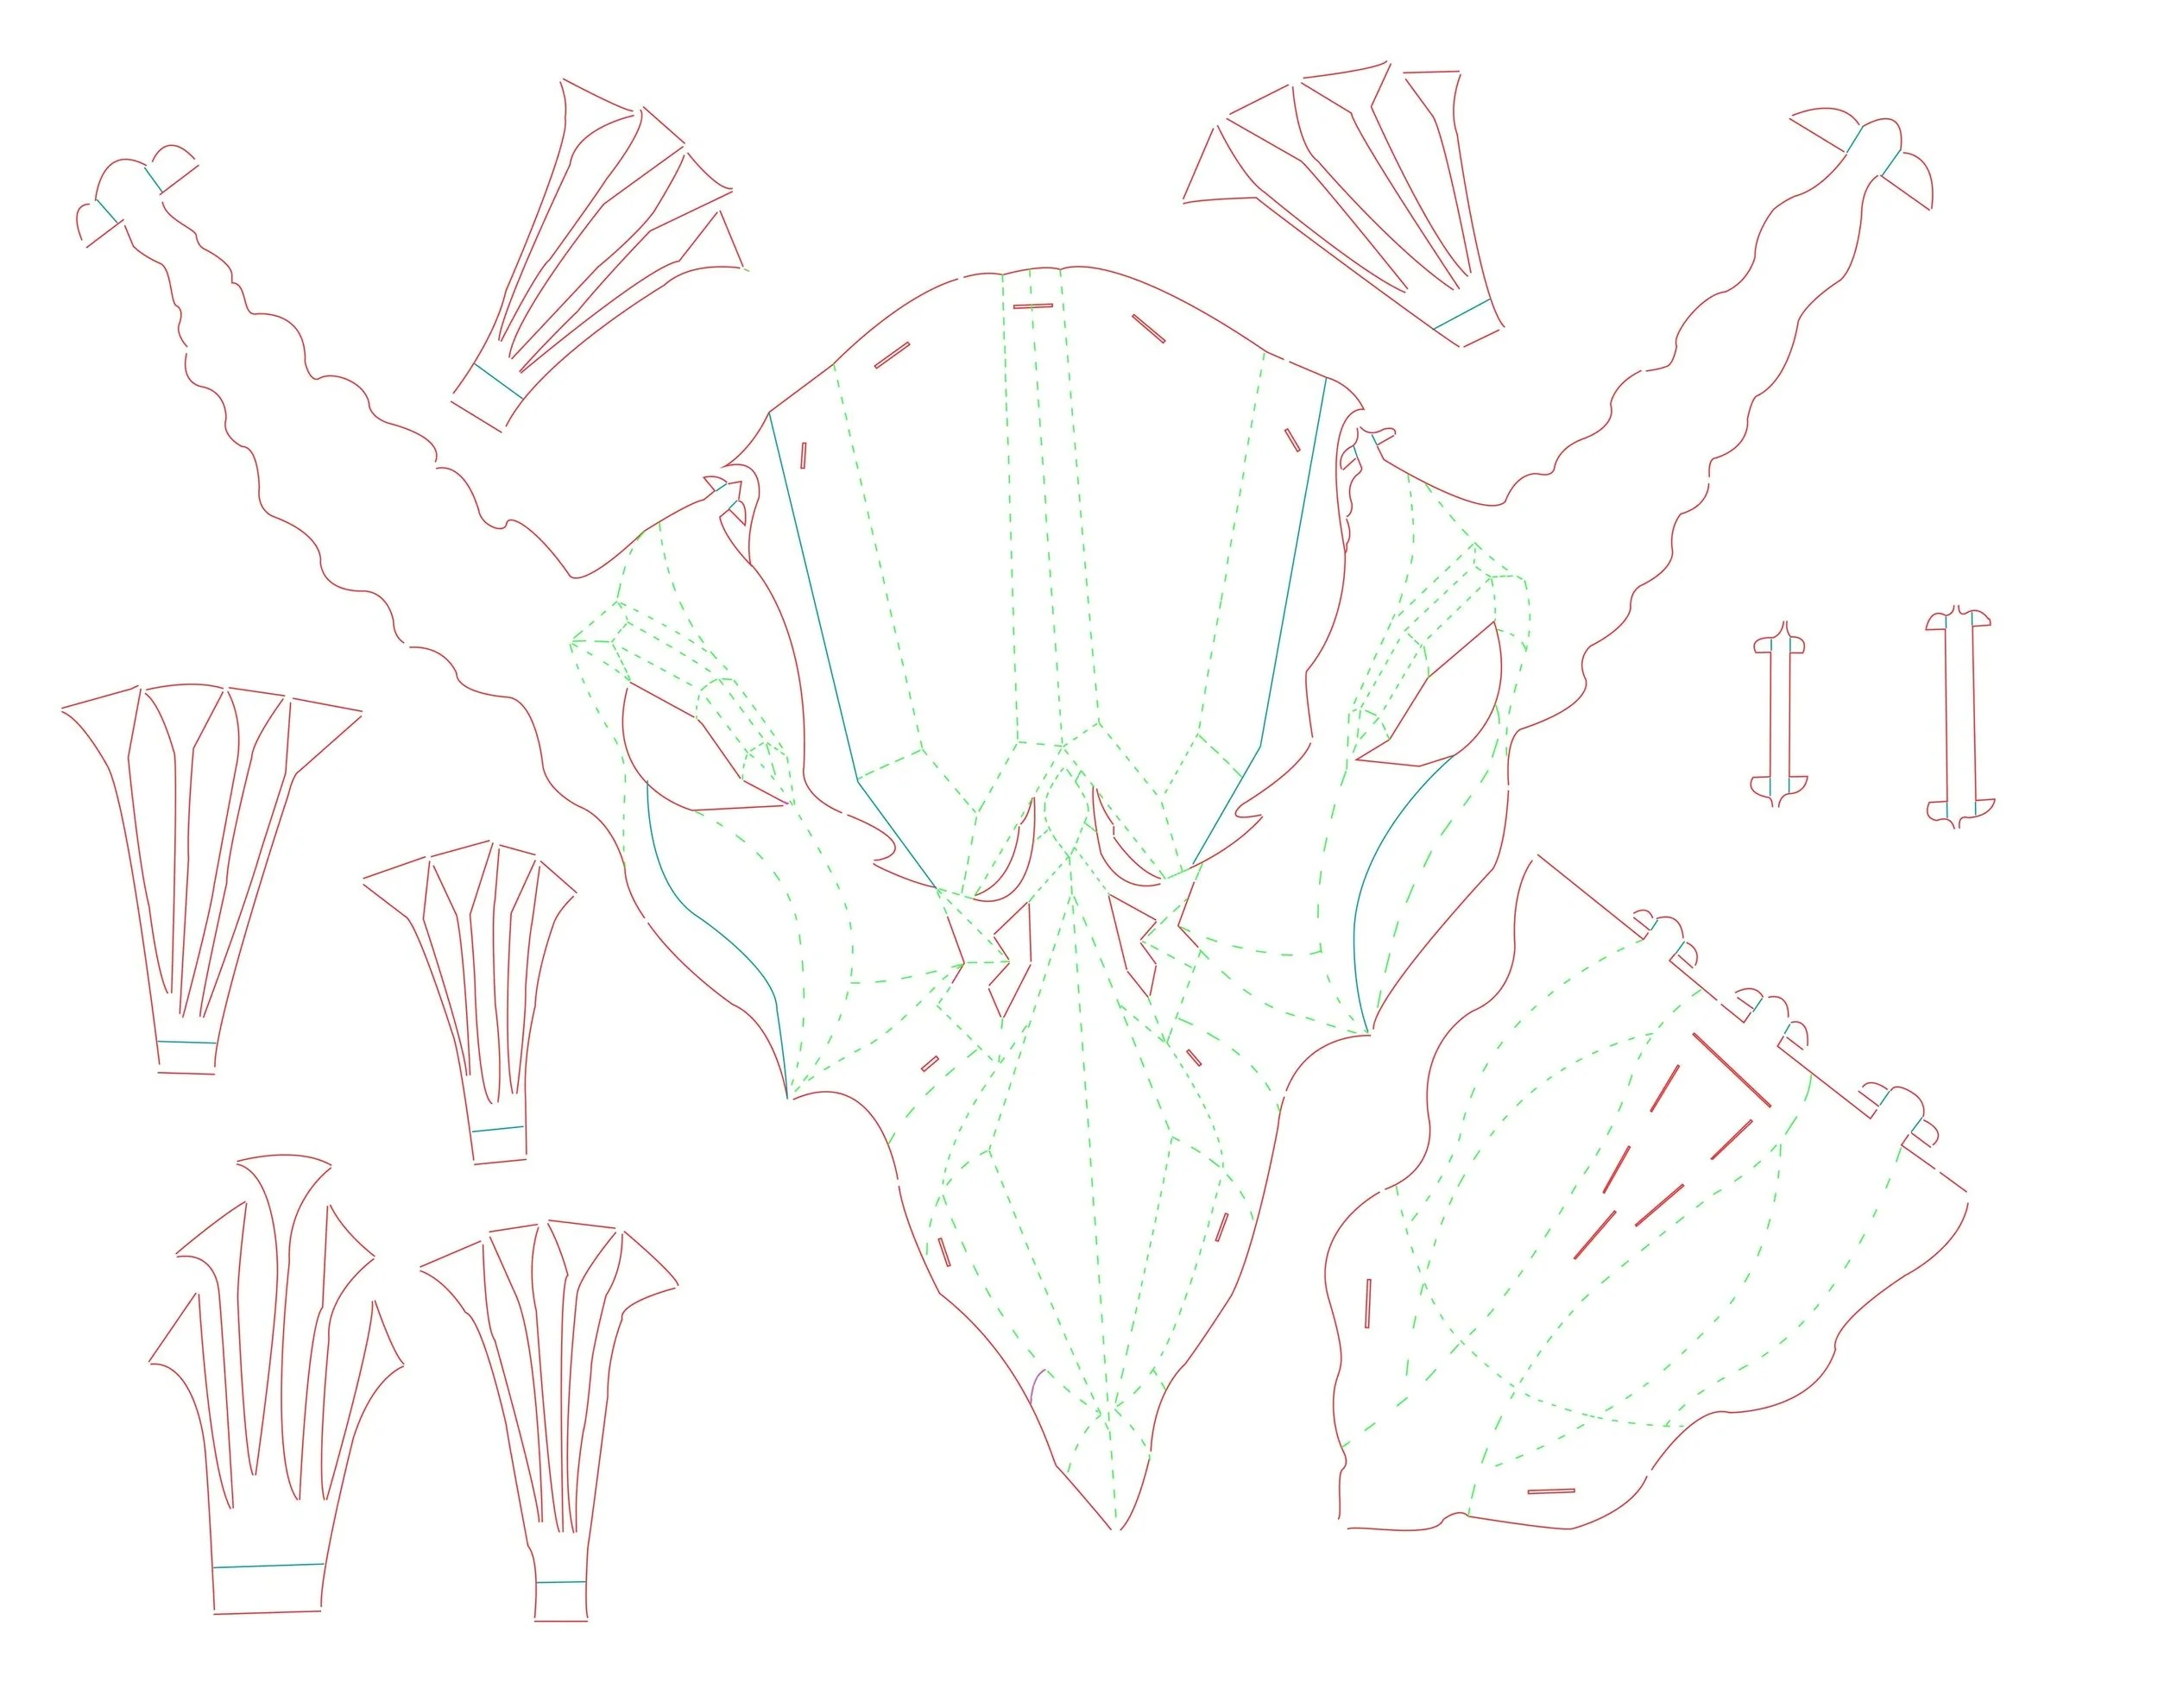
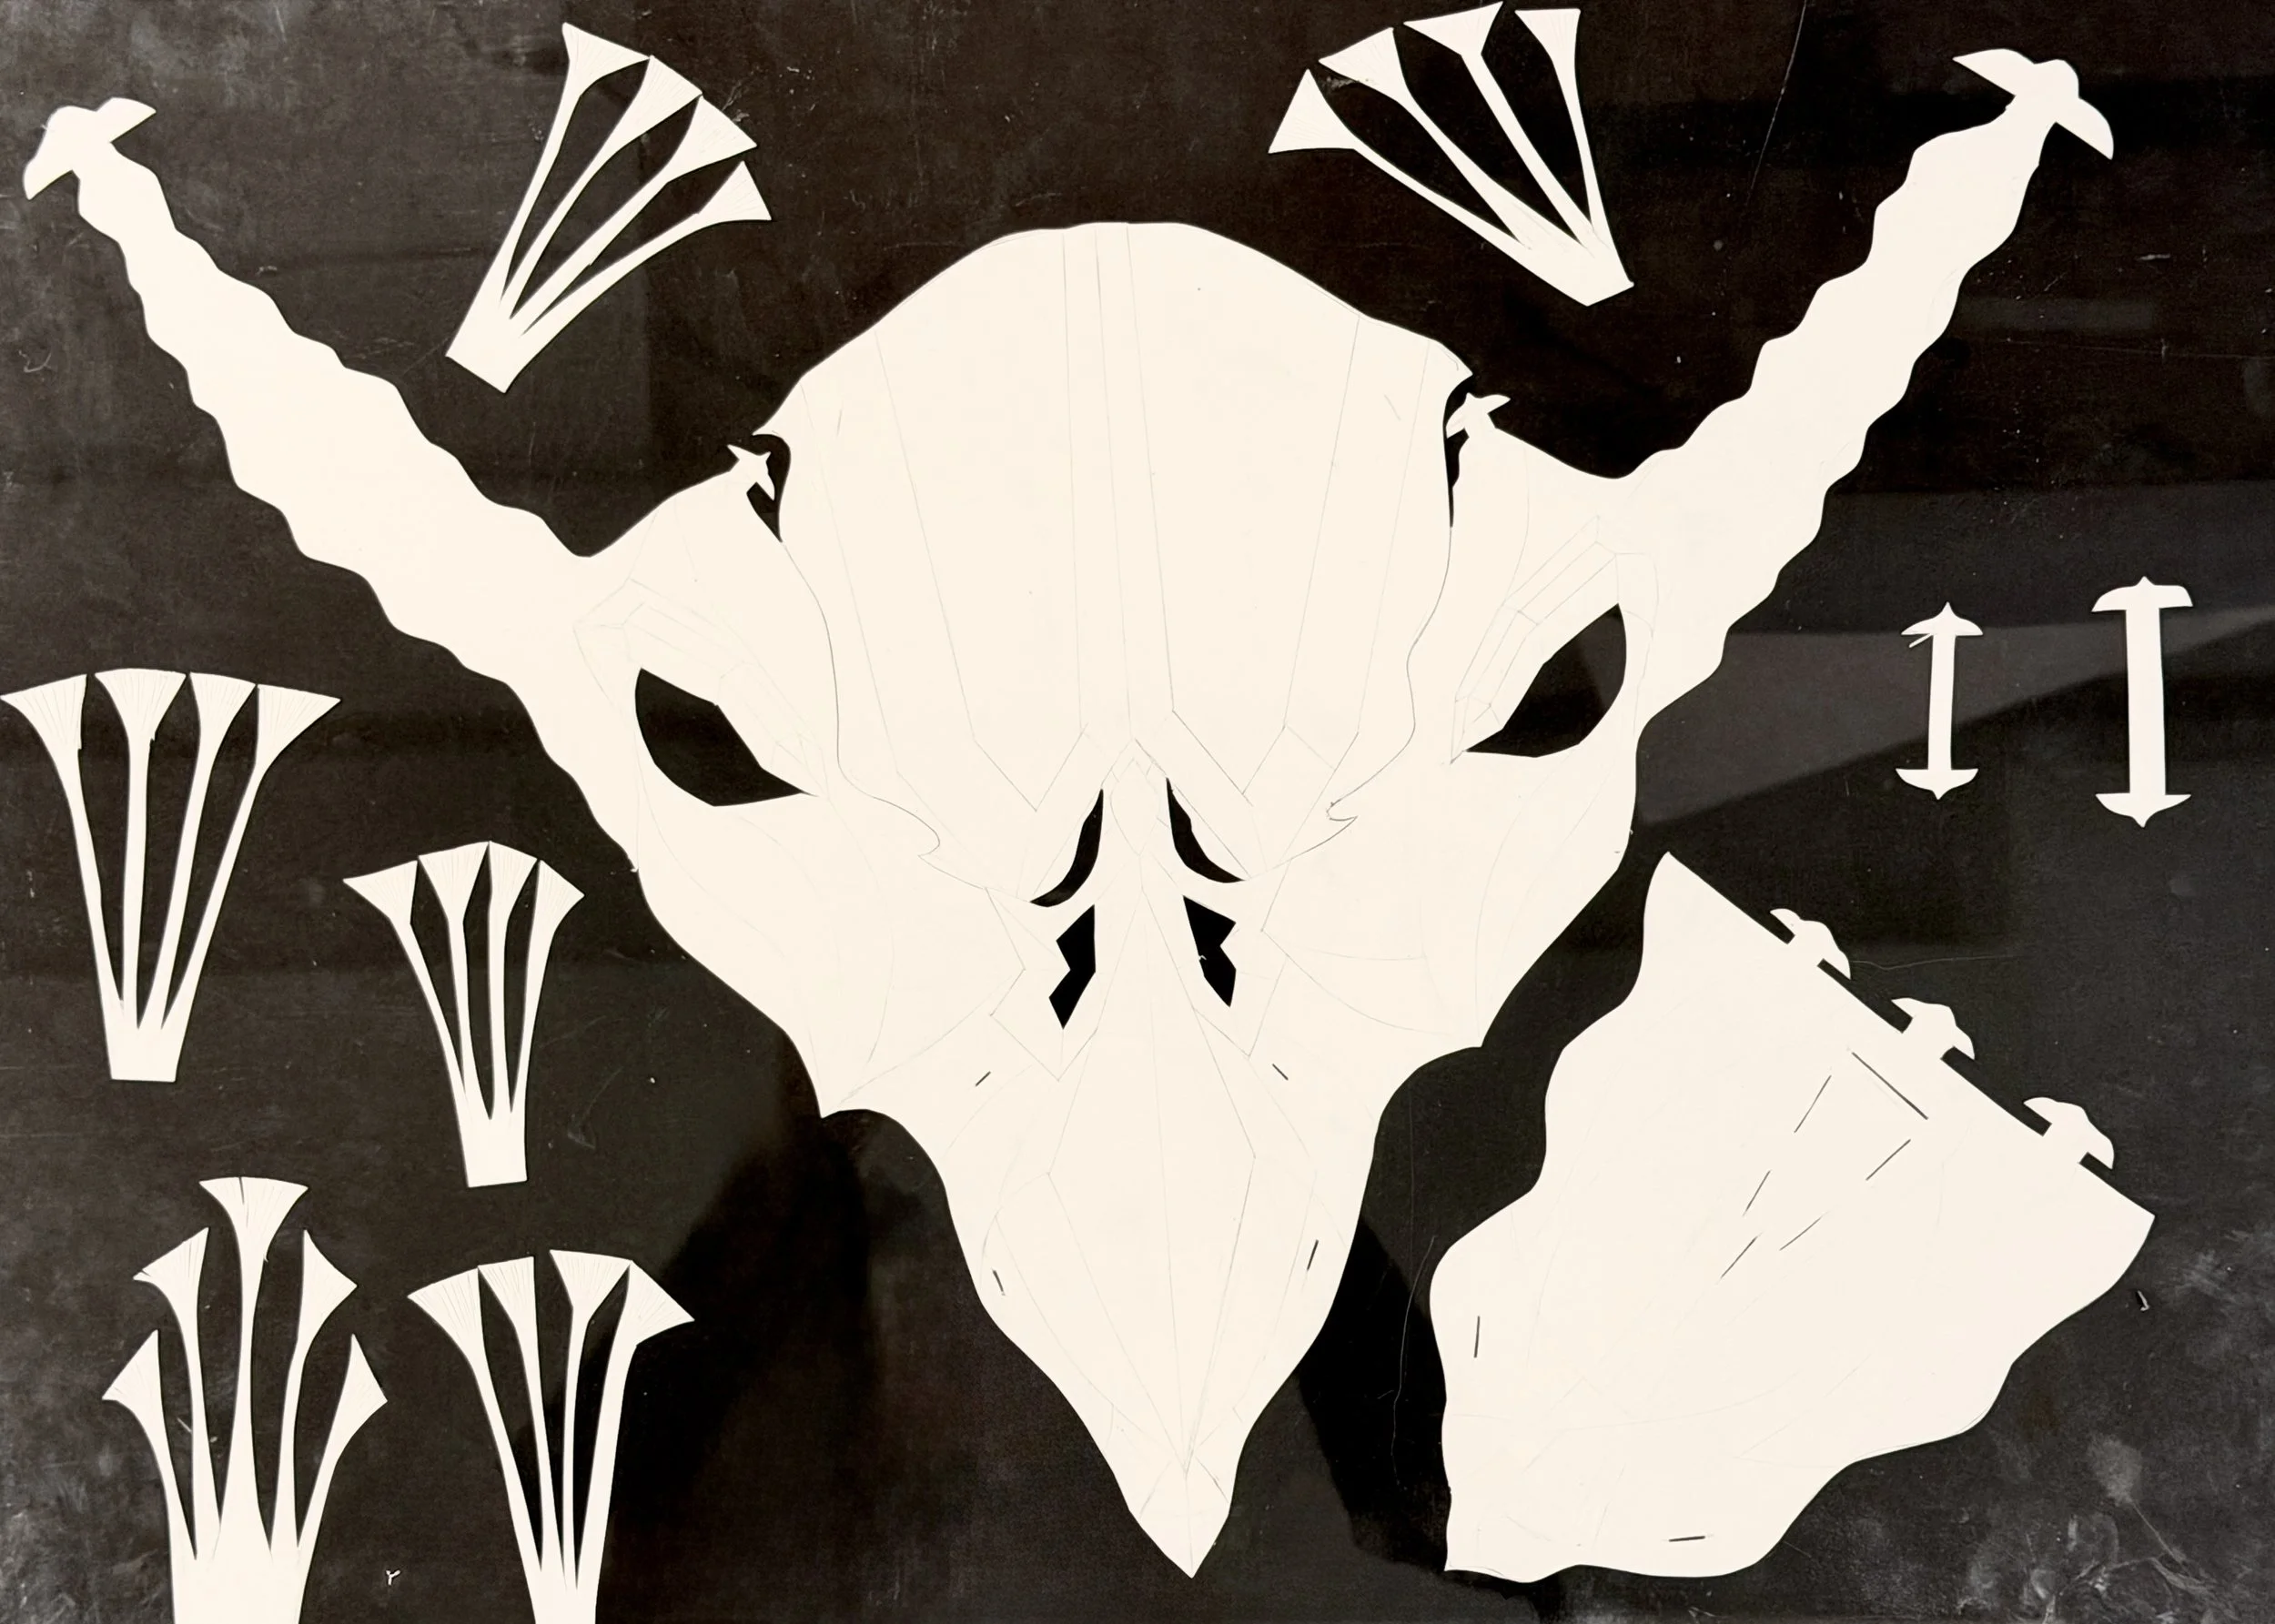
Iterations of the illustrator included finding out if tabs and tab sizes were lining up. Building the first iteration and writing down what did not work helped to create the final file. The biggest struggle was working around machine errors involving creases and changing them to perforations to ensure ridges would be made during assembly.
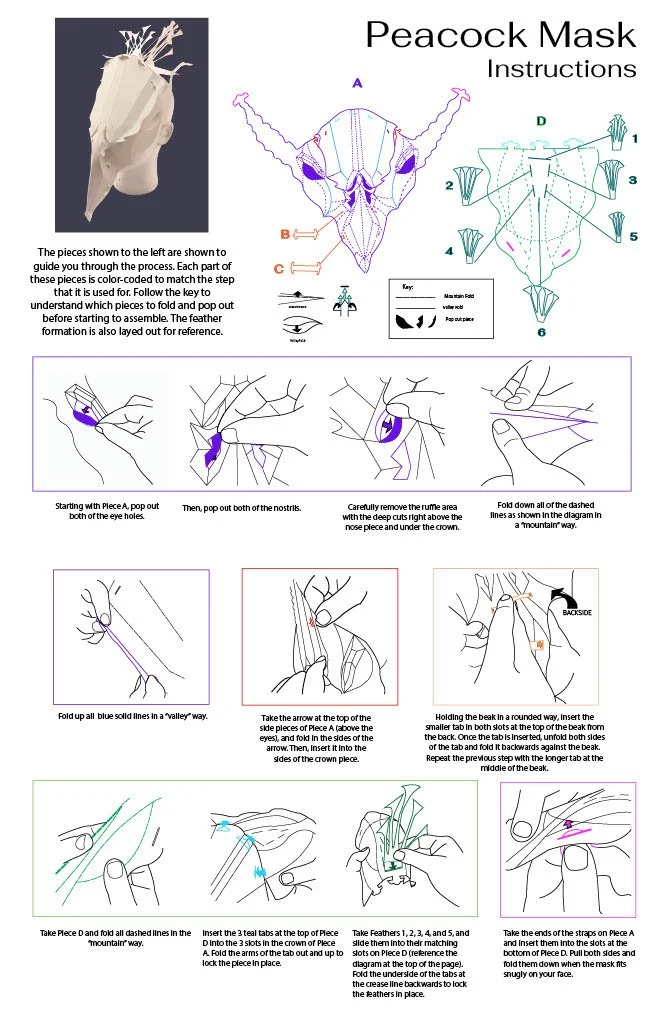
INSTRUCTIONS
After making a final mask, the challenge was to backtrace the steps made in the process for any user. Taking pictures while assembling a trial mask allowed for accurate visuals on the instructions. To add clarity in the steps, the diagram of pieces and instruction boxes were color coded to match so the user would have a straight-forward view of which piece went with which step. The struggle with this step was to think of every step of the process that might be confusing to people who had not seen the mask before. I found that thinking from every perspective possible and asking for advice from peers was the best way to design the instructions.